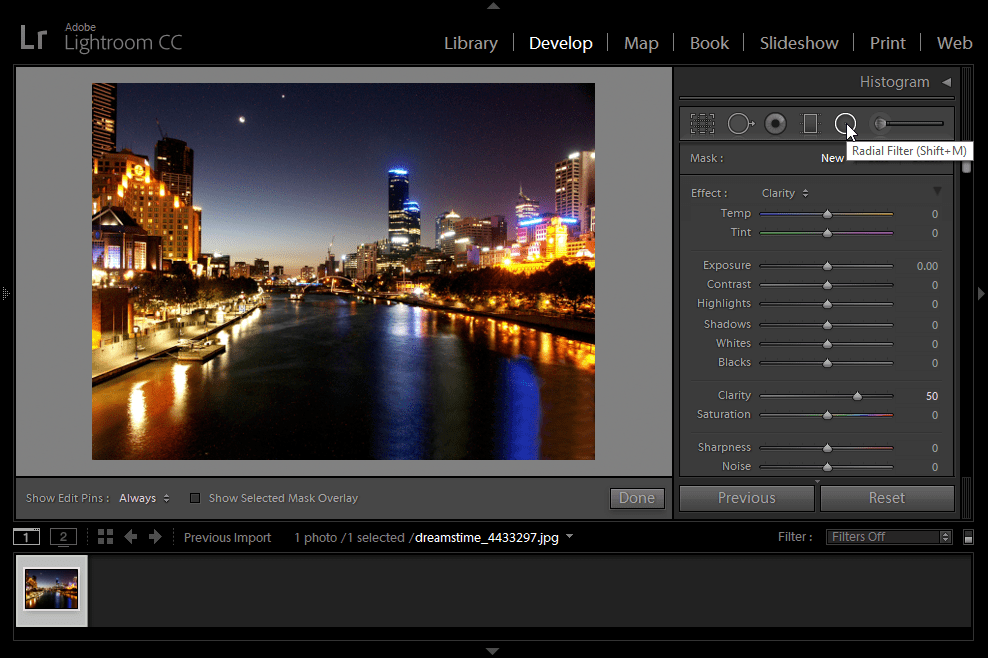
Adding light leaks to your photos is a great way to create a retro vibe. You can create light leaks in Photoshop but today we'll show you how to do it in Lightroom Classic. In this tutorial, we'll show you how to create realistic light leaks using radial filters. This technique is the same that is used by other preset developers.
Step 1 - Radial Filter Tool
Go into the Develop module then select the Radial Filter. This is the main tool that we will be using to draw the light leaks. You can do this with either the adjustment brush or the radial filter - but trust me, use the radial filter. Your light leak will be easier to create and it tends to look better too. Another reason is because later in the tutorial, we'll show you how to create a preset out of it so that you can use it for your other photos. And hey, if you build enough light leaks you can even sell it as a preset pack for money!

Step 2 - Pick the Light Leak Color
By default, Lightroom sets the Radial Filter to have a clarity setting of 50. We don't need this so set it back to 0. Next, click on the color option and pick a color for your light leak. I'll be choosing this pink/red color.

Checkmark the Invert Mask option. This will make the color appear inside your radial filter instead of the outside.

Step 3 - Draw the Light Leak
Draw a long light leak in the area that you like.

To make the light leak more visible, increase the exposure setting.

Step 4 - Layering the Light Leaks
One light leak is usually not enough. For better light leaks, you need to create multiple. Instead of drawing another radial filter, we can save time by duplicating the existing one. Right-click inside the radial filter then select Duplicate.

Step 5 - Resizing and Rotating
Resize and rotate the radial filter however you like. It's best to have some overlap with the previous radial filter.

Change the color to something different.

Step 6 - Finishing Touches
Continue duplicating the radial filter to add more light leaks as needed. I recommend finishing it off with a final streak with an exposure setting of 4.

Here's how the light leak looks. The results can vary depending on the photo you use.

You can also convert your photo into black and white for a contemporary effect.

Step 7 - Saving a Lightroom Preset
You just created a light leak but we're not done yet. It's a good idea to create a preset out of your light leak so that you can add it to your other photos with ease. Having a set of five or more light leak presets is very handy.
In the presets panel, click on the Create New Preset button.

Name your light leak (I just call mine "Light Leak") then create a new folder to store your current and future light leak presets. In the settings, uncheck everything except for the Radial Filters and Process Version option. Click the Create button and you have your very first light leak preset!

Final Results
Here are a bunch of examples using the same light leak. As you can see, it looks vastly different depending on your photo. I also recommend combining light leaks with some sort of retro or faded film look.


Thanks I was looking for a way to move the light leaks for a few presets I downloaded.