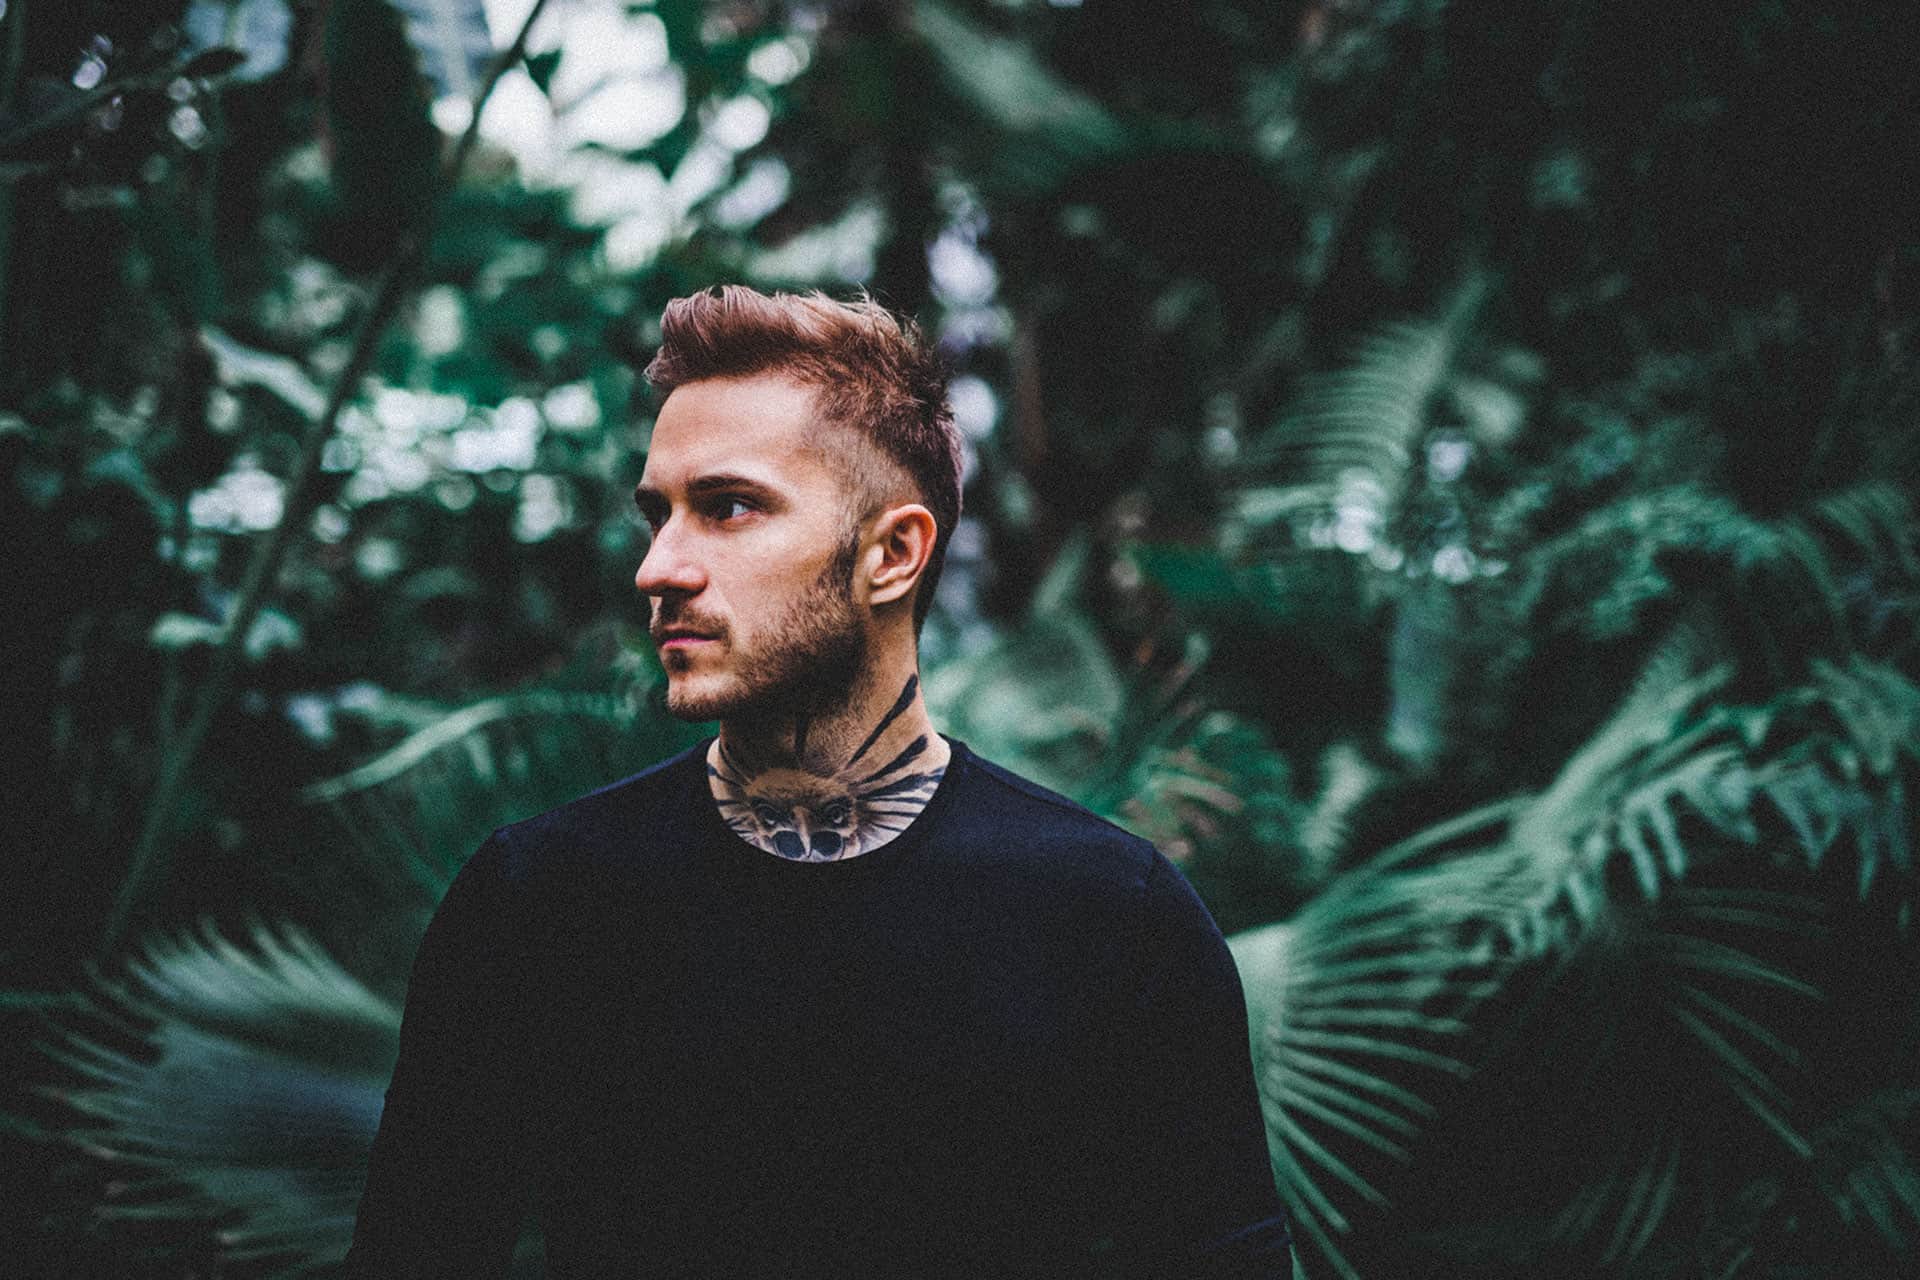
In this tutorial, you'll learn how to create a jungle look in Lightroom. You'll learn how to create dark green foliage using Lightroom's color mixer, create a moody tone by lifting and crushing the blacks, and finish the look with your choice of effects. At the end of this tutorial, you'll also be able to download a free jungle green preset.
Preview of Final Results


Step 1
Here's the image that we'll be using for this tutorial. We'll start first by adjusting the color. For this tutorial, you should use a photo with a leafy green background.

Step 2
Go to Color > Color Mixer. In the Adjust dropdown, select Hue.

In the Color Mixer settings, set the Green to +100. This will give foliage more blues for a filmic look.

Step 3
Next, we're going to tone down some of the oversaturated areas. Looking at our photo, you can see that some of the greens and yellows in the background are oversaturated making it stand out.

To fix this, click on the Adjust dropdown menu and select Luminance. Set the Yellow to -100 and Green to -50. These are approximate values that you can use as a starting point - adjust them to fit your image.
In case you're wondering why we're adjusting the luminance instead of saturation, it's because our brains perceive dark green as less saturated than medium green. So by lowering the luminance, the greens will appear less vibrant.

Step 4
And now we'll adjust the saturation. Set the Yellow to -100 and Green to -50. Again, these are approximate values that we're using as a starting point. You should adjust them to fit your image.
You'll noticed that we edited the hue, luminance, and now finally the saturation. We're editing the colors in this order because the saturation is the easiest to adjust. If you were to desaturate the colors first, you will have a hard time trying to notice the hue adjustments.

Step 5
Now it's time to edit the tones. Go to Light > Tone Curve. Enable the Point Curve mode.

Step 6
Lift the blacks by dragging the bottom-left point upwards. This will give blacks a lighter tone.

Now crush the blacks by moving it towards the right. This will hide details in the blacks.

Step 7
Next, click on the middle of the line to add a point (keep this point in the middle). Add another point between the first two and drag it down to create an s-curve. This will increase the contrast.

Step 8
Complete the image by going to the Effects tab and applying your desired combination of effects. For my image, I decided to increase the texture and clarity settings to give it a sharper look. The corners are darkened by setting the vignette to -25. And finally, I added some grain, which might not be visible in the small image below, but it gives it a film-like appearance.

Final Results


Malli karjuna
Ny
Thank you so much. this was so helpful.