Create a light and airy bohemian look in a few easy steps. In this Lightroom tutorial, you’ll learn how to get vintage colors by shifting the hue, create bright & matte tones with the curves, and finish the look with an ethereal glow. At the end of the tutorial, you’ll be able to download a free light bohemian Lightroom preset.
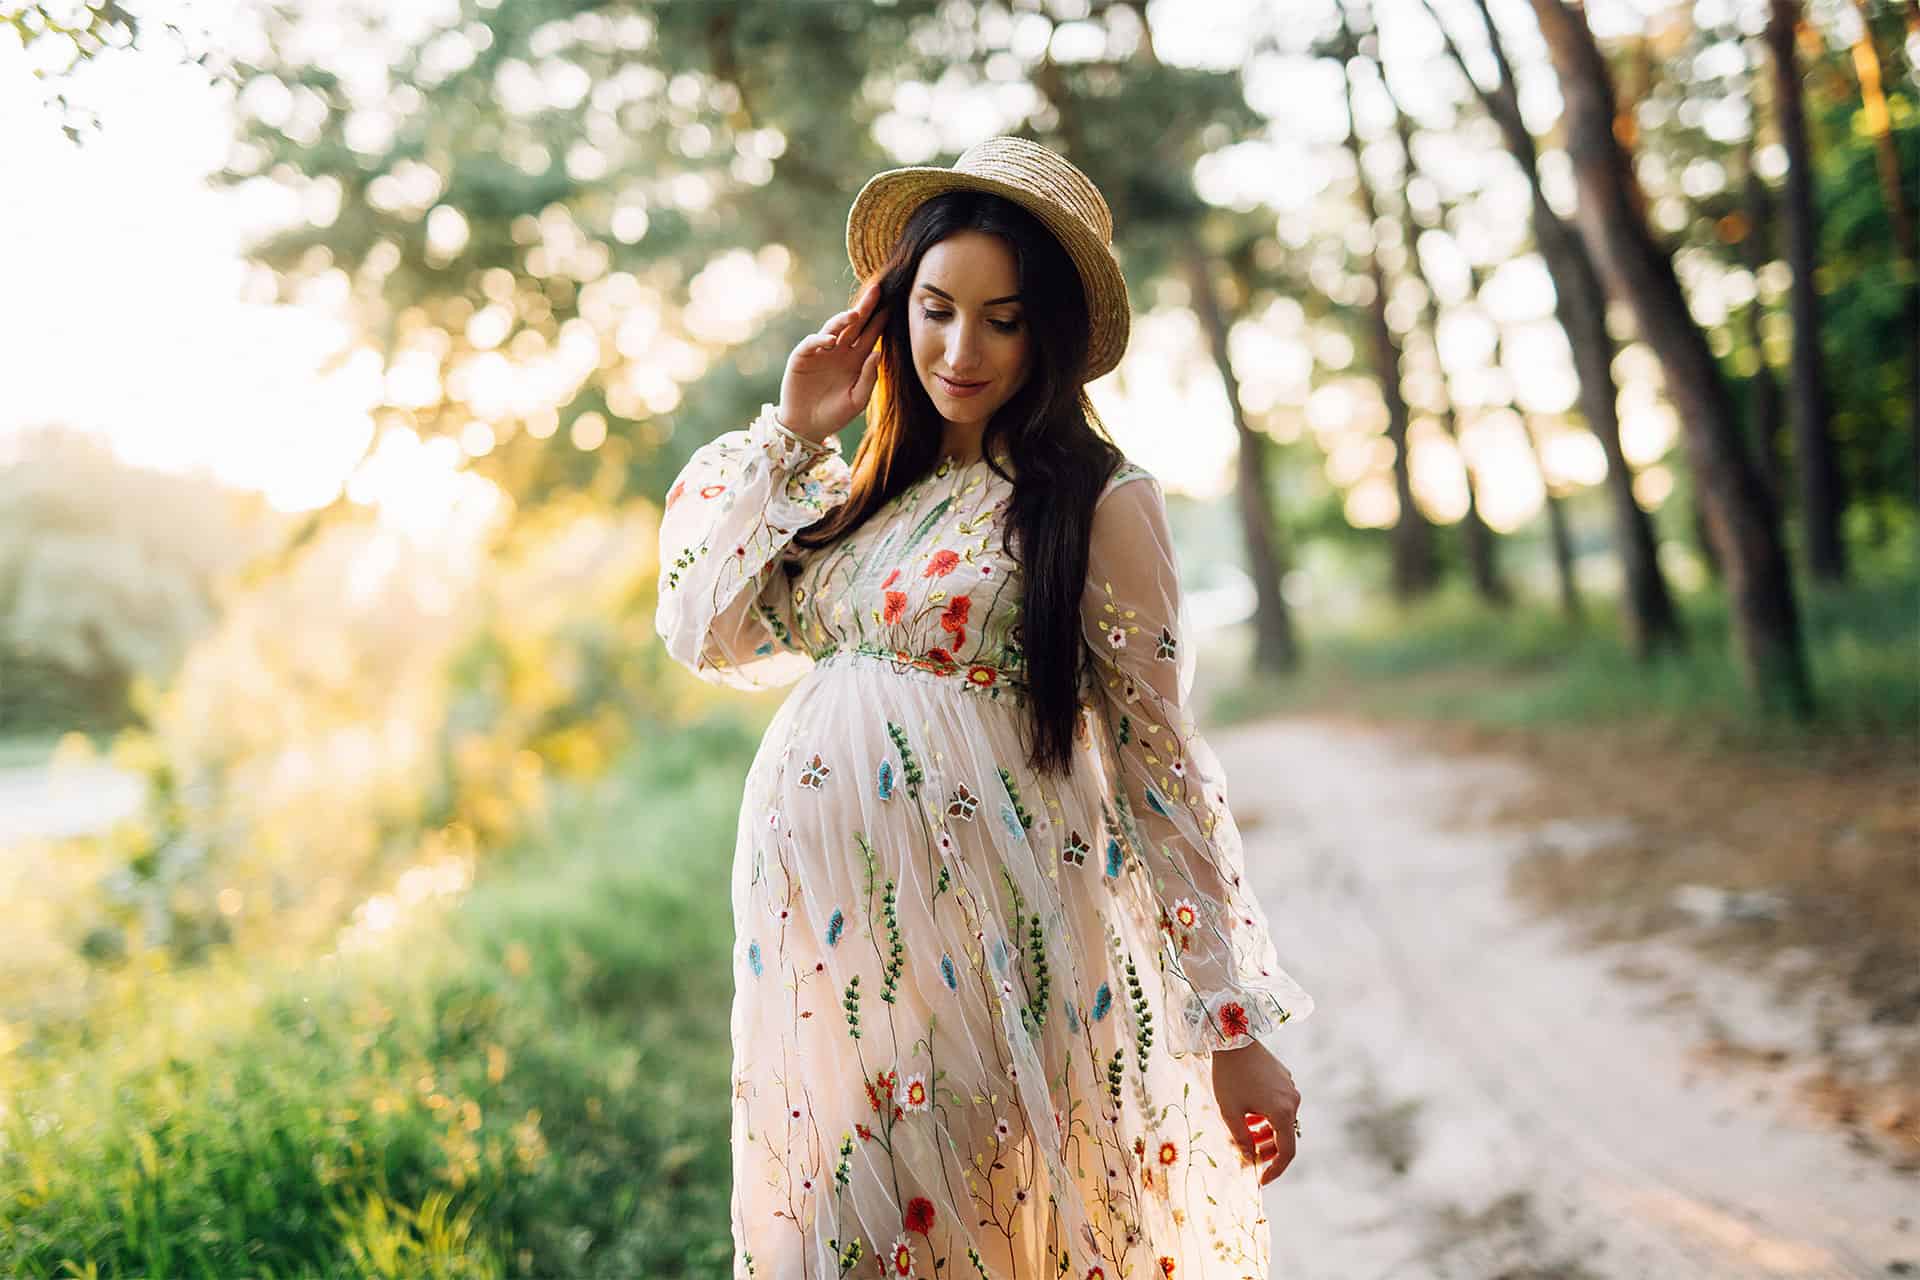
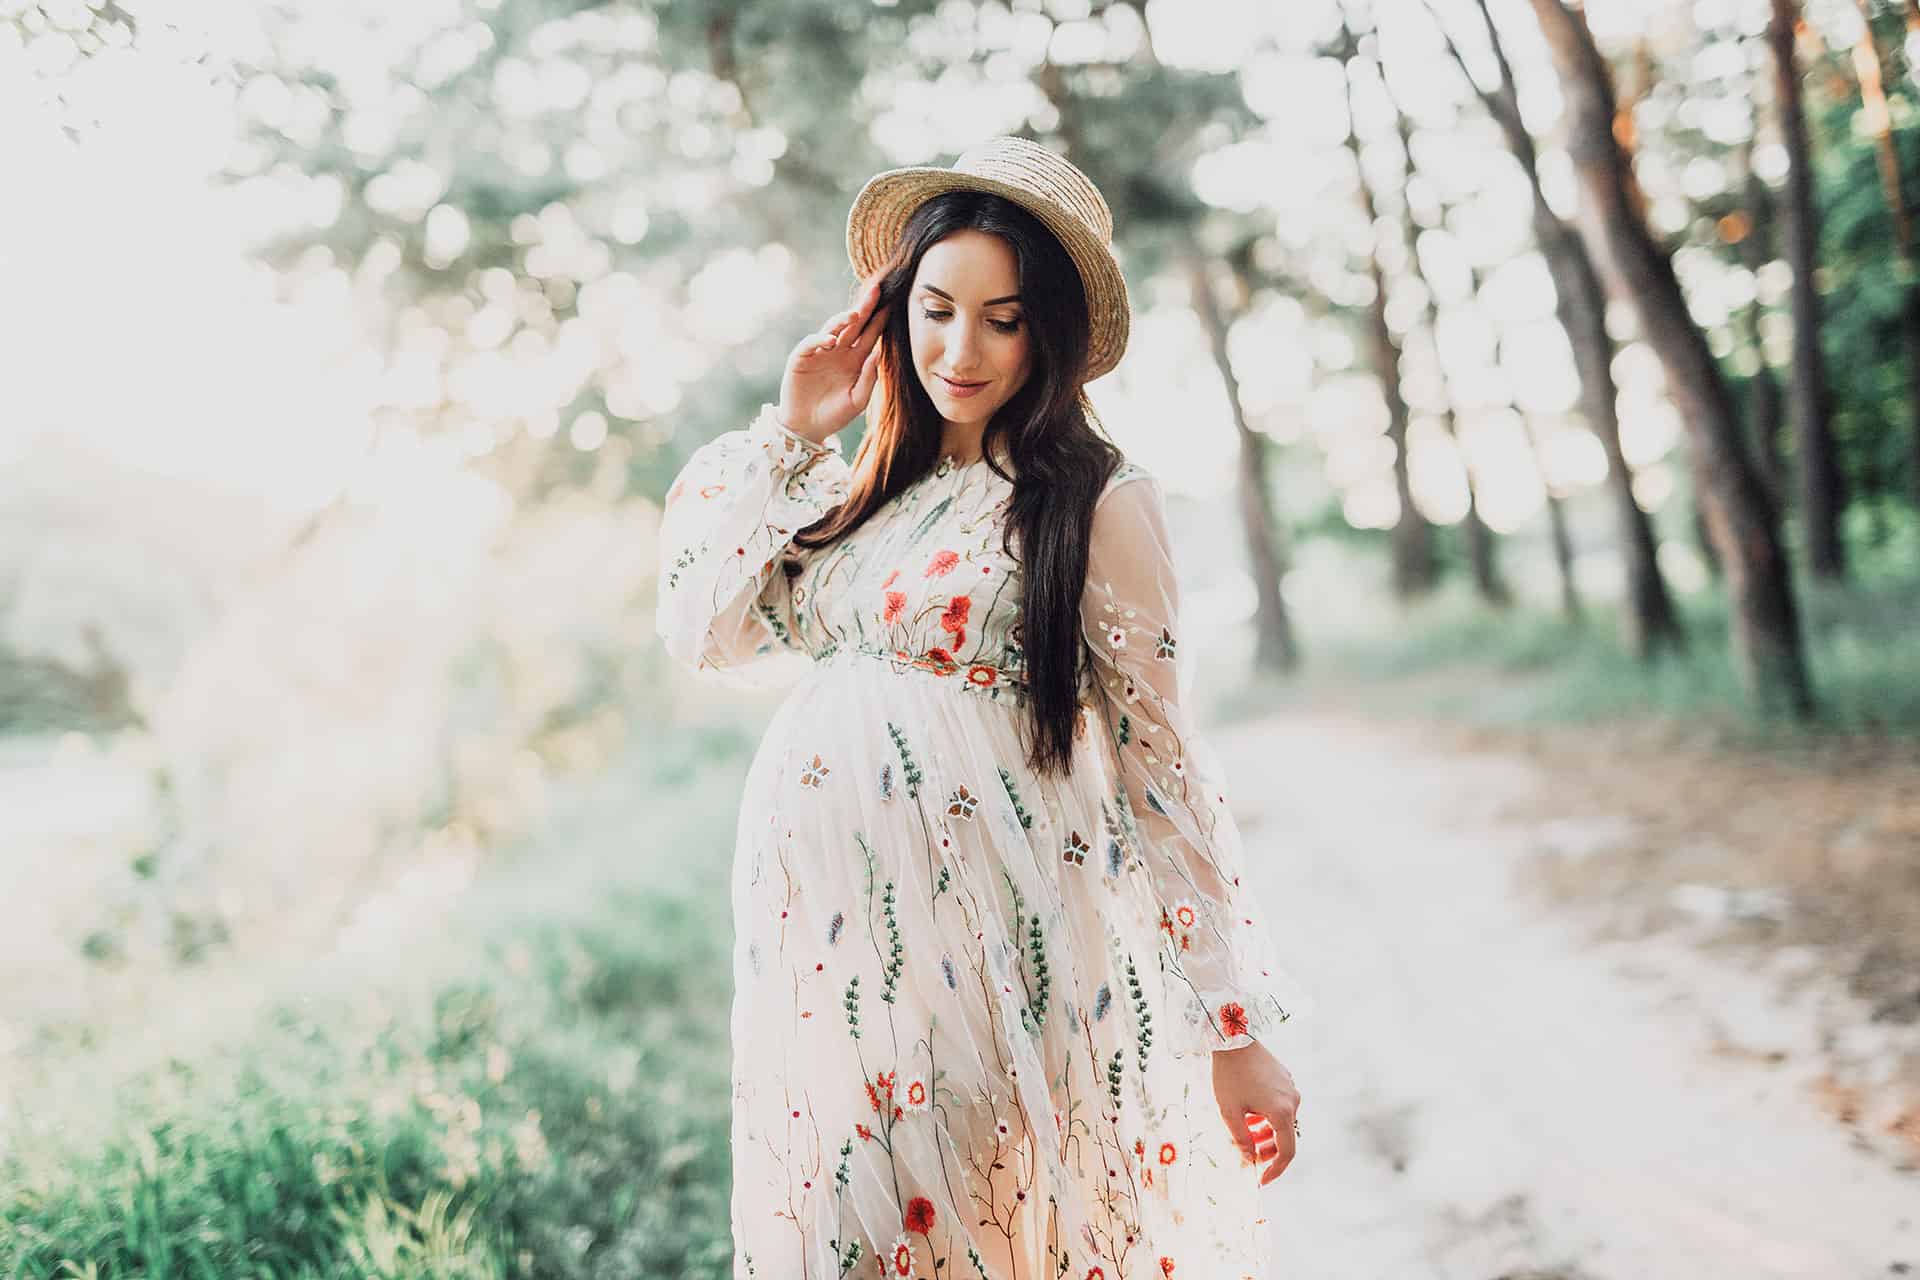
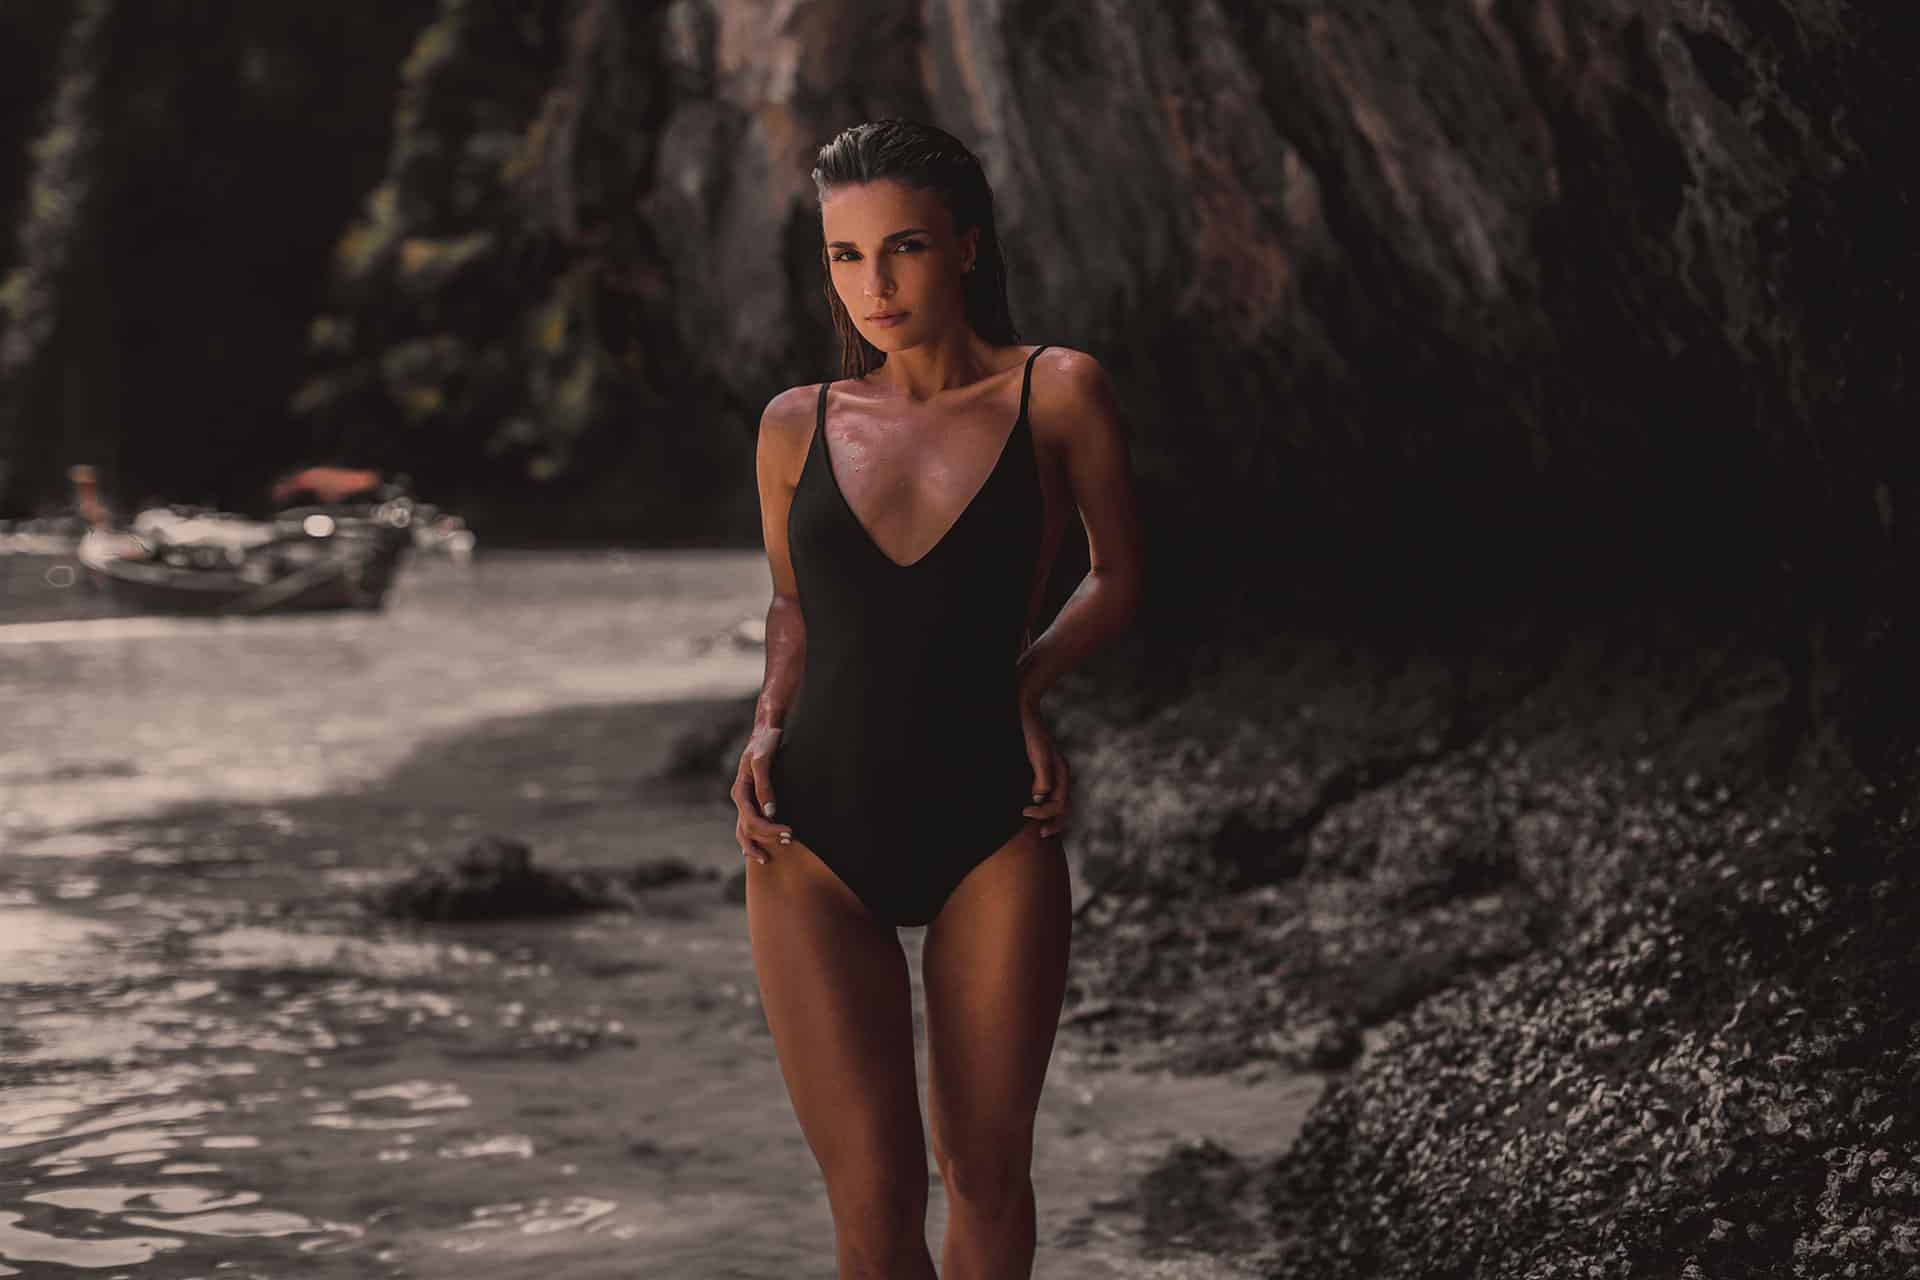
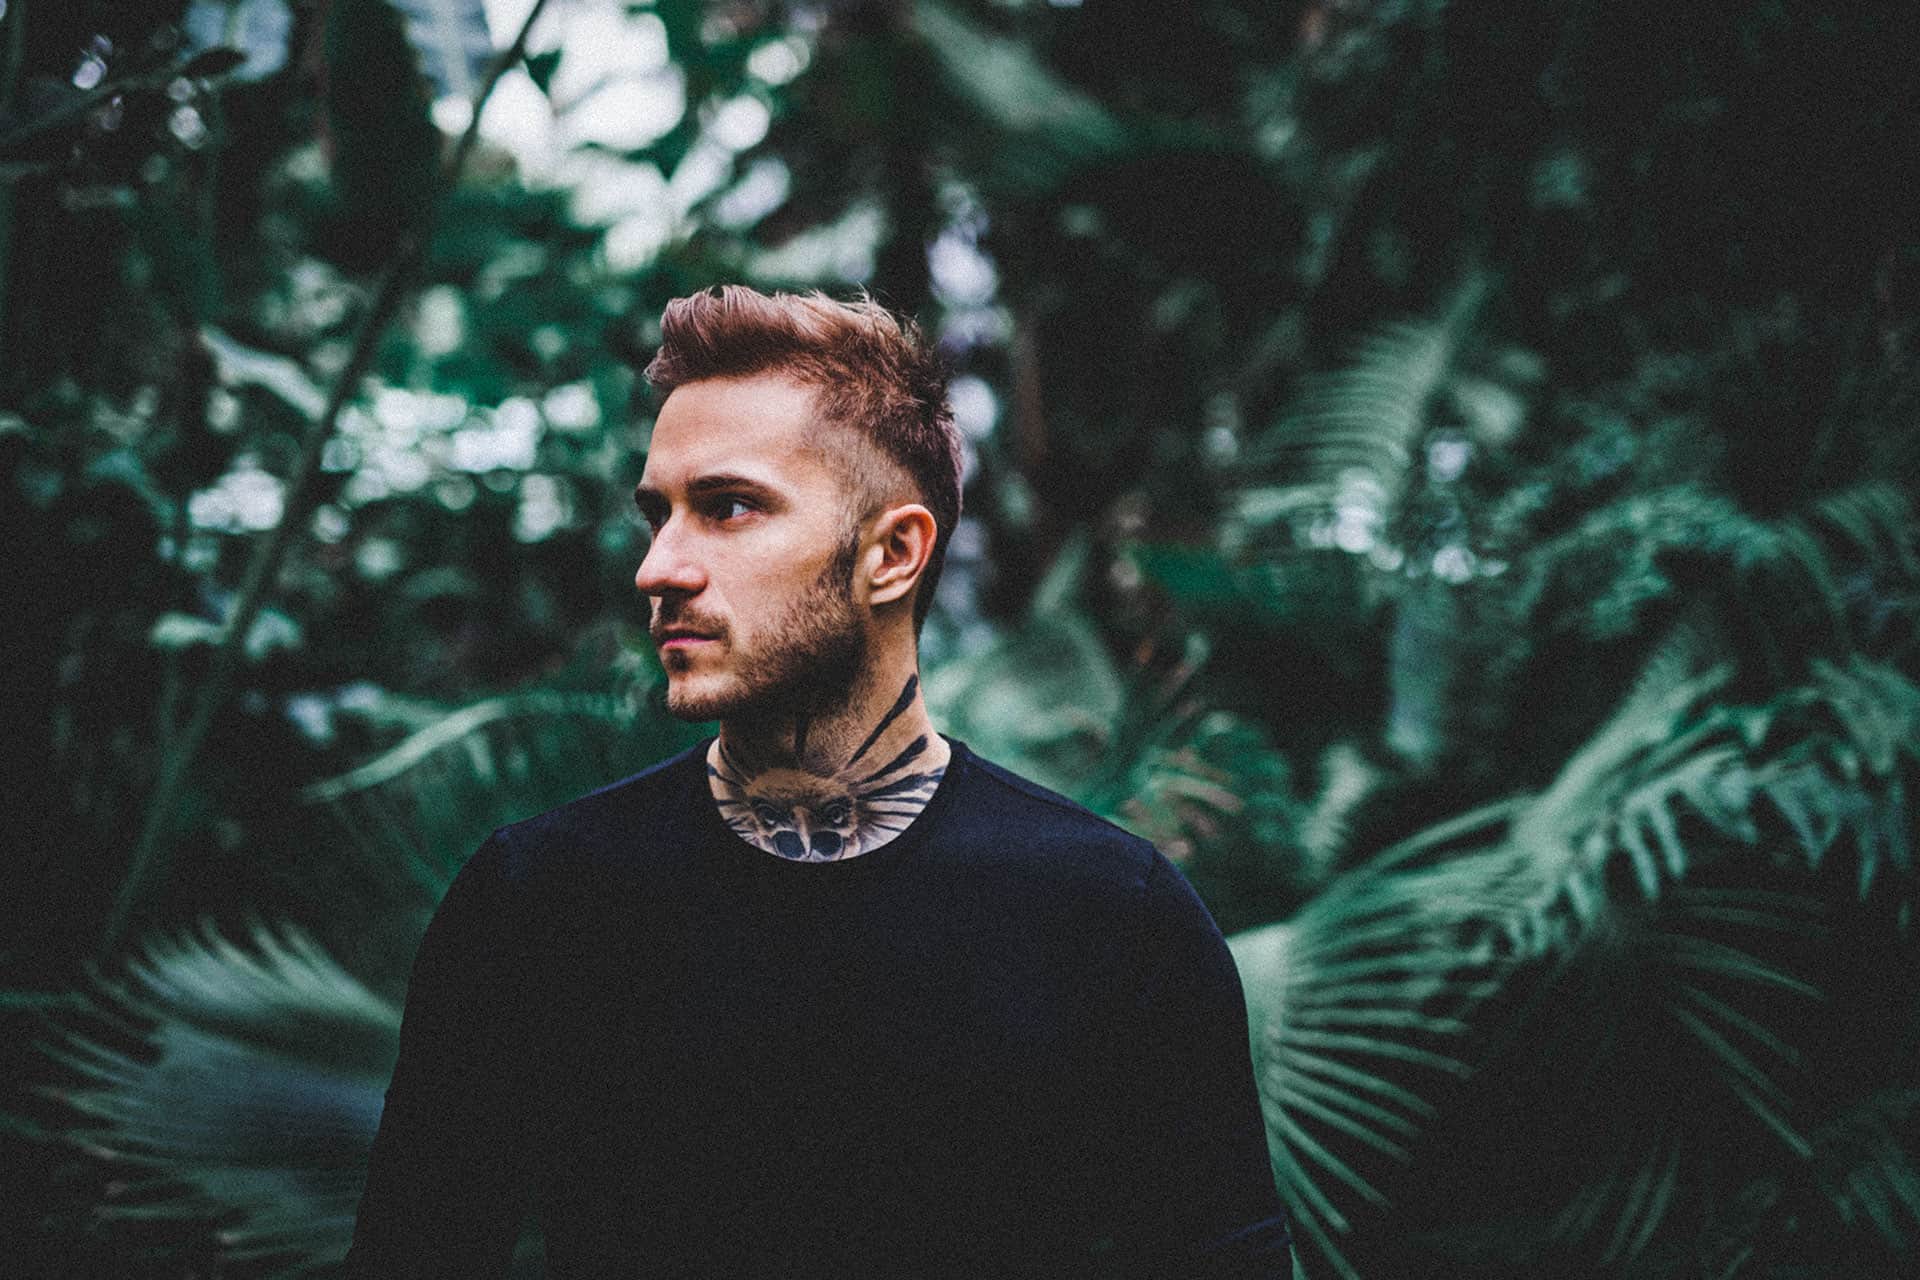
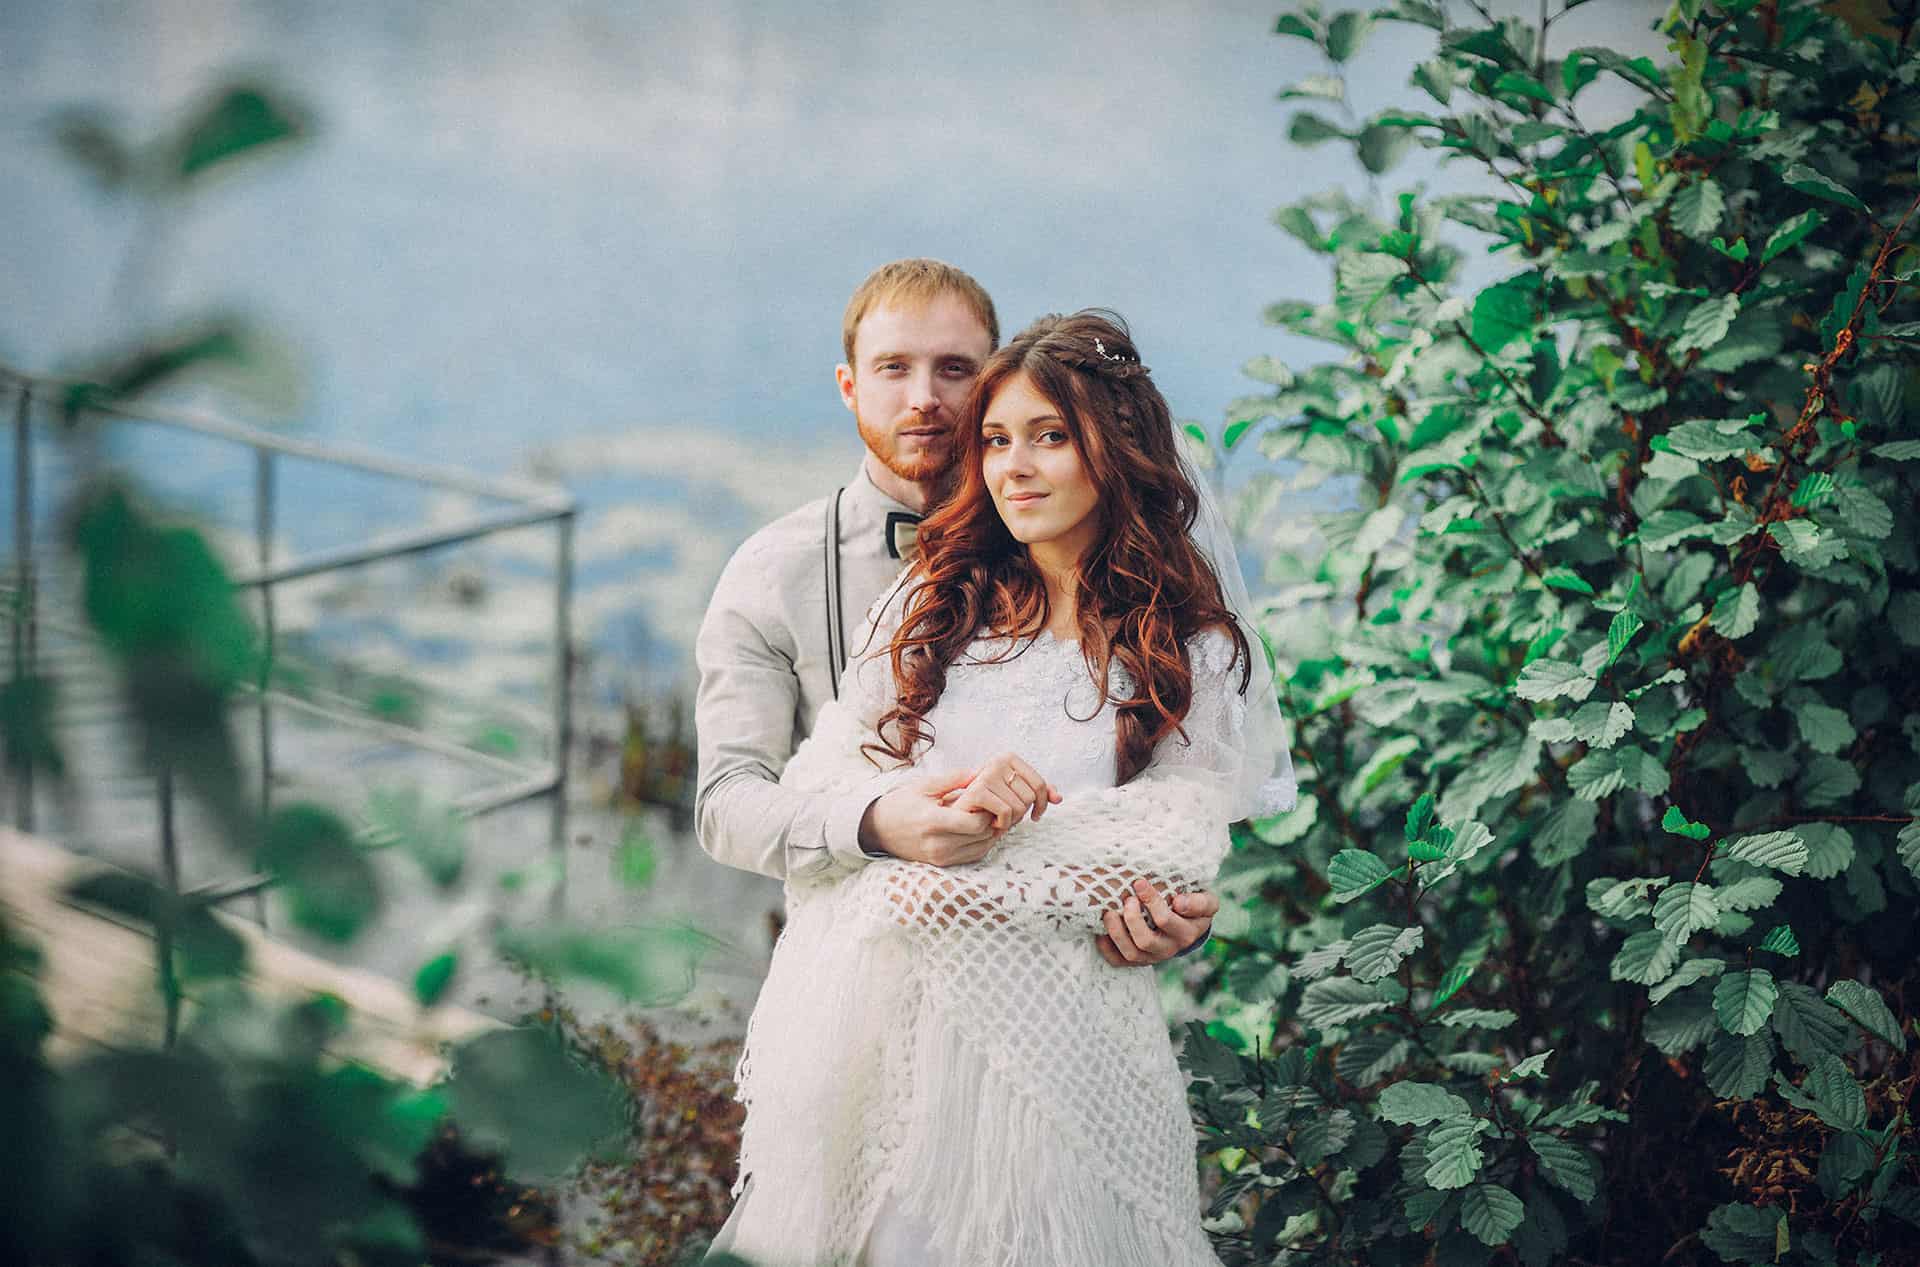
Preview of Final Results
Step 1
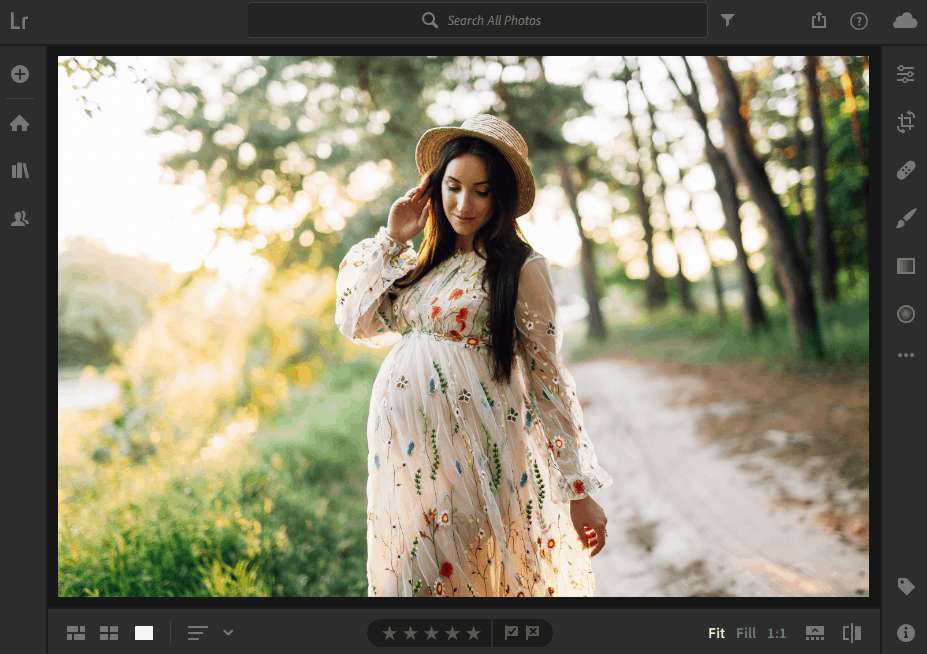
Load a photo into Lightroom. Your photo should be an outdoor photo with some foliage so that you can see the color adjustments we’ll be making.
Step 2
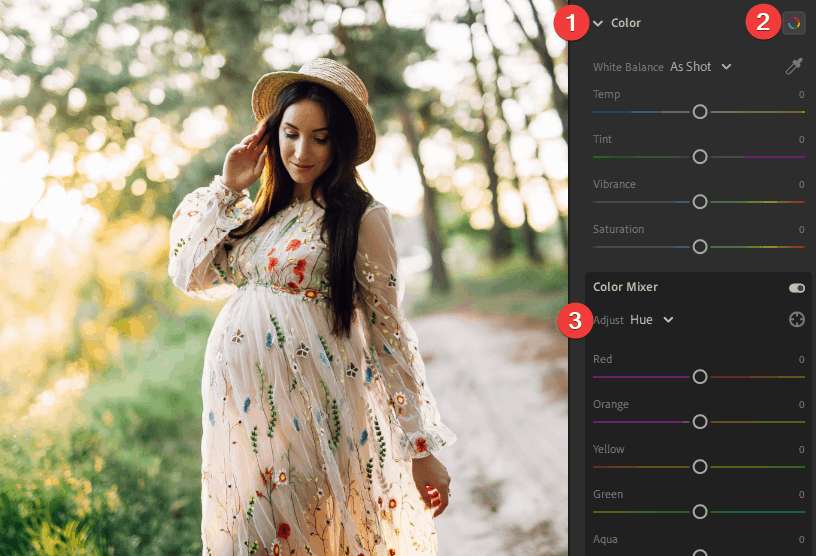
In the Edit panel, go to Color > Color Mixer. Select Hue from the drop-down menu.
Step 3
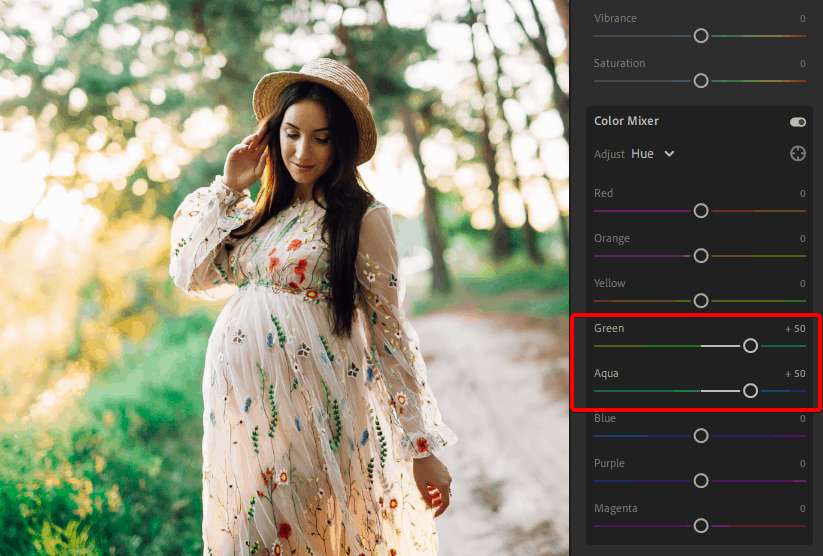
Set the Green and Aqua hue to +50. You can use a higher setting if you want to shift them more towards blue.
As you can see, this simple setting completely changes the look of foliage.
Step 4
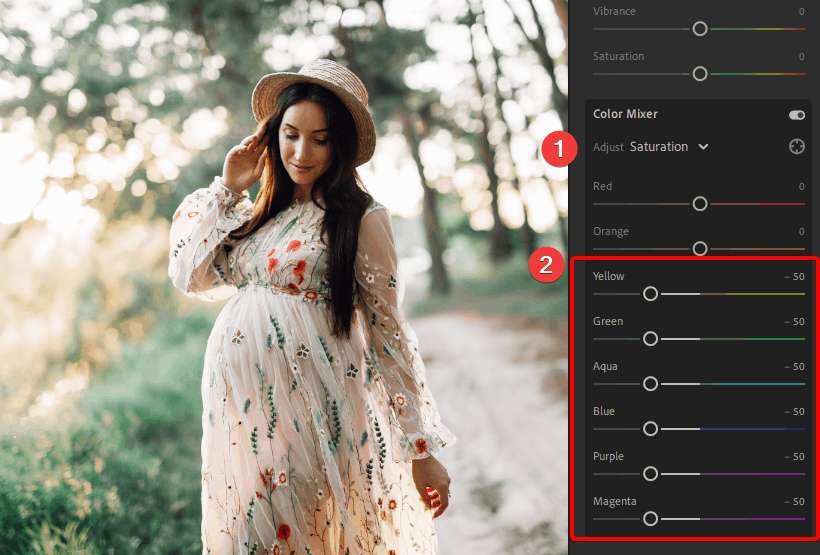
Next, click on the drop-down menu and select Saturation. Set the saturation to -50 for the colors from yellow to magenta. Leave the red and orange settings at 0 so so that your image doesn’t look desaturated. It also protects skin tones.
We now have a beautiful light look.
Step 5
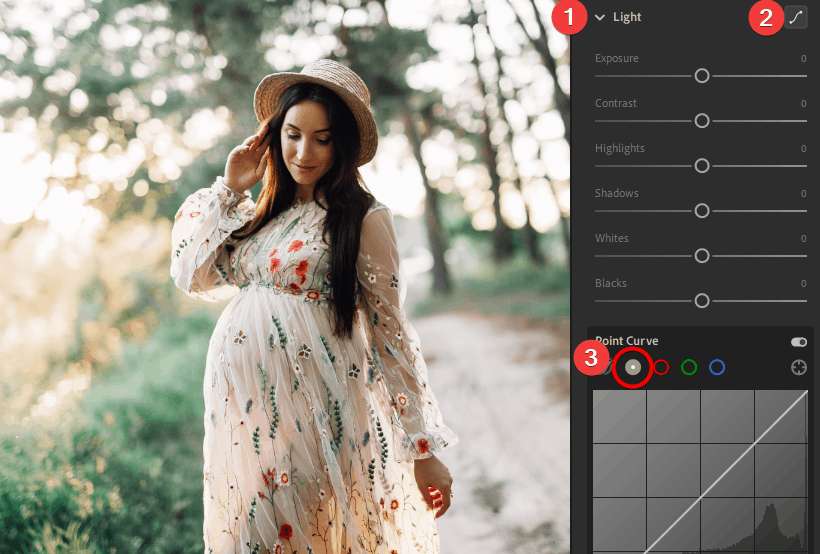
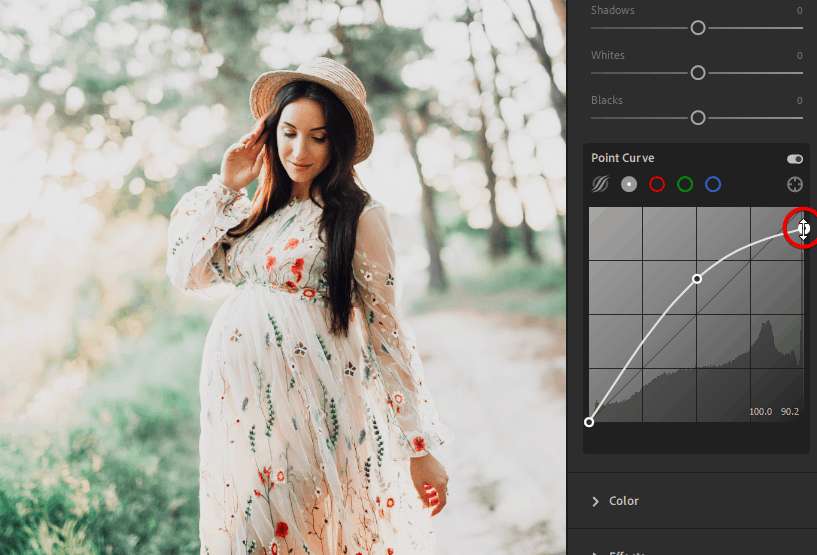
Now let’s use the tone curve to create a light and airy look. Go to Light >Tone Curve. Click on the gray circle to switch it to Point Curve mode. The point curve gives you greater flexibility and we’ll be needing it for the next step.
Step 6
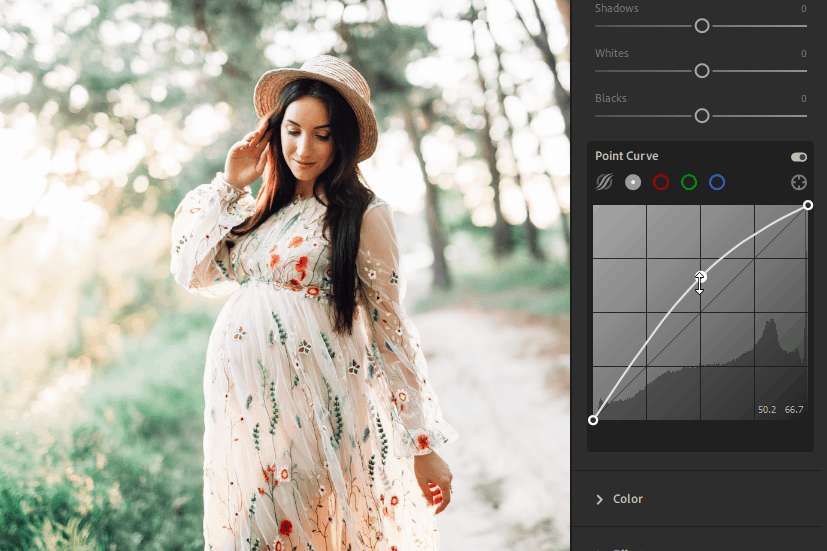
Click on the middle of the line to add a point. Drag this new point upwards until your image is brighten (without overexposing the details).
Step 7
Now, drop the whites by dragging the top-right point downwards. This will make the brightest parts of your image gray giving a matte look. You can skip this step if you prefer to keep the whites white.
Step 8
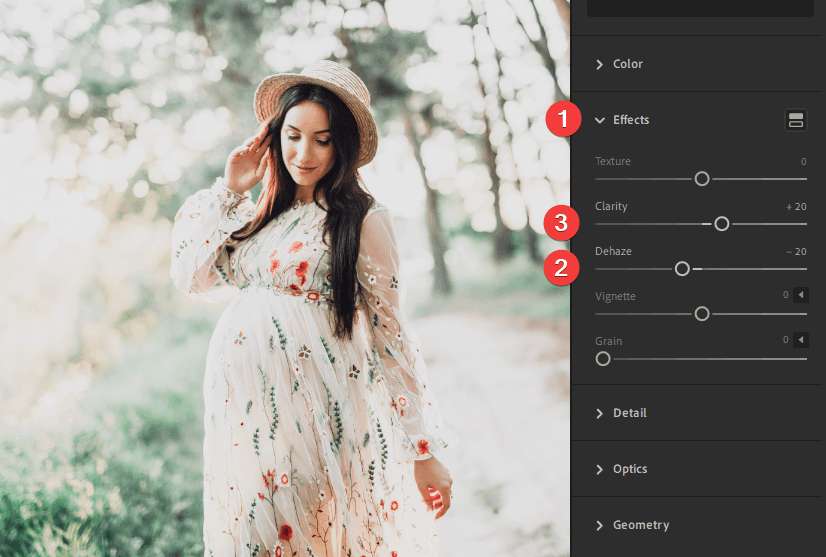
To complete the look, we’ll add an ethereal glow. Go to the Effects section and reduce the Dehaze setting. Use the opposite number in the Clarity setting to bring back some the details. For example, if you use a Dehaze setting of -20, set the Clarity to +20.
Note: If you lighten the Shadows & Black sliders, dark hair will look flat/gray. The Dehaze and Clarity sliders give you a lighter look while keeping dark hair natural-looking.
Final Results
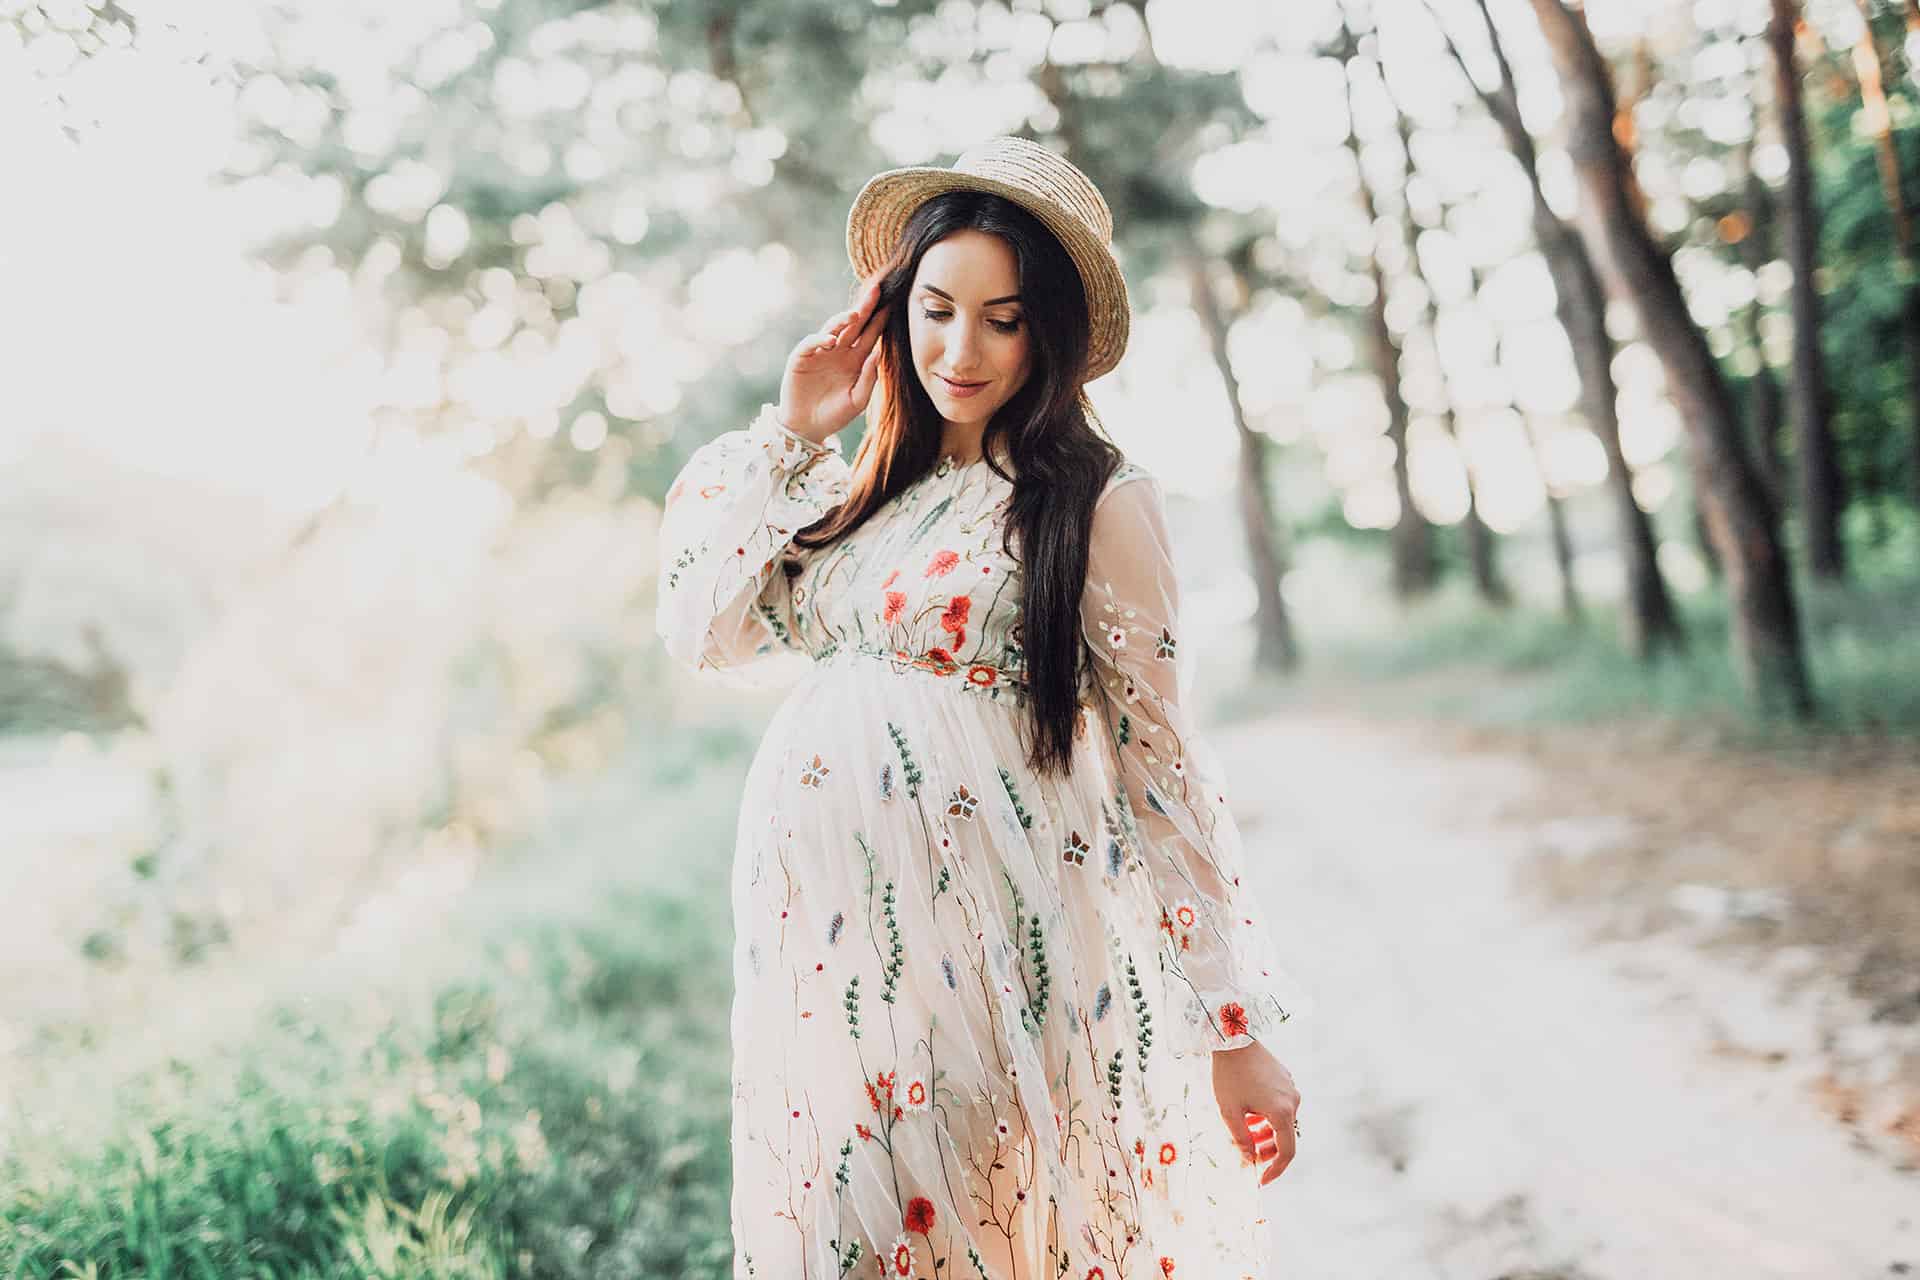
We’re done! This is a quick and easy way to give your photo a light and bright look with vintage colors. Here’s how our image looks like before and after.




Leave a Reply