Achieve a dark and moody look. In this Lightroom tutorial, you’ll learn how to compress the highlights, manipulate tones with the curves adjustment, and make skin tones stand out. This look is ideal for portrait and fashion photography.
Preview of Final Results


Step 1
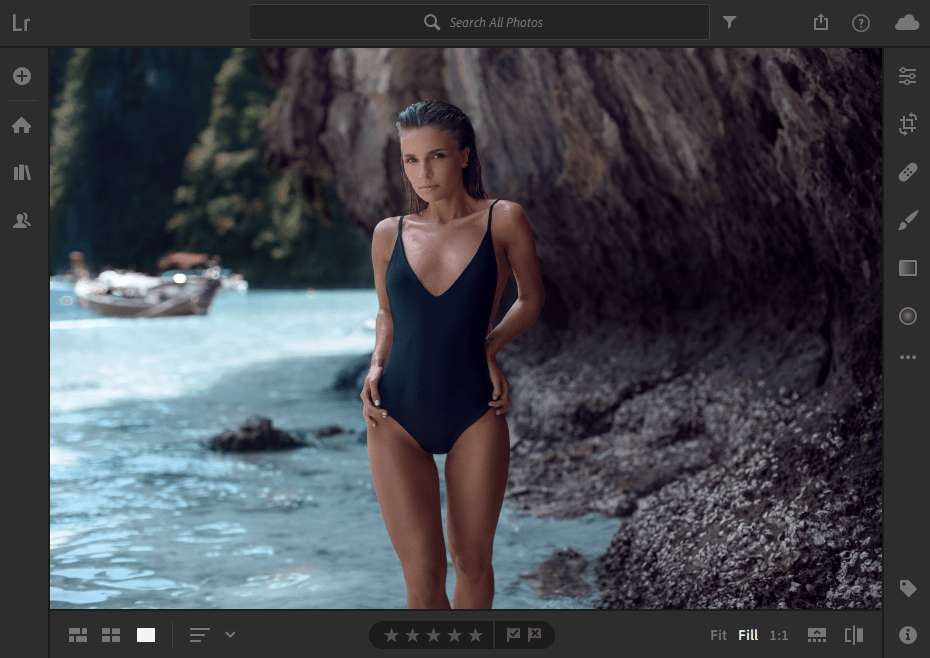
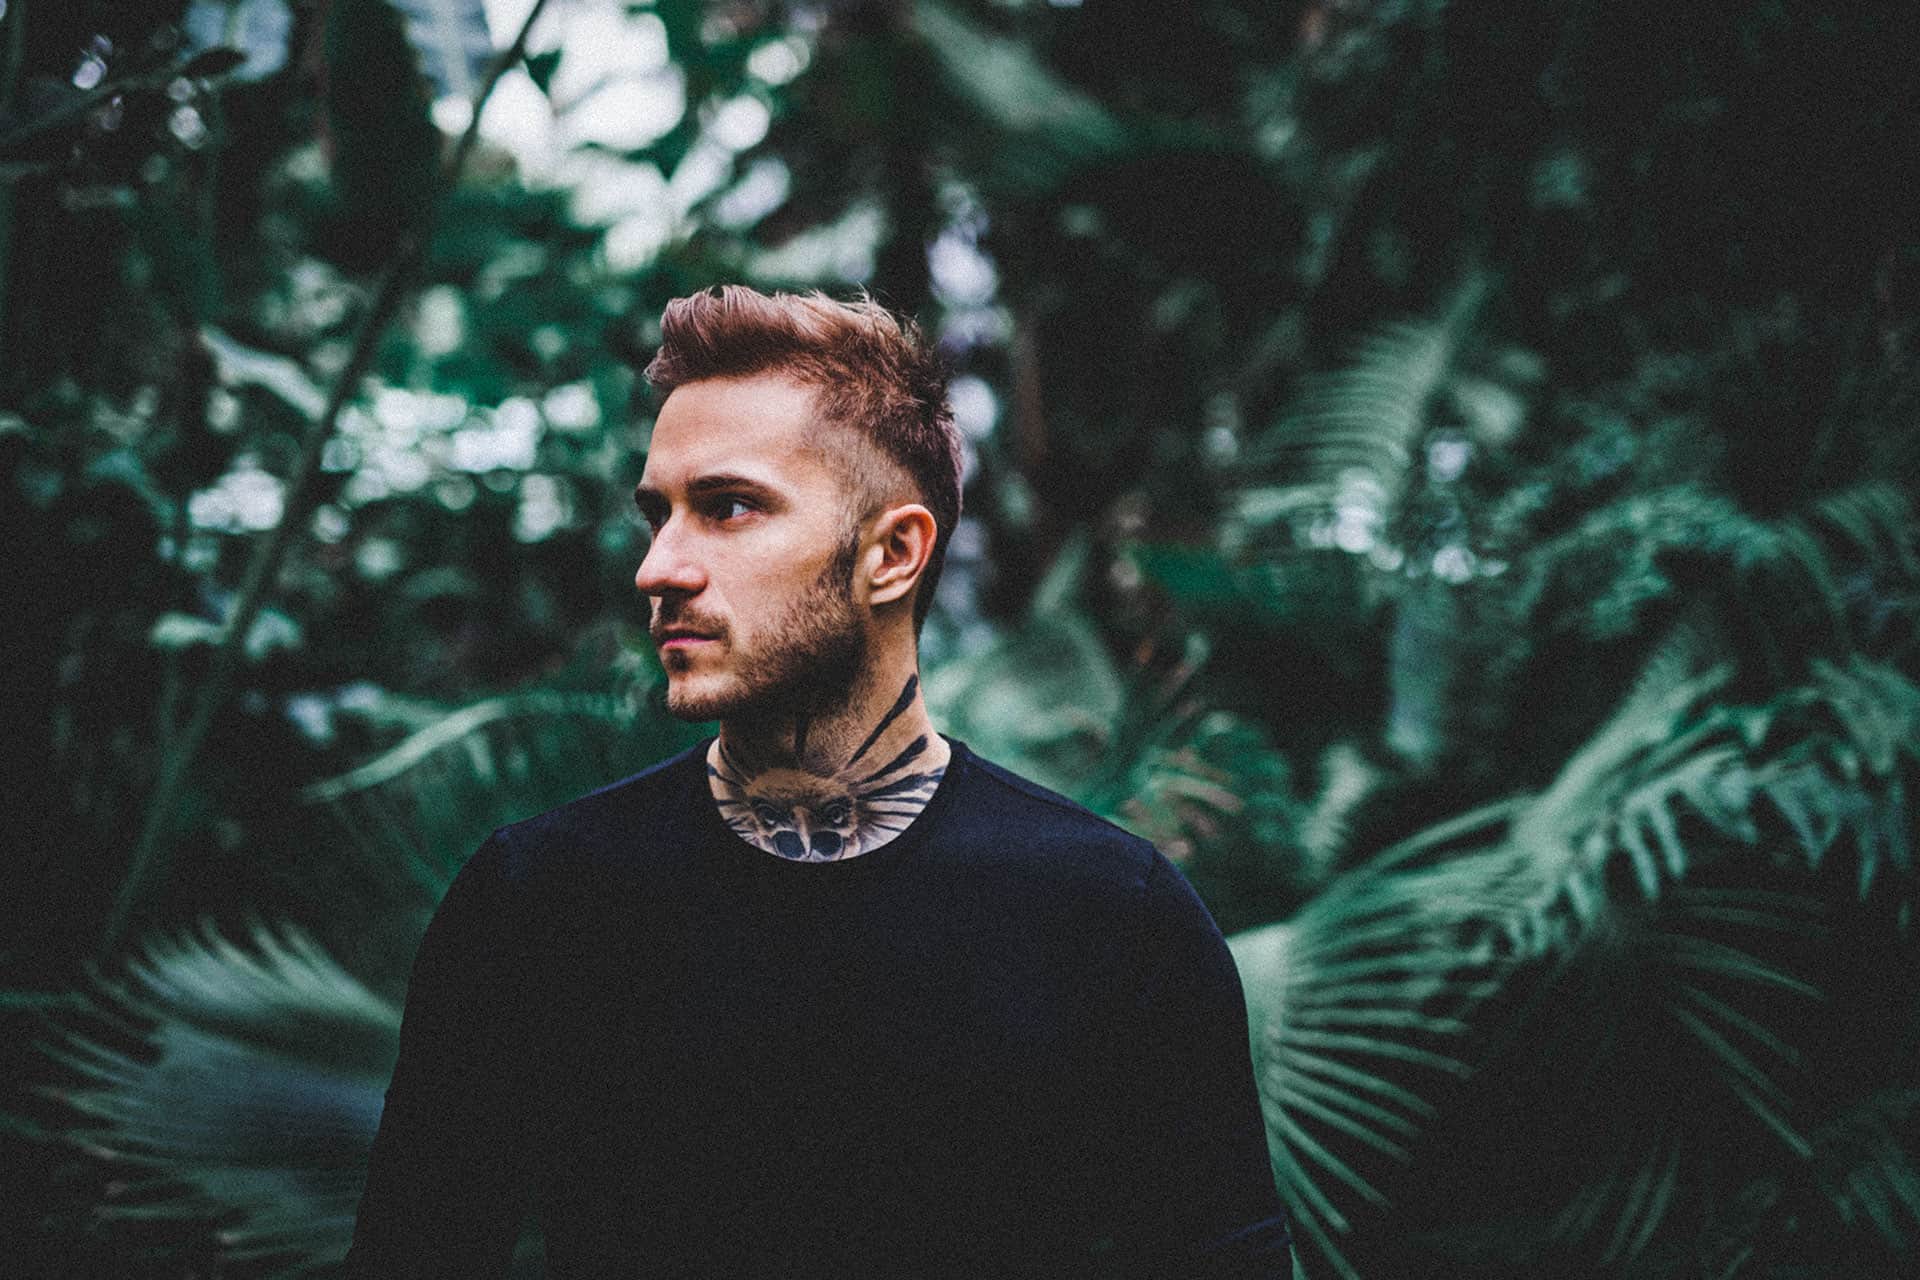
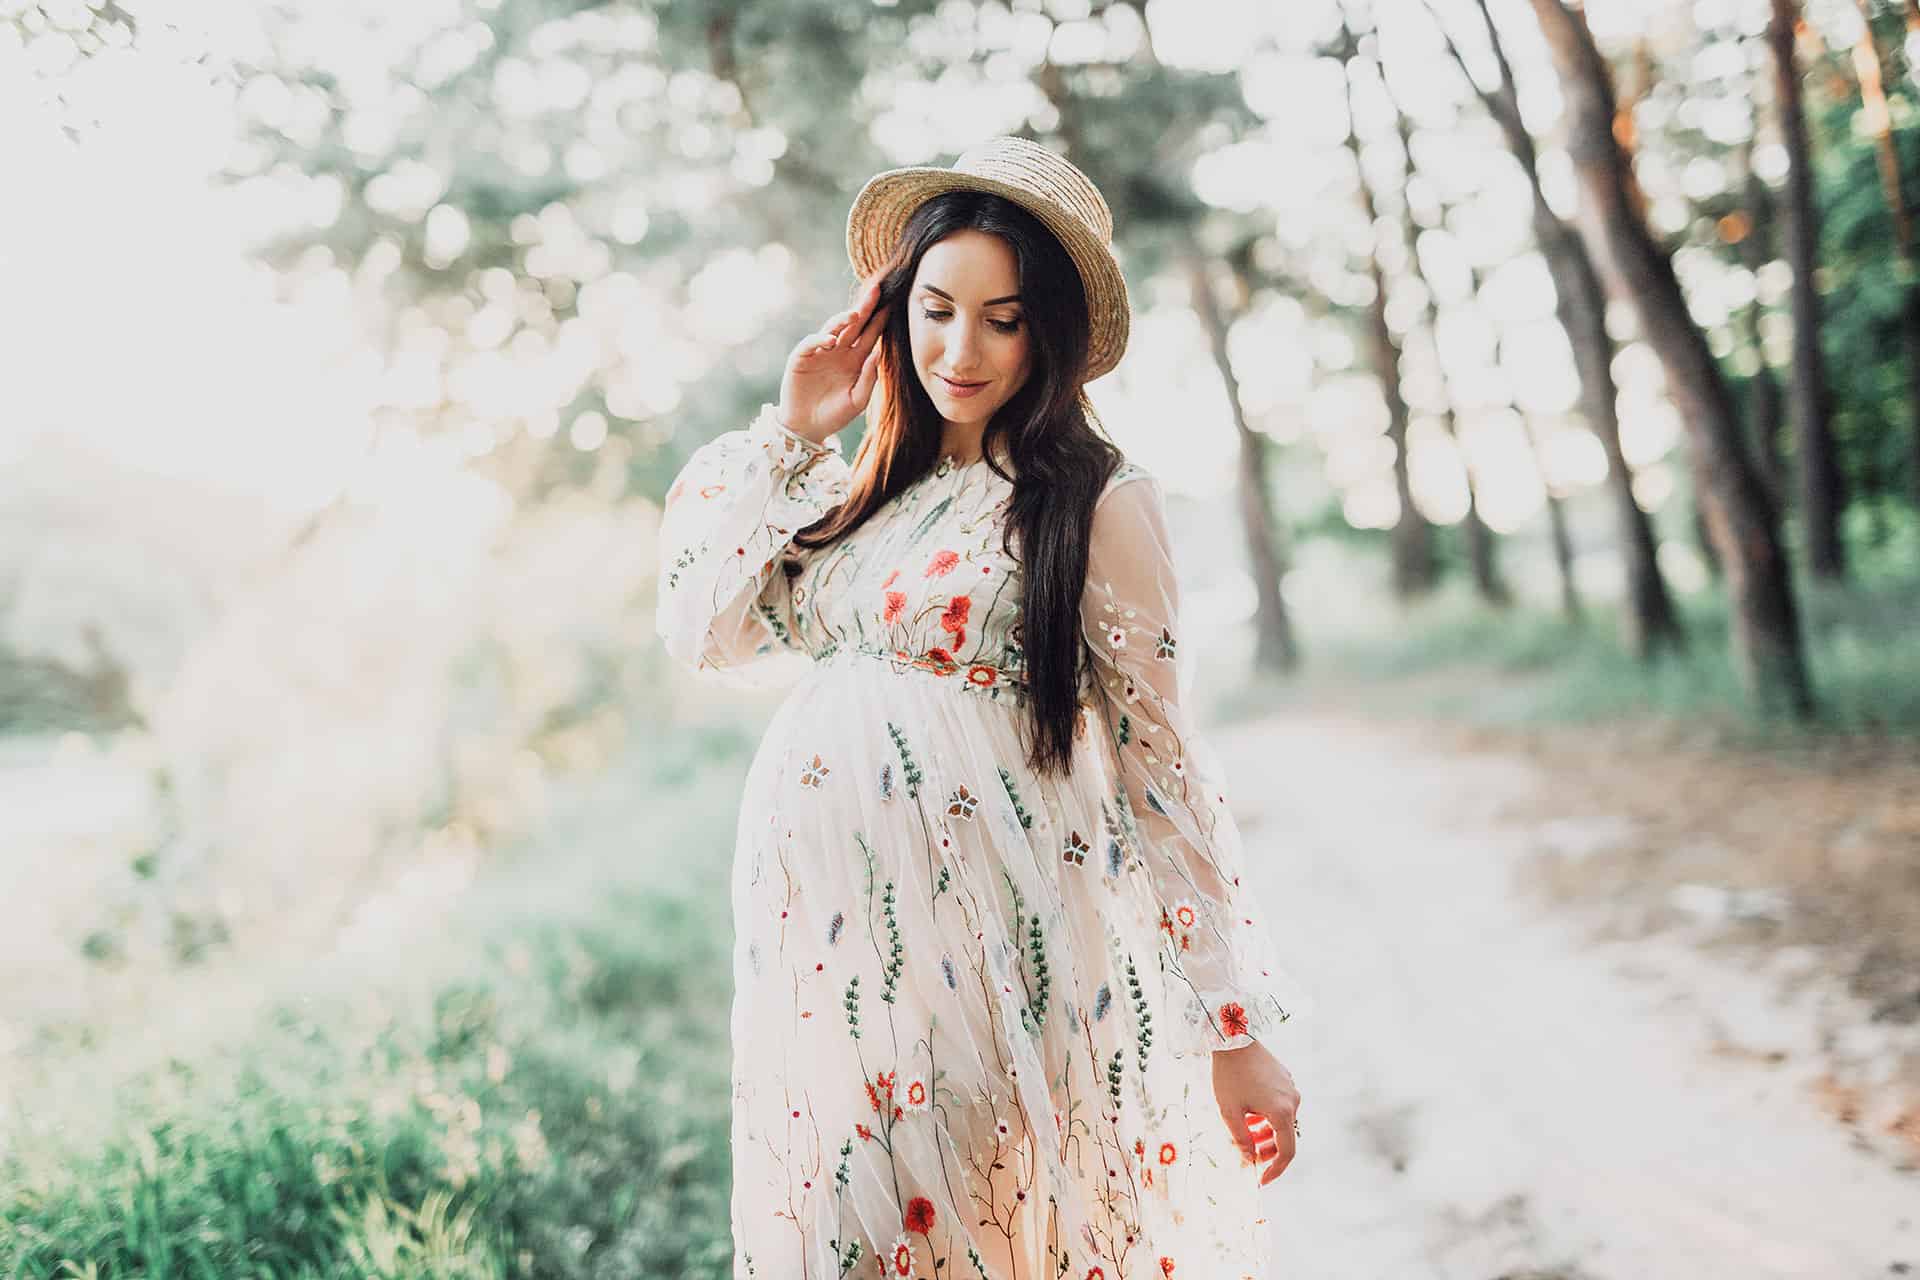
Load a photo of your choice into Lightroom. There should be a person in there because we’ll be altering the skin tones. Here’s the image that I’ll be using for this Lightroom tutorial.
Step 2
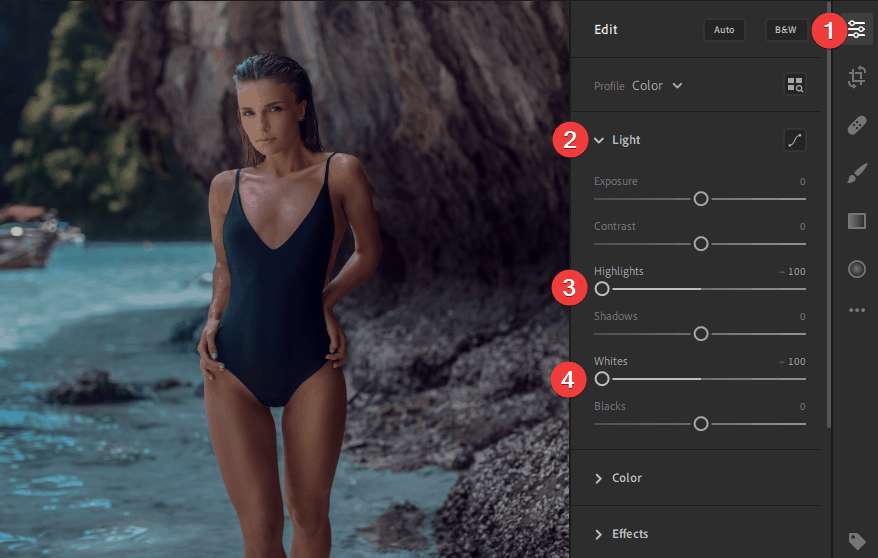
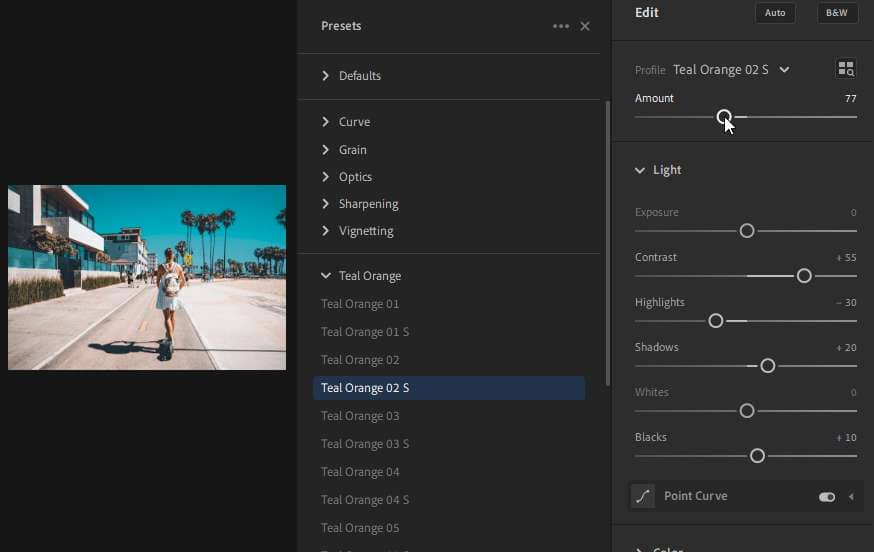
In the Edit panel, go to the Light section. Set the Highlights and Whites to -100. This will make the highlights look flatter than the shadows.
Step 3
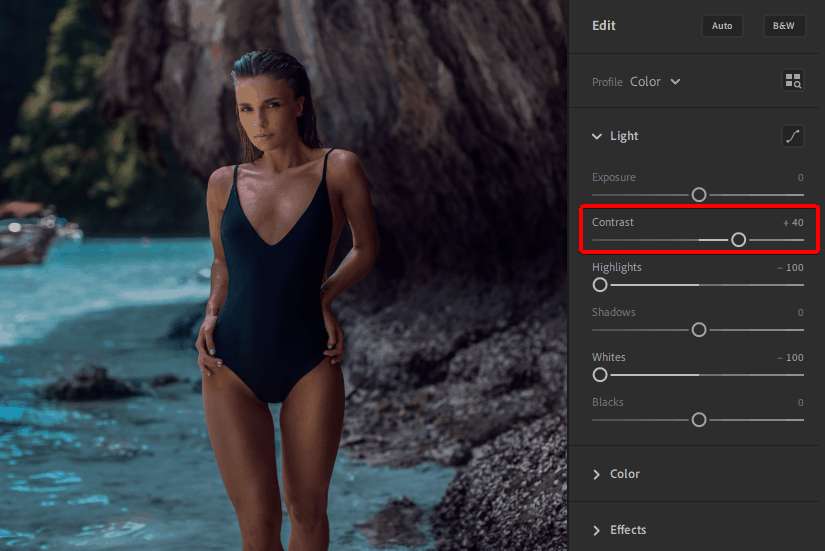
Bring the contrast back up. For my photo, I used a value of 40.
Step 4
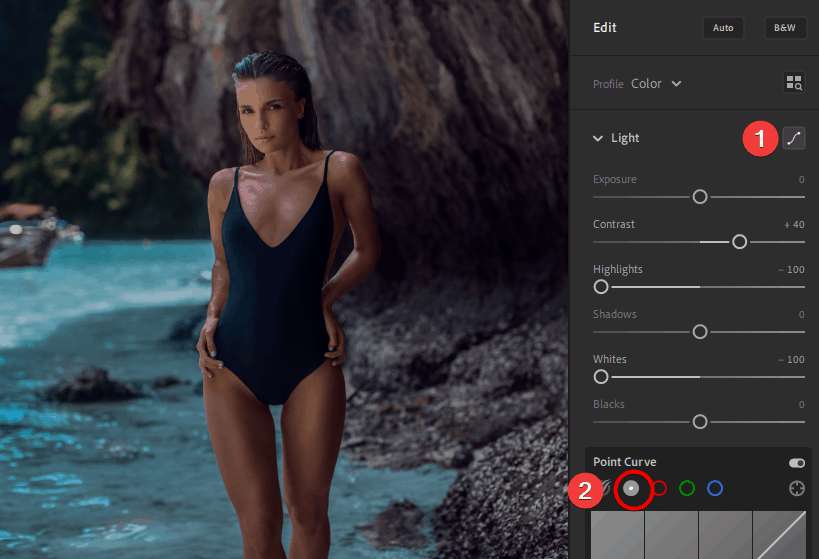
In the Light section, click on the Tone Curve button. Click on the gray circle to switch it to Point Curve mode. The point curve gives you more flexibility and we will need it for the adjustments in the next step.
Step 5
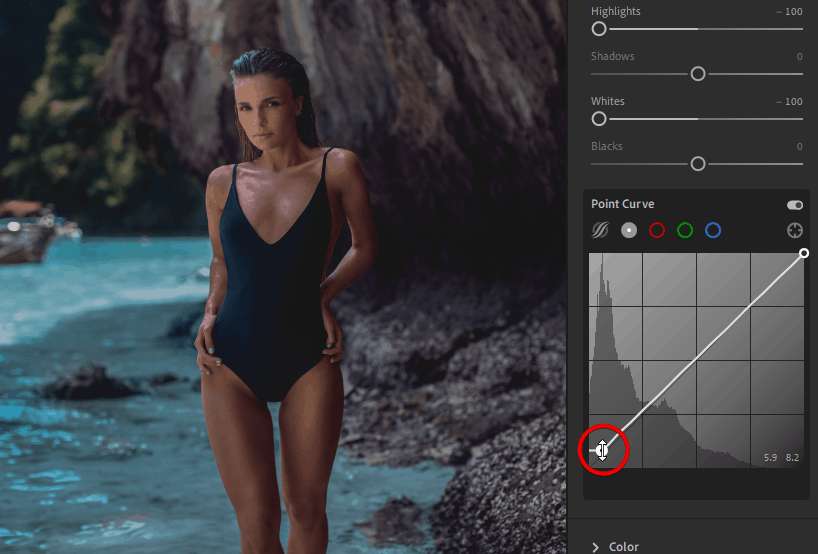
Lift the blacks by dragging the bottom-left point upwards.

Next, crush the blacks by dragging the same point towards the right.
Step 6
To add some midtone contrast, add a point by clicking at the middle of the line. Add one more point at the middle-left and drag this downwards slightly to create a subtle s-curve.

Step 7
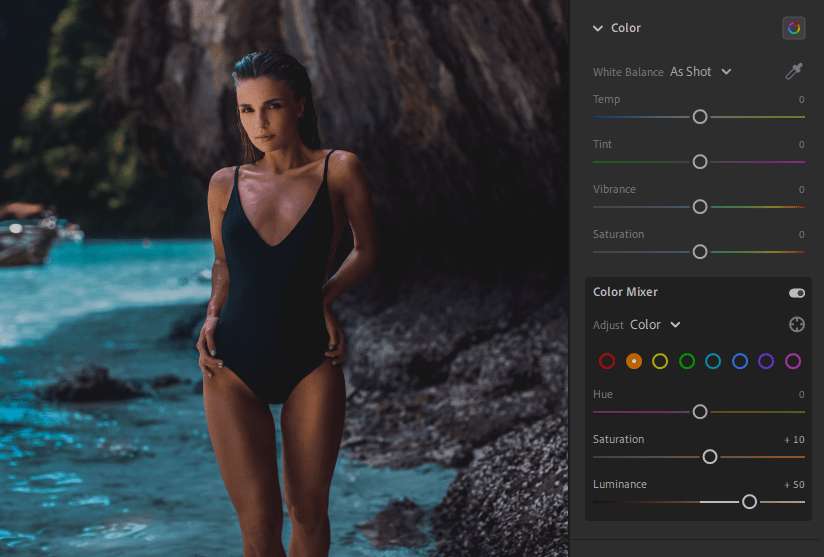
We now have the dim look, but I don’t want the skin to look underexposed. To fix this, go to the Color > Color Mixer. Select Color from the adjust dropdown menu.

Step 8
Set the orange saturation to +10 and luminance to +30 to 50 depending on how bright you want the skin tones to be. The skin now looks brighter and contrast the dark background.
Step 9
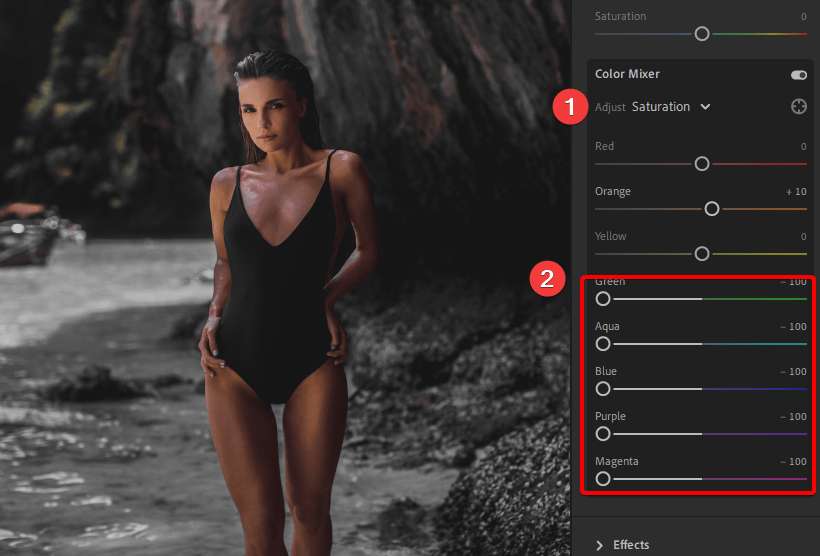
In the Adjust dropdown menu, select Saturation. Set the saturation from green to magenta to -100. This will give a semi-bw look that will add to the moody look.
Step 10
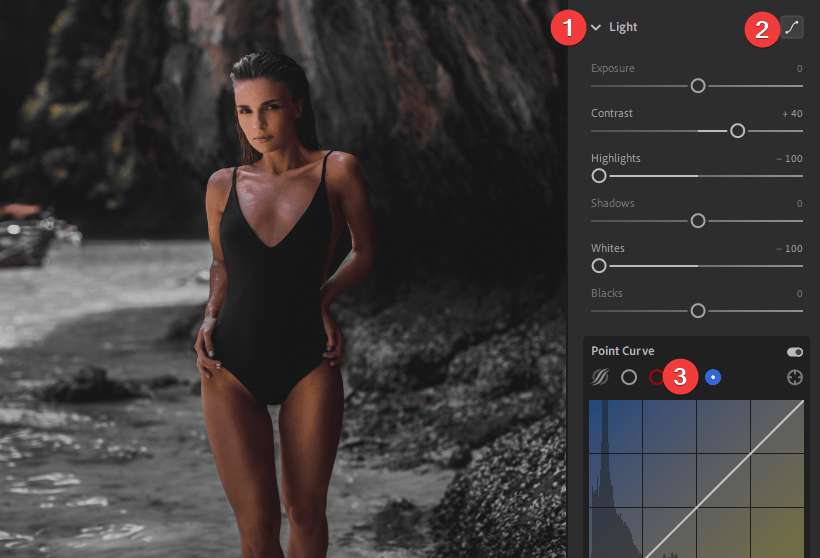
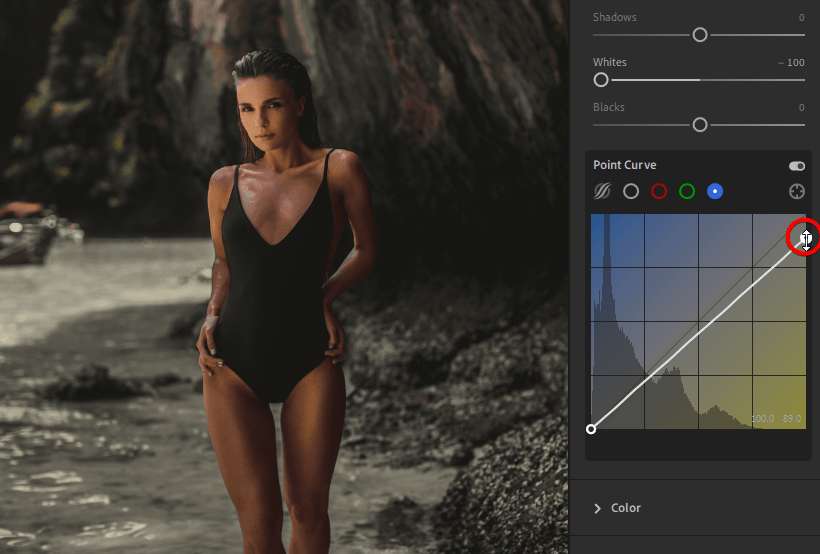
Finally, we’ll give the photo a warm tint. Go to Light > Tone Curve > Blue Channel.
Step 11
Drag the top-right point downwards. This will tint the highlights yellow.
Step 12
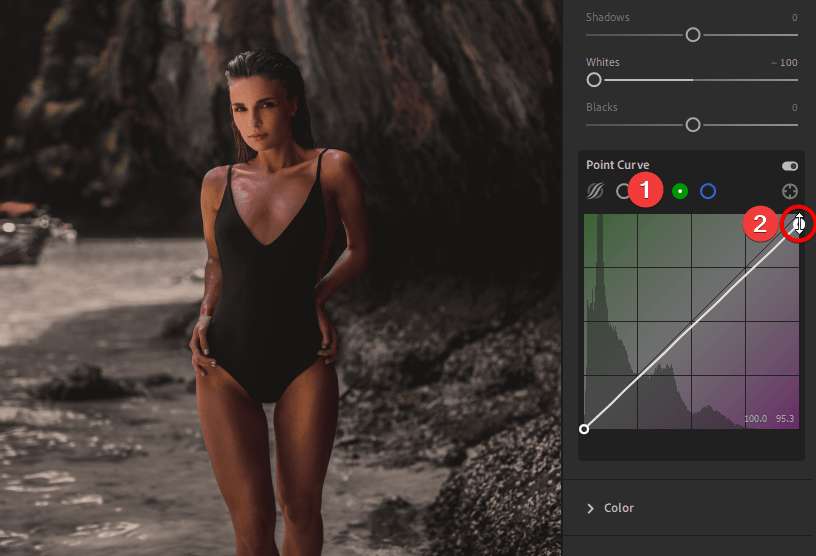
Switch to the green channel then drag the top-right point downwards slightly. This will tint the highlights magenta. When you combine the yellow tint with a little bit of magenta tint, you’ll get orange.
Final Results
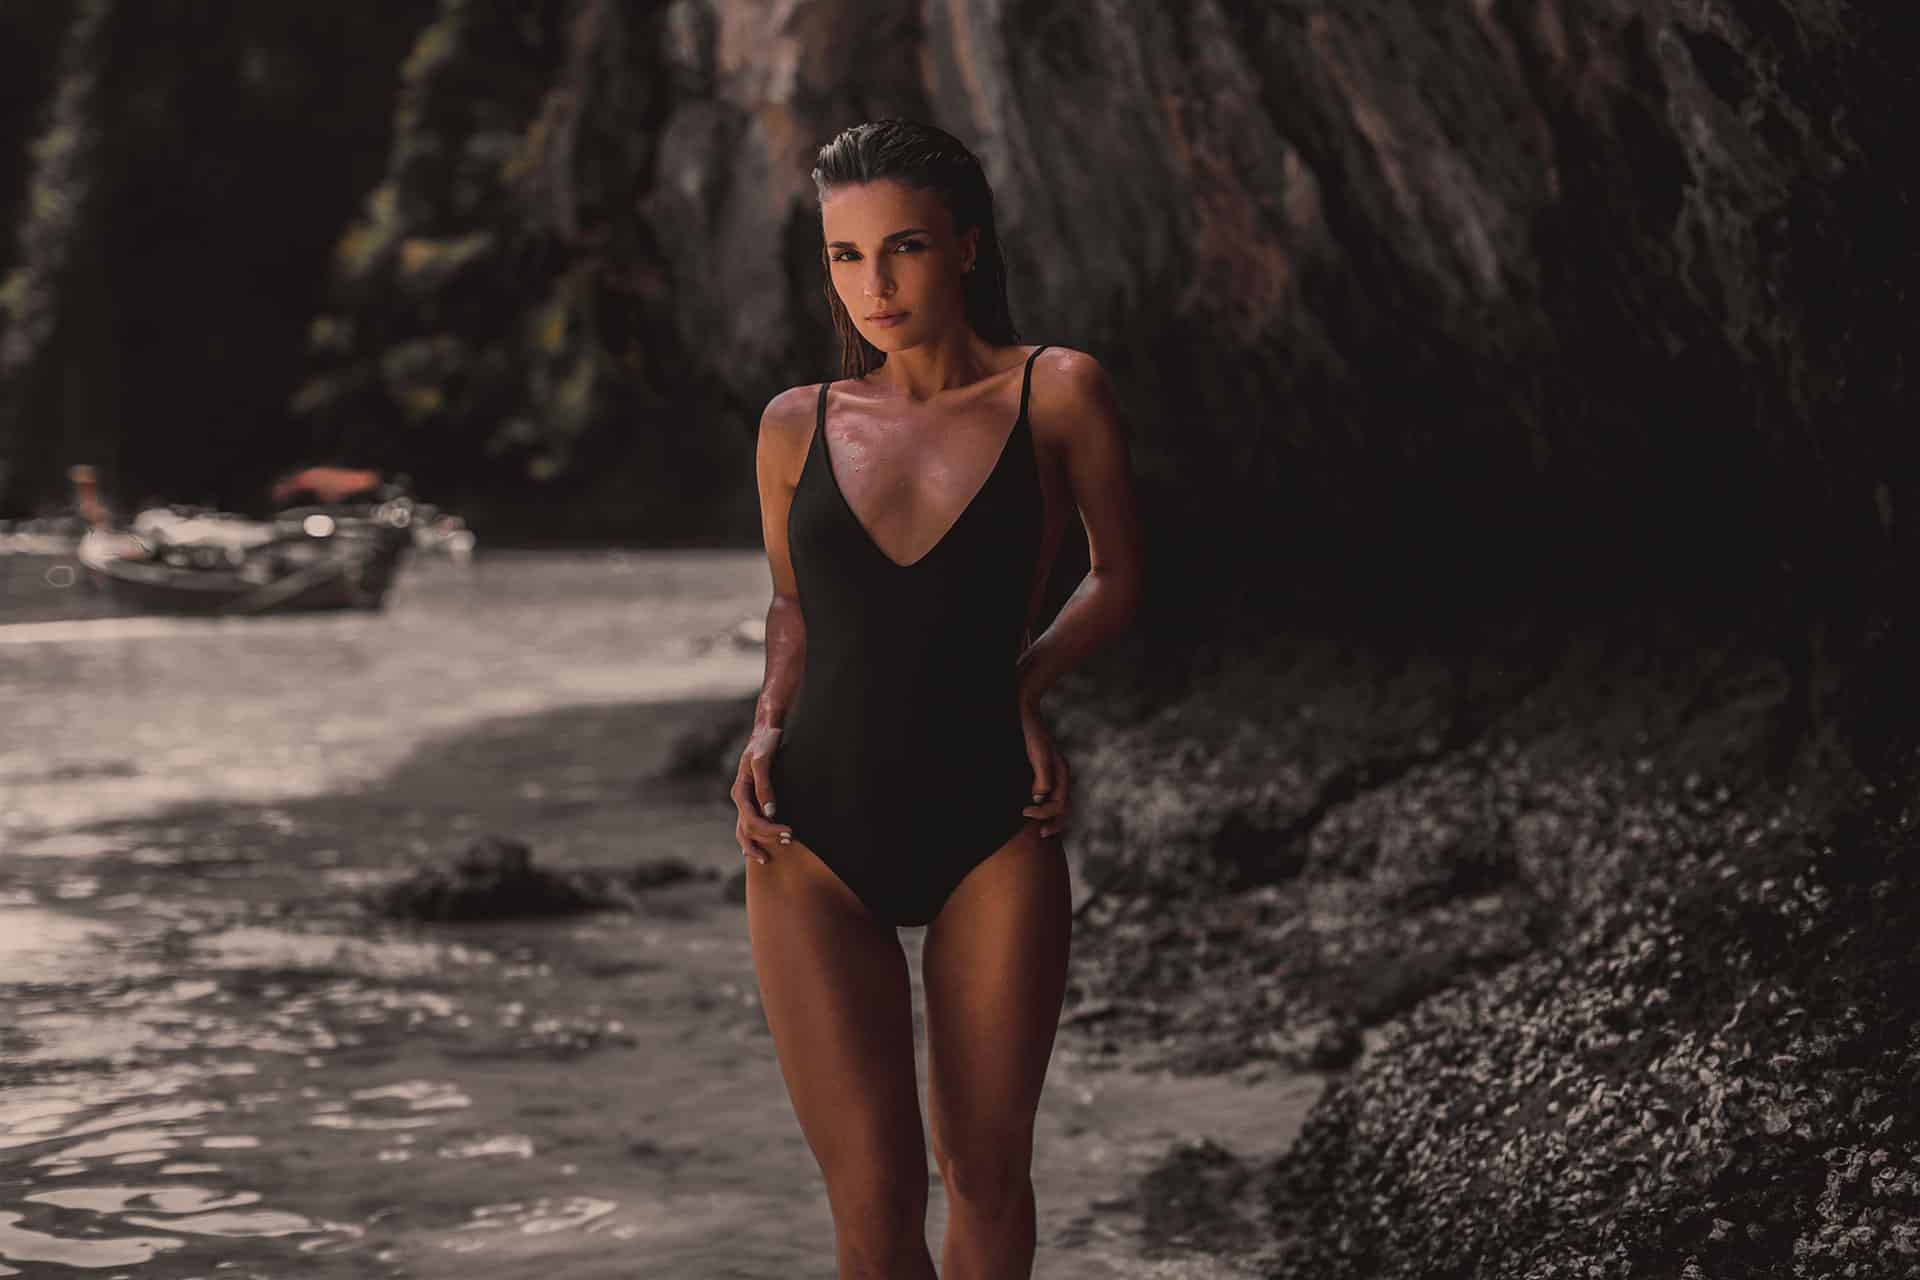
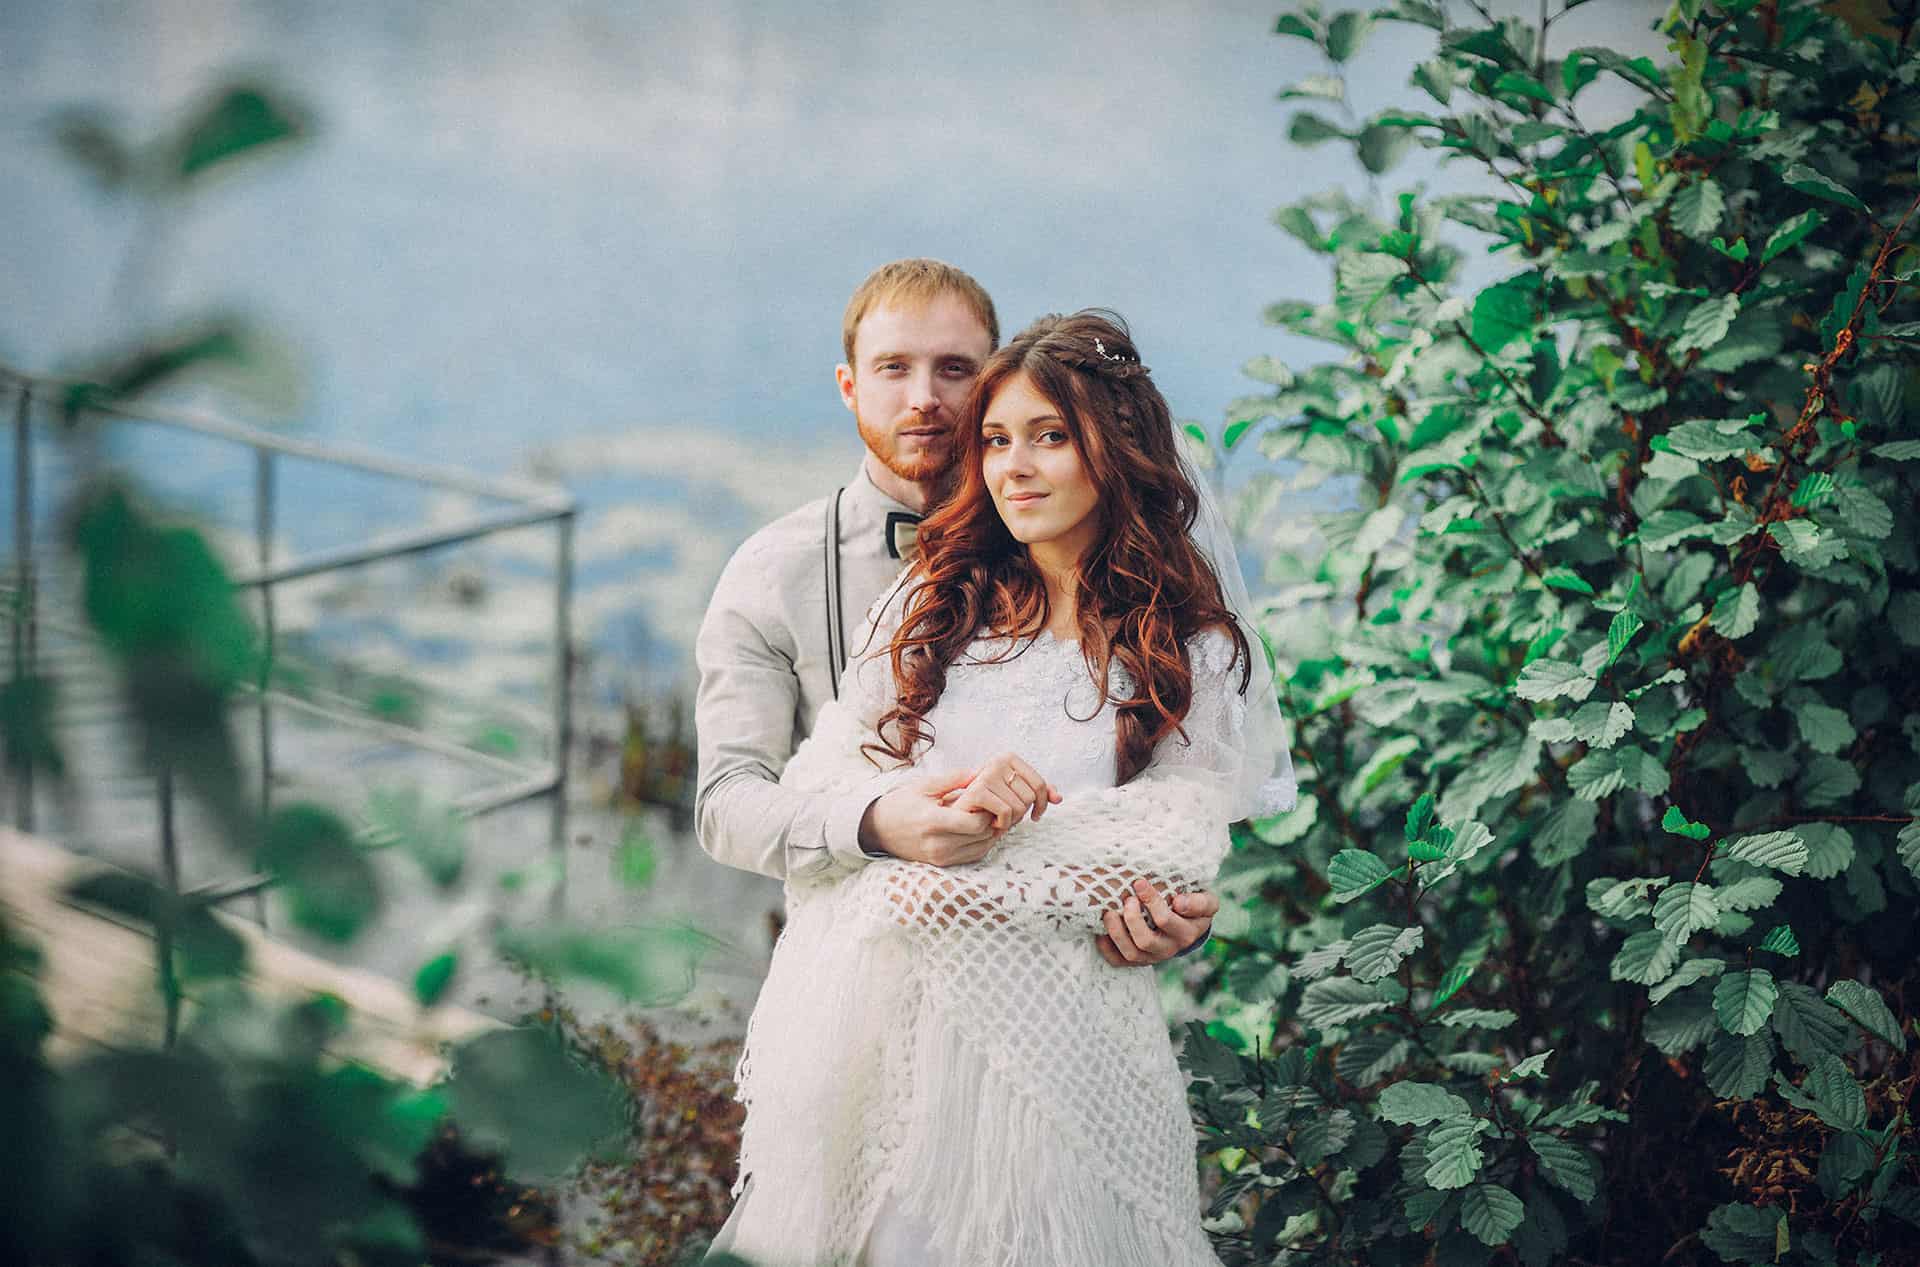
We’re done! Here’s how the image looks like before and after.



Leave a Reply