Have you ever wanted to give your photos a hipster retro look? Like the look that Holga and other Lomo cameras create? This Lightroom tutorial will show you how to create this look using a combination of settings. Best of all, you can create a preset out of this and apply it to any photos using one click. Follow this tutorial then download the free Lightroom preset!
Step 1
Start by loading the image into Lightroom and going into the Develop module. Here?s the image that I?ll be editing.

Step 2
Go into the Split Toning area then input the settings shown below:
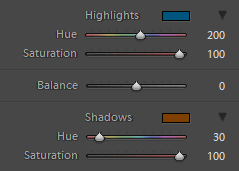
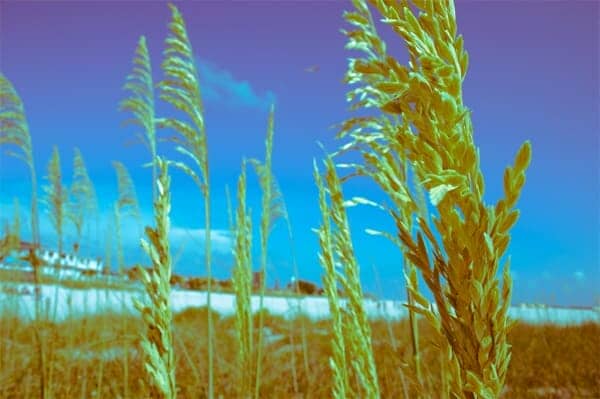
You?ll get a nice cross process color effect like this. The Split Toning settings are a great way of creating your own cross-process/lomo effect. If you use lower saturation settings, you can create a light color setting suitable for portraits or wedding photos. We?re going to leave the saturation at 100 for both the highlights and shadows because we?re trying to create a retro looking effect in this tutorial.

Step 3
Next, we?re going to add a Post-Crop Vignette. You can find these settings under the Effects area in the Develop module. Apply the settings shown below. You can vary the settings according to your preference.
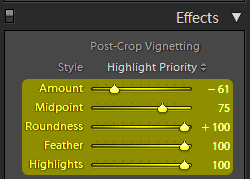
Here?s what the vignetting looks like. It?s already starting to look like a retro lomo photograph!

Step 4
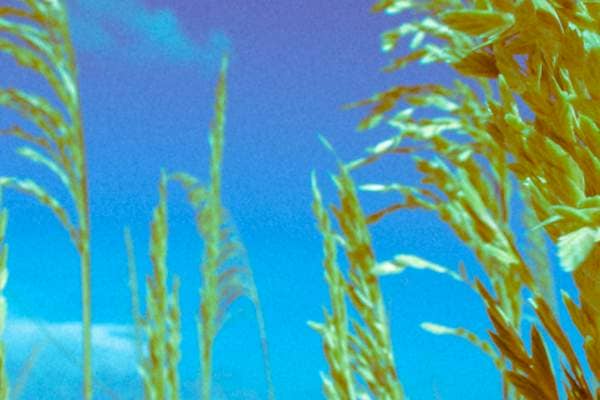
Next, we?re going to add a little bit of grain. This will help give a little character to the photo. Apply the settings as shown below.

You?ll get some film grain like this.
Step 5
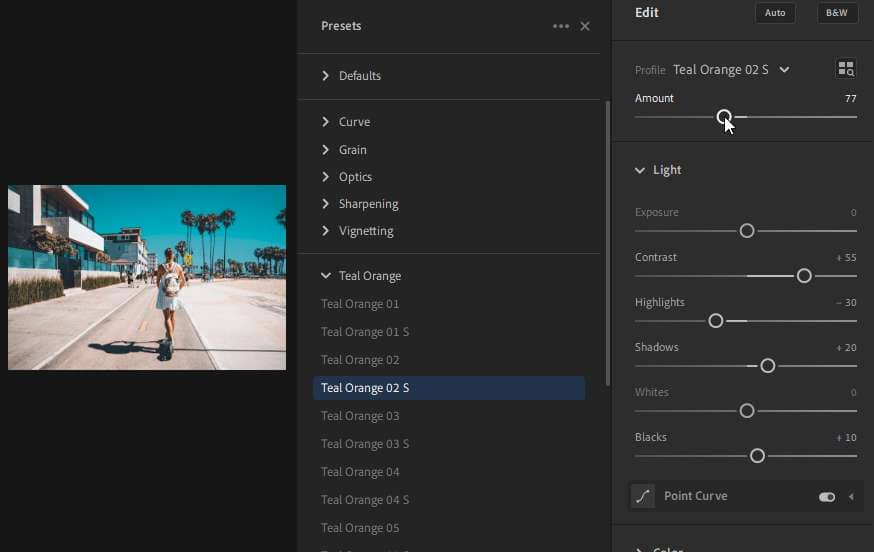
Finally, we?re going to create a preset so that you can apply this to any of your photos. In the Presets panel, click on the + icon to add a new preset.
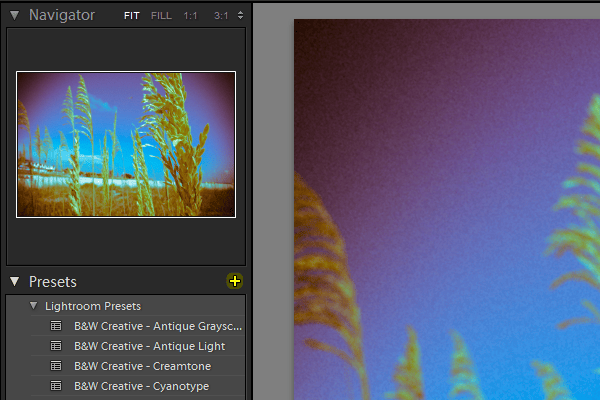
I?m going to name mine Cyan/Orange Cross Processing. You can name your preset anything you like. Click on the Check None button. Don?t click OK yet.
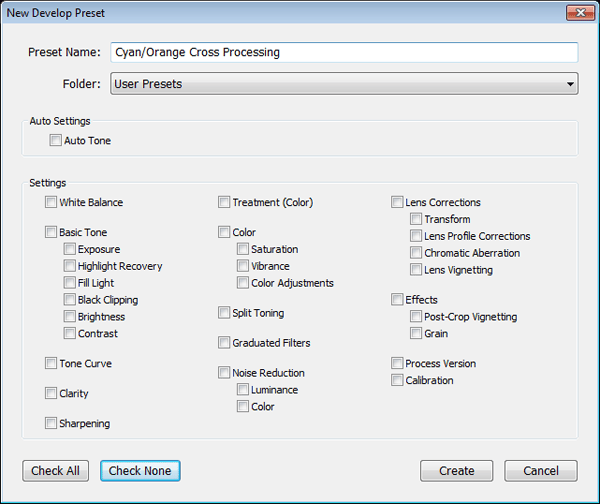
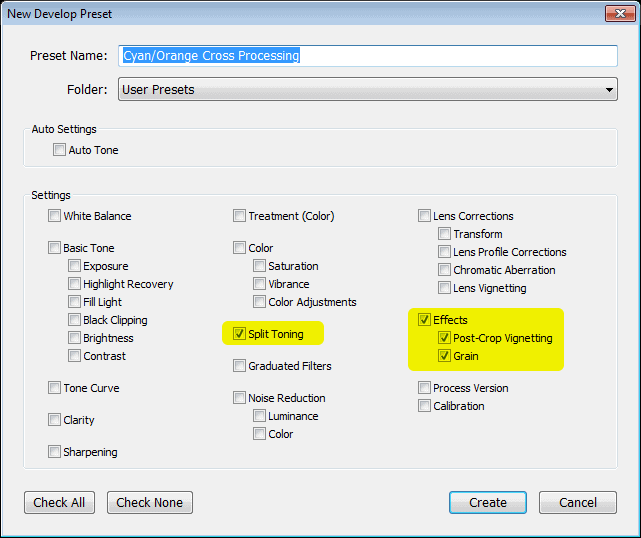
We only want to select the settings that we actually changed; that way you can apply it to all your other photos without conflicting with the other settings. Enable the Split Toning and Effects settings then click on the Create button.
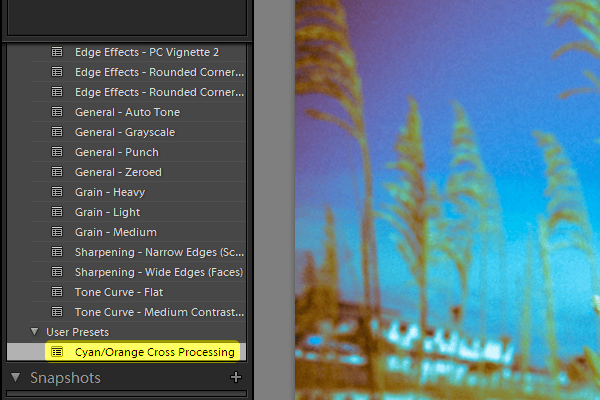
Your preset will now show up in the Presets panel under ?User Presets?.
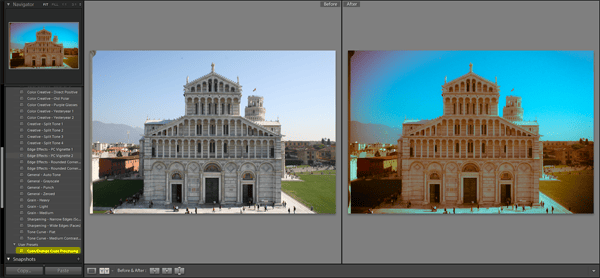
If you want to apply it to another photo, just select the photo then click on the preset you just created. It?s as simple as that!
Download the Preset
In case you had any troubles with the Lightroom tutorial or you just didn?t want to follow it, here?s a Lightroom preset that you can download and import.
[button link=”https://www.lightroomtutorials.com/wp-content/uploads/2011/11/Cyan-Orange-Cross-Processing1.zip”] Give it a try! Download this free Lightroom Preset[/button]


Leave a Reply