The most requested Lightroom feature is opacity control. Everyone has been asking Adobe to enable opacity for their presets. It’s finally here, but where is it? In this tutorial, you’ll learn why your presets don’t have opacity control and how to enable it.
Why don’t my presets have opacity control?
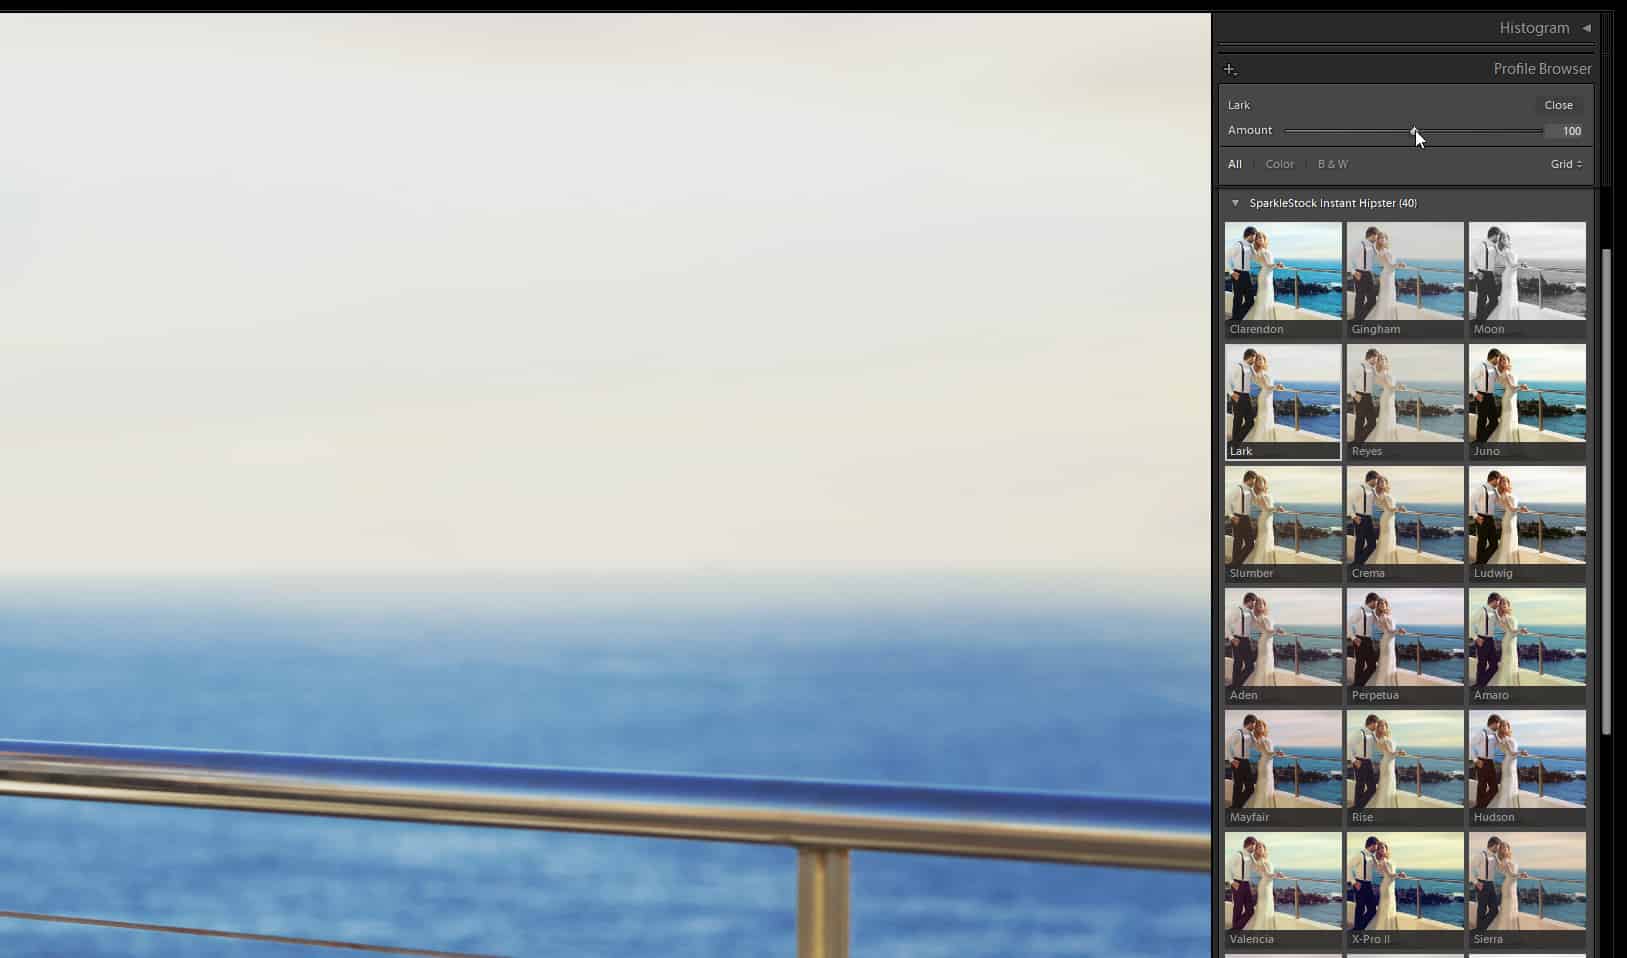
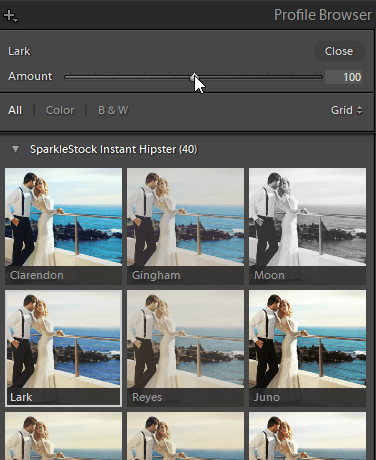
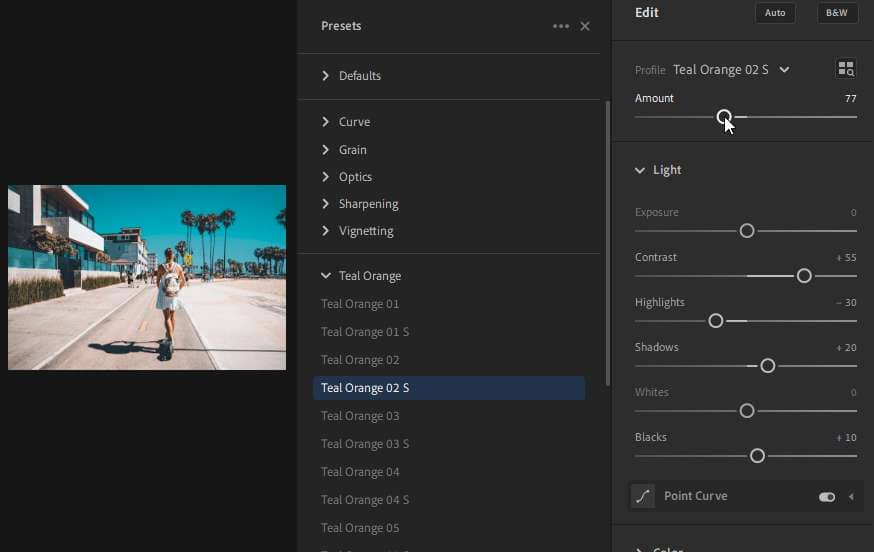
The opacity slider is actually inside the profile settings. You cannot change the opacity of presets, but you can do so with profiles. The problem is that very few preset creators know how to create these new presets. Most Lightroom presets are outdated and that’s why you can’t find the opacity slider.
How to Enable Opacity for Lightroom Presets
To enable opacity control for your Lightroom presets, you need to create them using Lightroom profiles. Here’s a tutorial by Denny’s Tips on how to upgrade your presets to use Lightroom profiles. Note that you’ll need Photoshop CC to do this.
- Open Photoshop CC. Go to Filter > Camera Raw Filter.
- Go to the Presets tab and apply your preset.
- On the bottom-right of the presets tab, hold Alt/Option and click on the “New Preset” button. This will open the “New Profile” tool.
- Give your?profile a name and checkmark all of the settings that you’d liked to move into a profile.
- Go to the Basics tab > Profile Browser and click on your new profile.
- Go back to the Presets tab and click on the “New Preset” button. This time, don’t hold the Alt/Option key.
- Uncheck all of the settings and enable only the “Profile” and “Process Version” settings. Give your preset a name then click OK.
- Before testing your preset, hold Alt/Option and click on the “Reset” button (The cancel button changes into a reset button when you hold Alt/Option).
- Apply the new preset.
The new presets are stored in these folders. You can load them into Lightroom CC or Lightroom Classic CC.
- Mac: ~/Library/Application Support/Adobe/CameraRaw/Settings
- Windows: C:\Users\[username]\AppData\Roaming\Adobe\CameraRaw\Settings


Leave a Reply to Ideas1234Cancel reply