This Lightroom tutorial will teach you how to install Lightroom presets that you’ve downloaded. The instructions are the same for Mac and Windows.
Importing Lightroom Presets
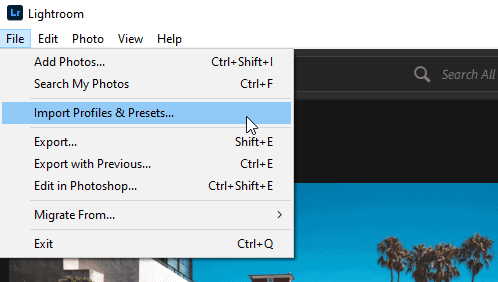
In Lightroom or Lightroom Classic, go to File > Import Profiles & Presets. Import your Lightroom presets. There are three formats of Lightroom presets that you can import:
- .zip archive is the most convenient way of importing presets
- .xmp presets are the standard Lightroom preset format
- .lrtemplate presets are made in older version of Lightroom and may only be partially supported
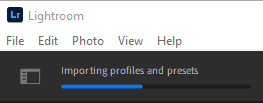
Wait for the presets to finish importing.
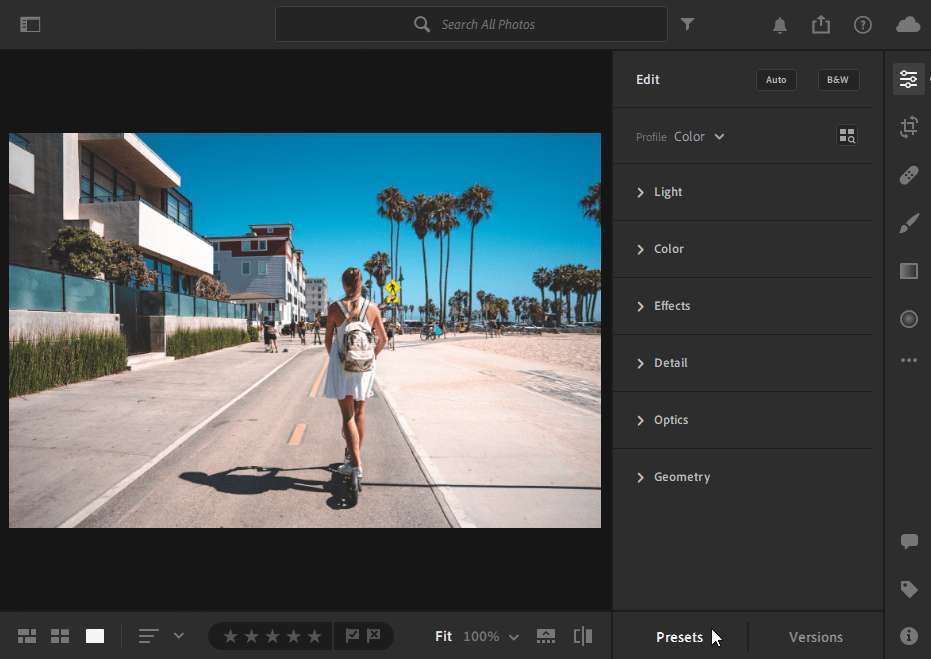
Finding the Presets
Press “E” to go to the Edit section. Near the bottom, click on the Presets button.
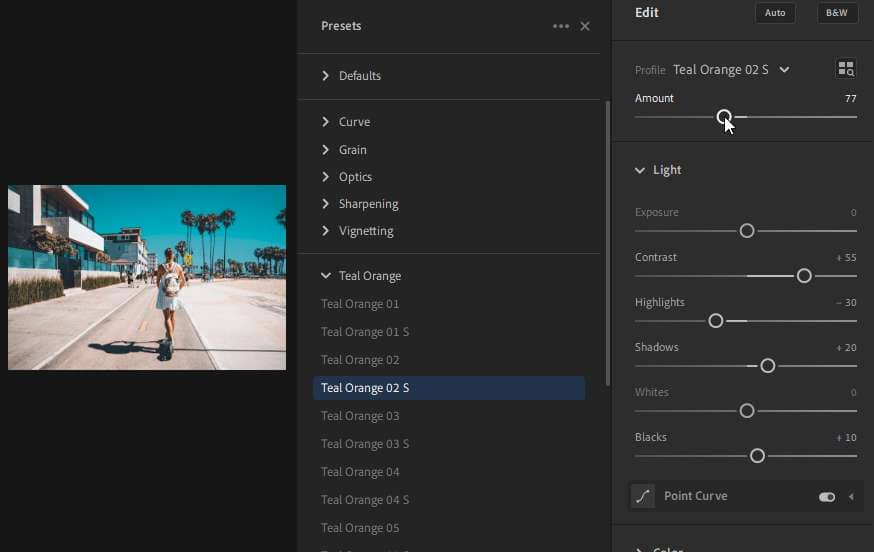
You’ll find the presets in the Presets section. Hover over the presets to preview them then click to apply your chosen preset.
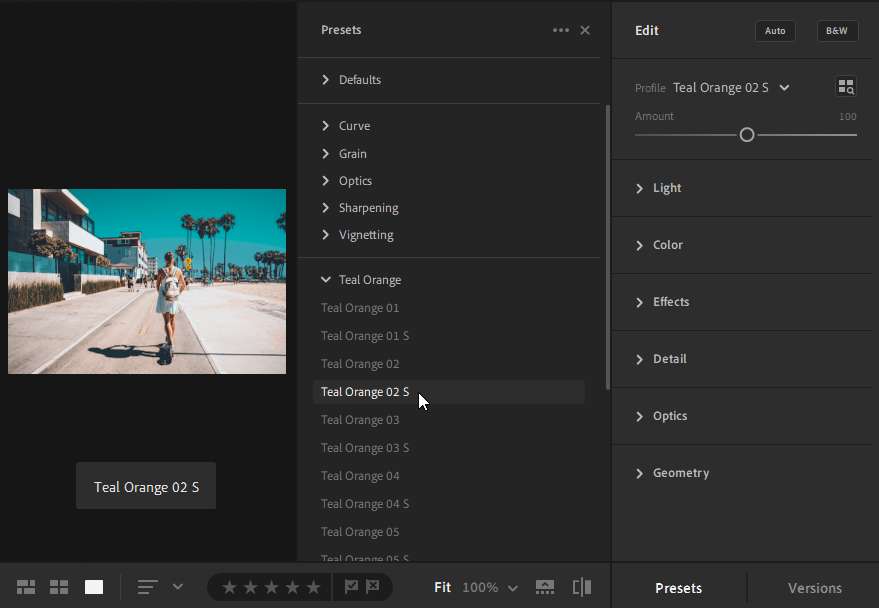
Adjusting the Preset
In the Edit panel, you’ll find the preset adjustments. Adjust the Amount slider to vary the strength. This feature is only available if your Lightroom presets contain Lightroom profiles.
Syncing the Presets to Lightroom Mobile and Web
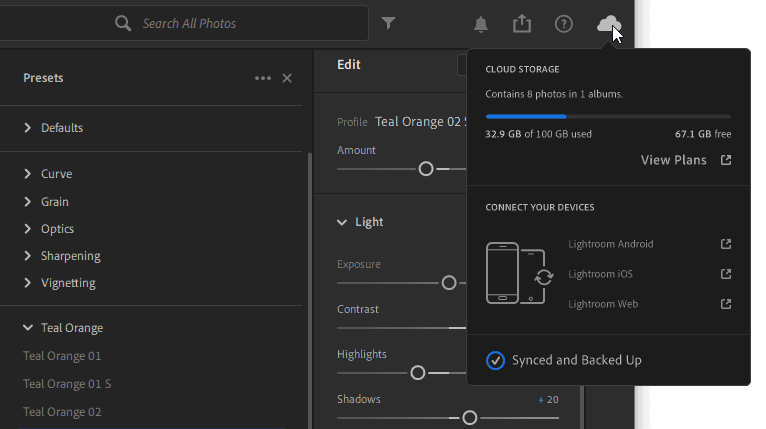
After importing your presets, Lightroom will automatically sync them to the cloud. When the presets are synced, you can find them in the Lightroom Mobile app or Lightroom for Web.
You cannot install Lightroom presets from the Lightroom Mobile app. Lightoom presets can only be installed on the desktop version of Lightroom and requires a Creative Cloud subscription. Without an active subscription, the presets will not sync.



Leave a Reply