
Have you ever tried converting your photo to black and white but end up getting flat results? This Lightroom tutorial will guide you through the process of creating great black and white photos ? no longer will you have to settle for boring flat-toned photos!
What you?ll be doing


Step 1
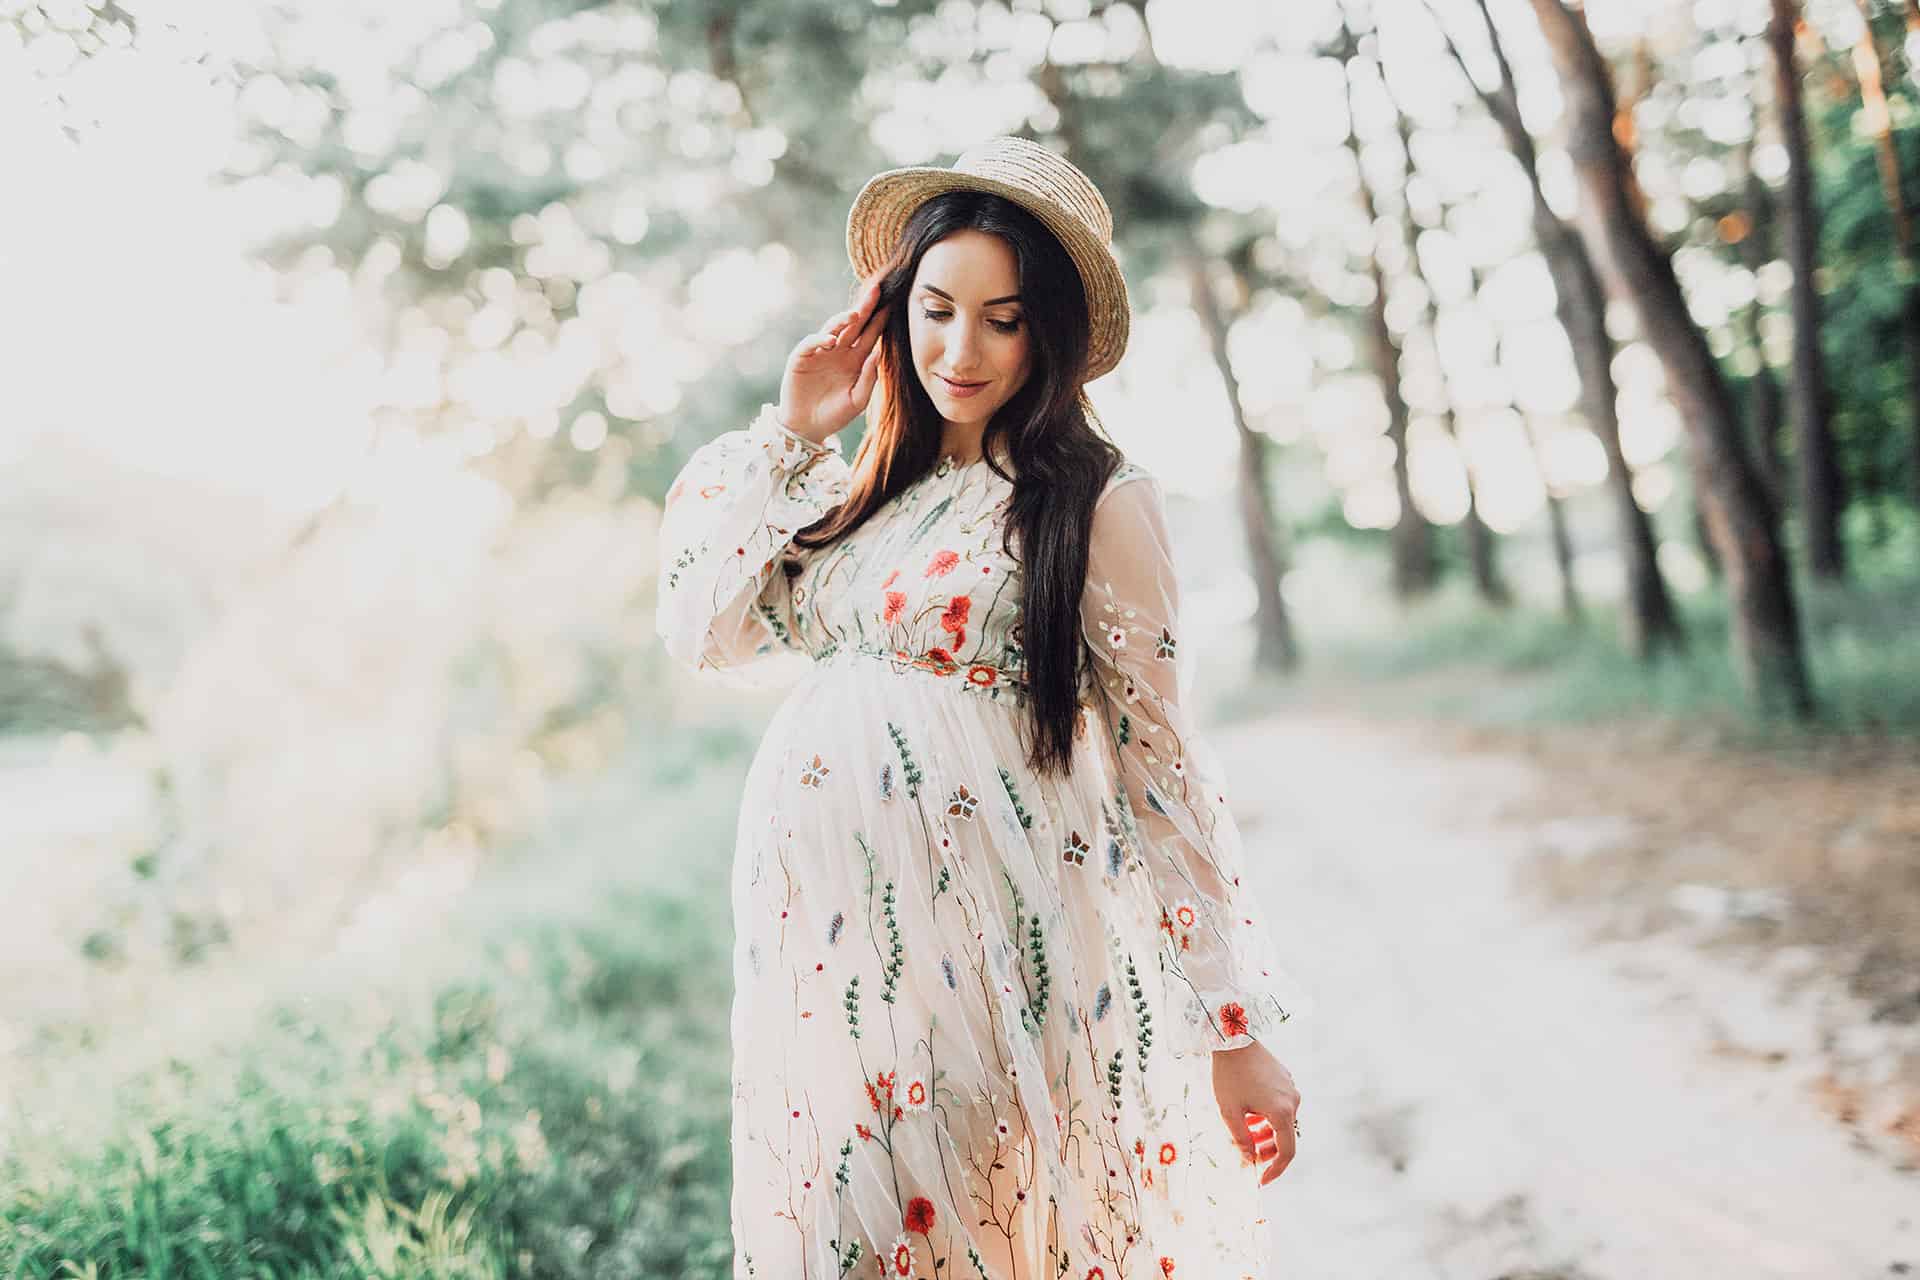
Start by loading into Lightroom any color photo. We?re going to use a typical daytime photo with a little bit of clouds to demonstrate the techniques in this Lightroom tutorial.

Step 2
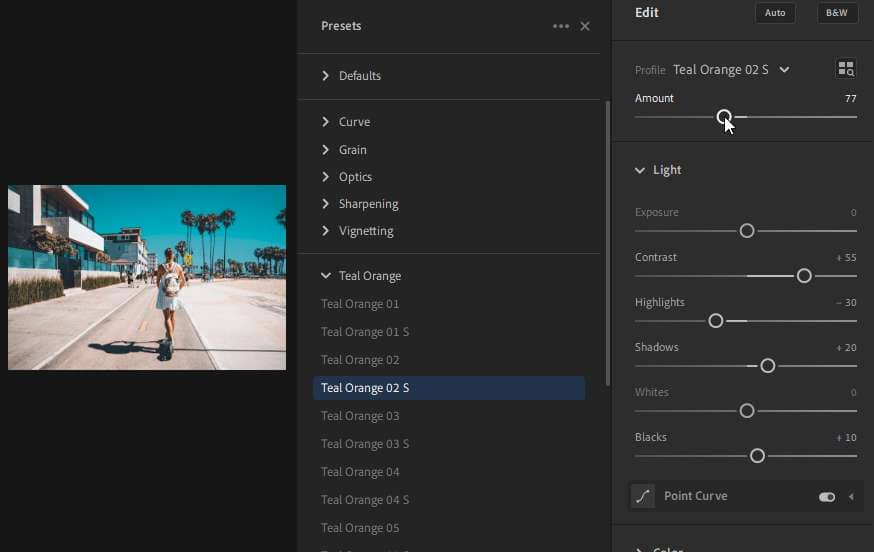
Convert your image into black and white. Here?s how to do it: Go into the Develop module. In the right column under the HSL / Color / B&W panel, click on B&W.

Your photo is B&W! Simple right? But it?s quite flat. There are actually many settings you can adjust to improve your B&W photo. We?ll show you how next:

Step 3
Okay, you?re probably thinking, ?Flat photo? Easy ? just increase the contrast!?. Wrong. Before you work on the contrast, you should be adjusting the color. While your photo ?looks? black and white now, there are many color adjustments you can make. For example, you can make the sky darker by changing the blue areas. Lightroom still retains the color data in the background which gives us a lot more room for editing.
When you switch your image into B&W mode, you?ll be presented with the Black & White Mix settings ? a bunch of sliders you can adjust. It?s actually not a good idea to be playing with these sliders unless you REALLY know what you?re doing. Here?s an example of how dangerous these settings can be. Let?s say you want to make the sky darker, darken the blue slider right? Sure it works, but look closely at your image ? you?re probably getting artifacts. In our image, we?re starting to see halos and some artifacts in the sky due to the jpeg compression in the photo.

By default, Lightroom will apply auto settings which is a huge improvement compared to having all the sliders set to 0. But we can improve this even more.
Instead of using the sliders, I recommend you use the dragging tool instead. Click on the dragging tool to activate it.

Click on a spot that you?d like to adjust then drag down to darken or up to brighten. I started with the sky? darkening it by dragging down.

Next, I darkened the grass by dragging down from the grass area. When I did this, Lightroom was actually adjusting two sliders at once! This makes it a lot easier.

Note that the settings you?re adjusting is based on the colors ? so there?s not too much that you can adjust.

Step 4
After you?re done mixing the colors, go back into the tonal adjustments to make any adjustments you like. Usually, you just need to increase the contrast. In other situations, you may want to increase the fill light or black clip setting (increasing the fill light usually makes your photo appear flatter). For my photo, I just increased the contrast.


Step 5
We?re not done yet. Don?t forget about the other tools you can use (ex. Gradual Filter and Adjustment Brush). I want to make the sky in my image darker, but if I darken the blues any further I?ll start to get artifacts. Instead, I?m going to add a Gradual Filter.
At the top of the adjustment panel, click on the Gradual Filter tool.

Drag from the top area of the image to the horizon. By default, you?ll get a gradient that makes the top brighter.

In the Gradual Filter settings, reduce the Exposure or Brightness setting to darken the sky. I reduced my exposure to ?1.00.

Here?s what my sky looks like after adding a gradual filter.

Step 6
Next, we?re going to use the Adjustment Brush. To me, this is the tool that?ll give your black and white photo the finishing touch. Click on the adjustment brush to activate it. Note that the exposure is set to 1.00 by default, which means it?ll brighten the areas you paint by 1 stop.
Also, checkmark the Auto Mask area. With this setting enabled, Lightroom will automatically detect the edges of the areas you paint and try to guess where to mask.

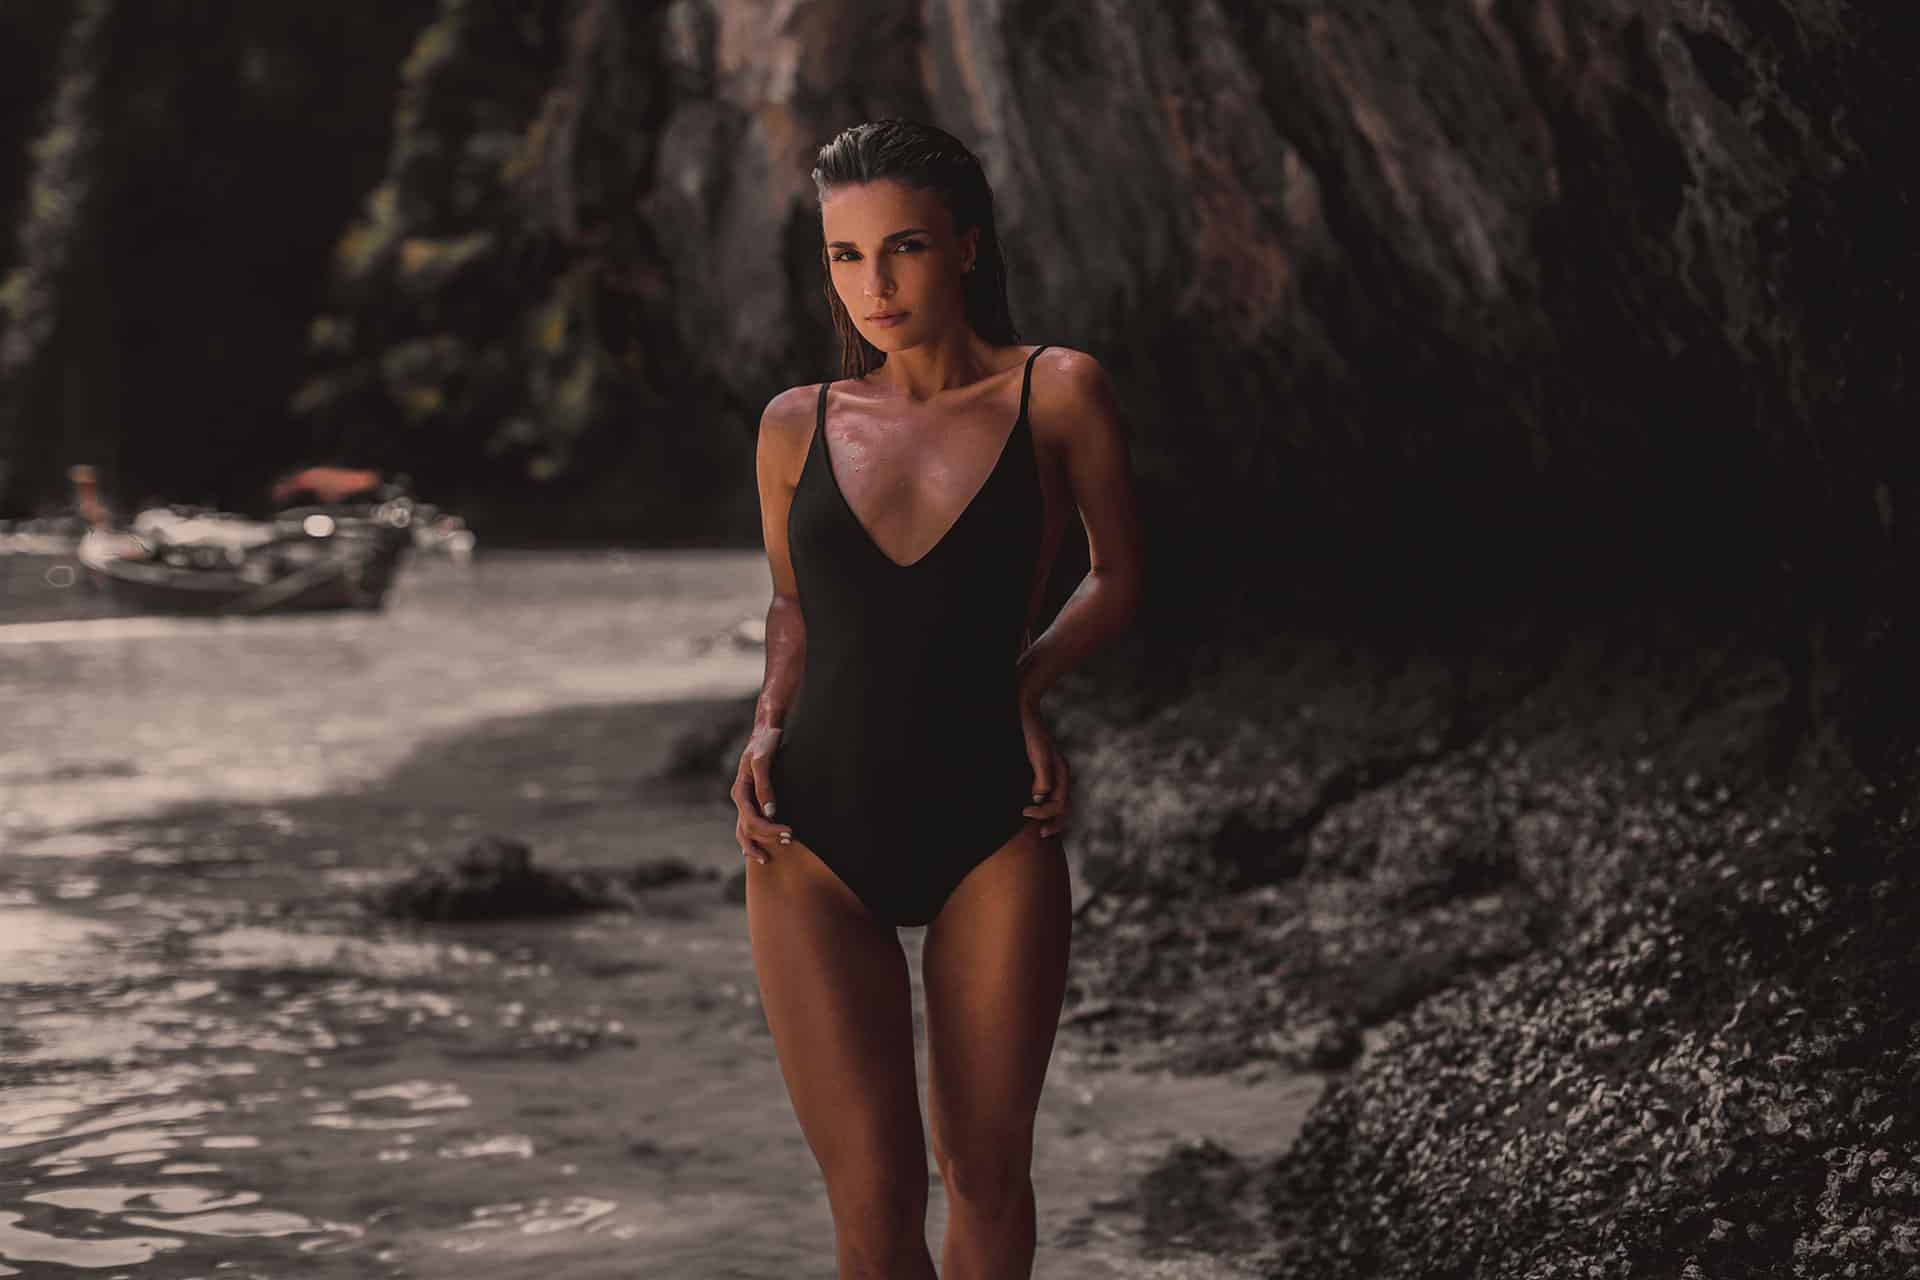
You can paint anywhere you like to brighten it. For my image, I brightened the clouds, sand, and boat. I also brightened the shadows under the boat.

Step 7
Click on New to add a new adjustment brush. This time, set the Exposure to ?1. This will darken the areas you paint by 1 stop.

Paint around the areas you?d like to darken.

Remember, after you painted the areas, you can always go back and adjust the settings. For example, if you think the areas you painted is too dark, you can always increase the exposure slightly. You can also create more adjustment brushes if you like.

Final Results
Here?s the black and white photo!

Doing manual adjustments can create a more dynamic black and white photos compared to using the auto black and white settings in Lightroom. The adjustment brush can be used to make your black and white photos stand out from from others peoples photos.


Leave a Reply to CanonCancel reply