Have you ever wanted to improve the look of your skin without spending so much time in Photoshop? Lightroom lets you do this in seconds and we’re going to show you three ways of doing it starting with easy to advance. Unfortunately, Lightroom is pretty limited so the airbrushed look you get cannot compete with some Photoshop techniques.
Method 1 ? 1 Step Clarity Fix
Step 1
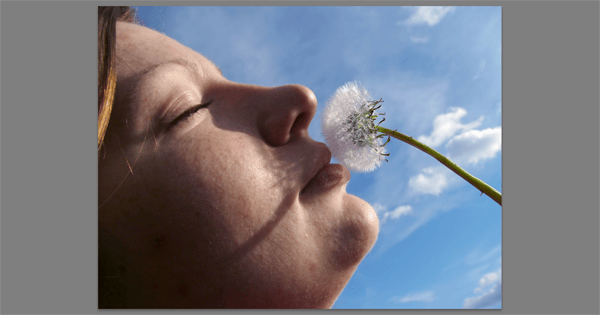
Here’s the photo that we’re using. Just reduce the clarity a bit and you’re done! Something around -50 or less is good. This setting depends on the size of your image and the size of the face. For a closeup photo like ours, using -50 may be fine. However, if you are working on a picture from far away, use something less like -15. You don’t want to go too low because this setting will affect the entire image.
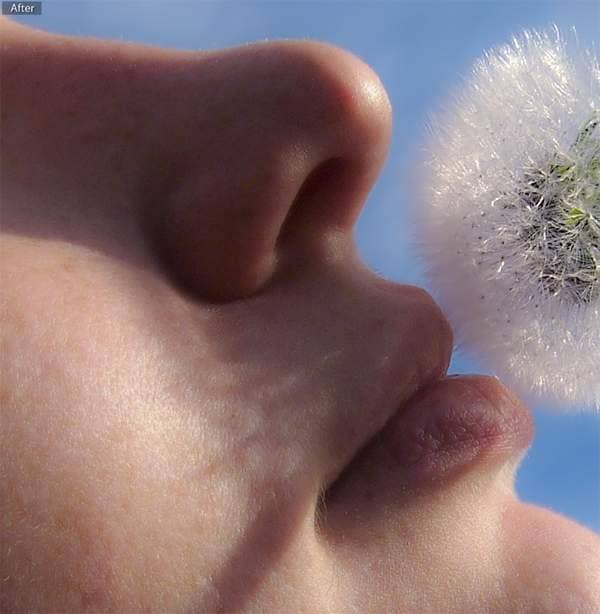
Final Results
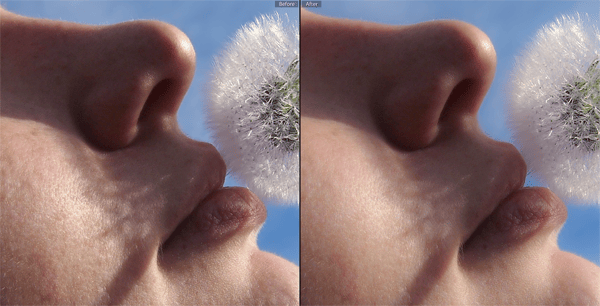
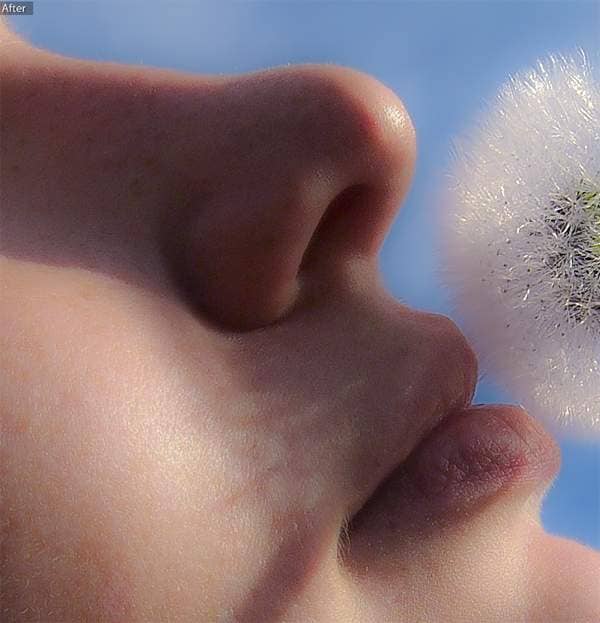
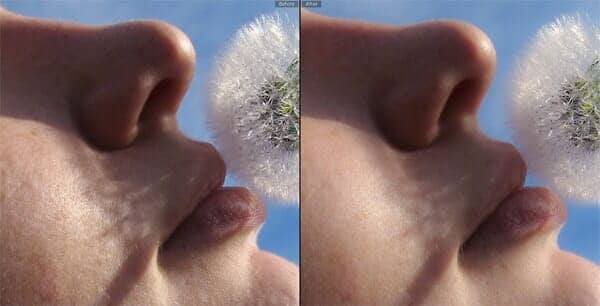
Yes, that’s right, just by reducing the clarity a bit you can significantly improve the look of the skin. It improves the skin tone so much while barely affecting the other parts of the image. Use this technique whenever you have a photograph of someone with makeup or fairly smooth skin already and you just want to improve the lighting of it.
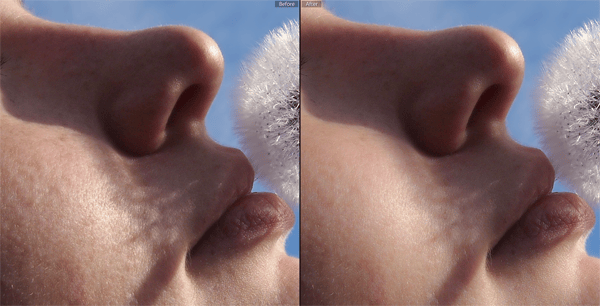
Here?s the before and after (before is on the left).
Method 2 ? Using the Adjustment Brush
Step 1
Start by opening the image that you’d like to use. In the Develop module, select the Adjustment brush.
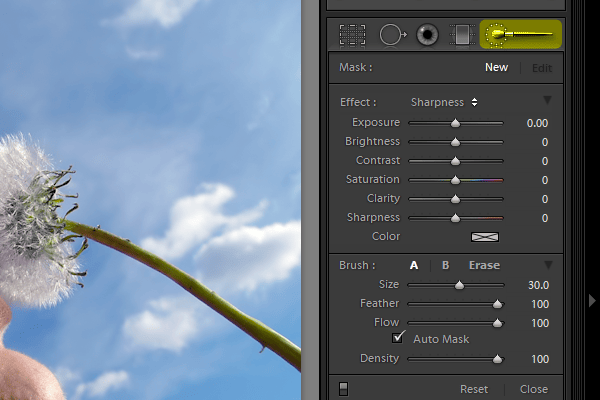
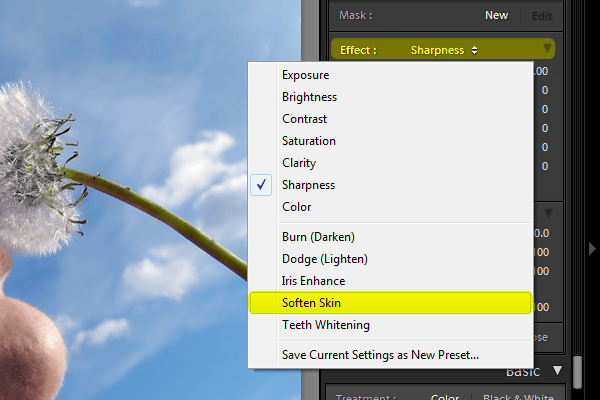
Click on the Effect drop-down menu then choose Soften Skin. Lightroom 3 has this predefined preset which really just reduces the clarity and increases the sharpness a bit.
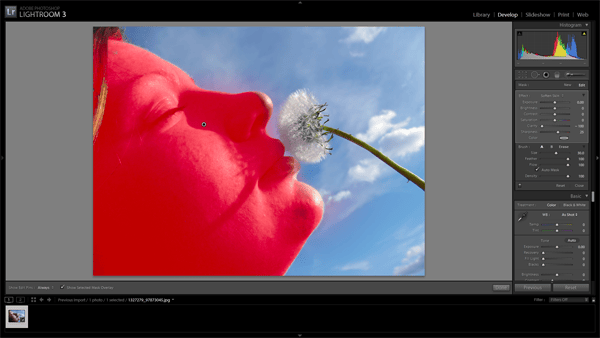
Paint around the face where you want to soften the skin. It’s hard to see where you are painting but you can enable this option here to show a red overlay on the areas you paint. This option is available under your photo once you have painted something.

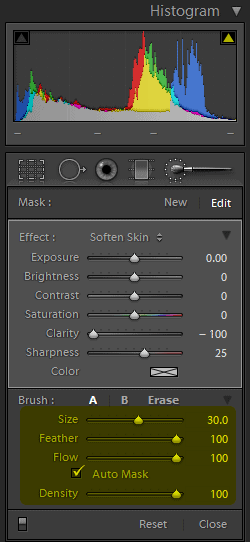
If you want to adjust the brush settings, you can edit the settings here:
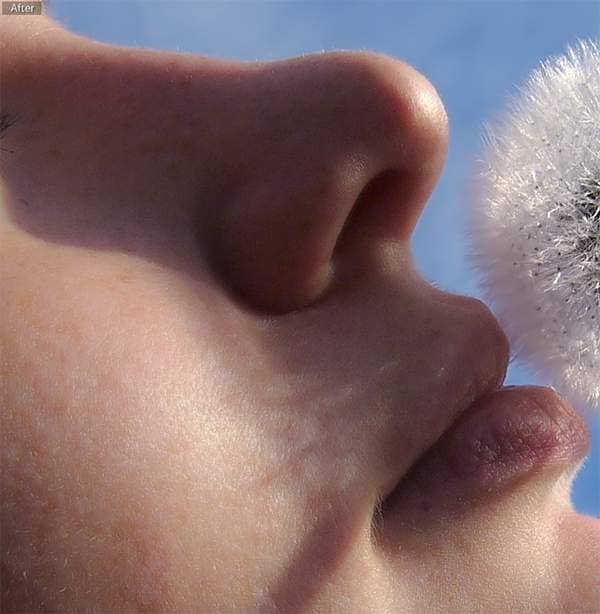
Final Results
Here’s what Lightroom’s “Soften Skin” preset does. With it’s Auto Mask feature, it makes painting super easy and fast.
Method 3 ? Airbrushed Skin with Advance Sharpening
Step 1
This method is a little more advanced and it affects the entire image. That means that you’d probably only want to use this Lightroom technique on close-up portrait photos with a simple background (eg. headshots).
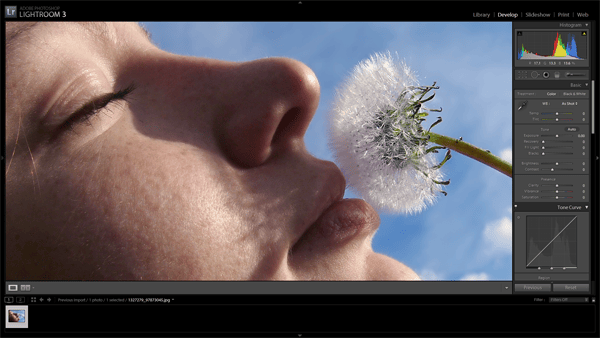
Start by zooming into your image so that you can see the details.
Step 2
Drop the Clarity to -100.

As you can see, the image gets really soft. In the next step, we’ll apply some sharpening to restore it.
Step 3
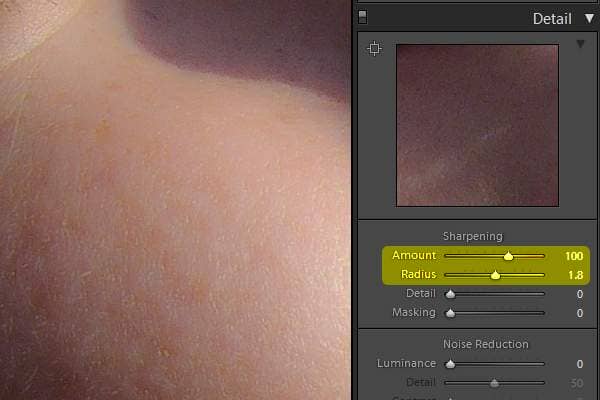
Start by setting the Amount to 100 and Radius to 1.8. We’ll go back and refine these settings later.
Step 4
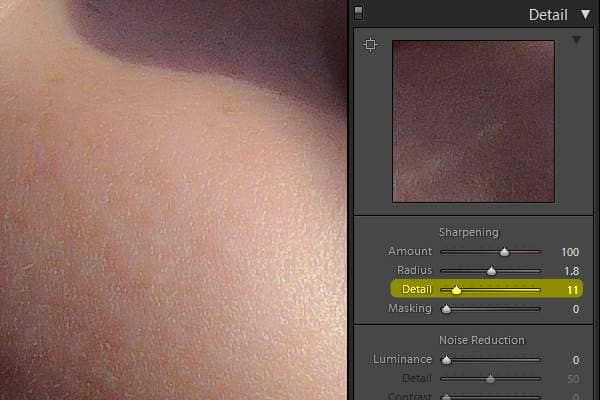
Increase the Detail setting slightly until you start seeing some details in the skin. Don’t go overboard with this setting. We’re going to skip the Masking setting. The Masking setting filters the sharpening so that it only appears on the edge (and not the smooth areas of the skin).
Step 5
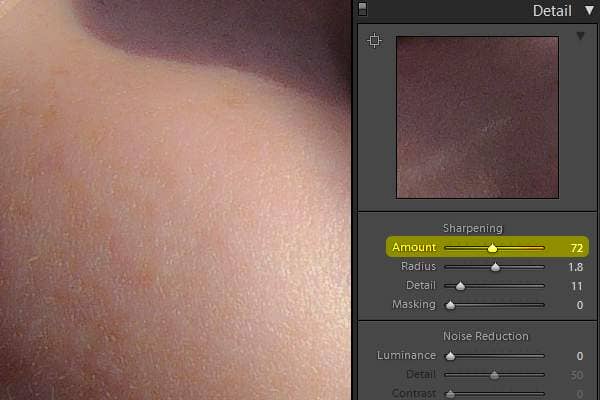
Reduce the Amount until your skin looks realistic.
Final Results
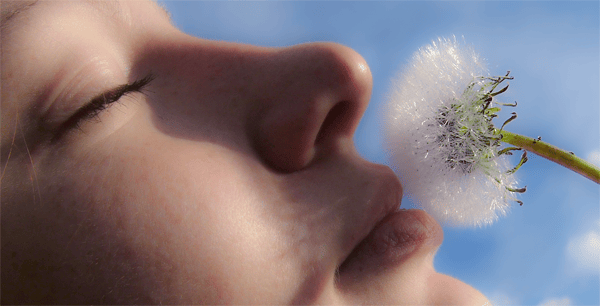
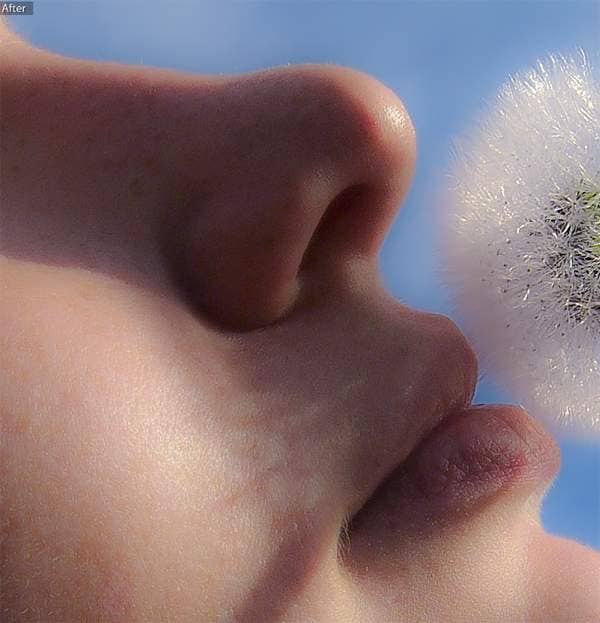
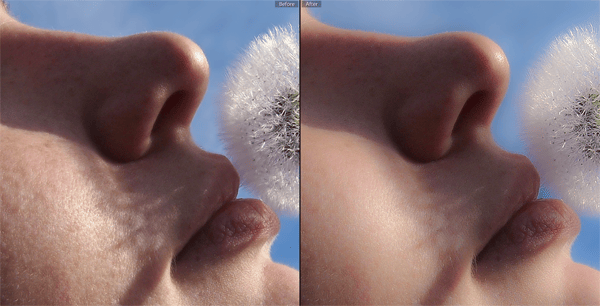
Here’s what Method 3 looks like! It works a lot better than using the adjustment brush with the soften skin preset. Unfortunately, Lightroom 3 doesn’t give you the option of these advanced sharpening techniques using their adjustment brush.
Hide Blemishes with the Spot Removal Brush
Step 1
One last tip you should know is how to remove blemishes from the skin with Lightroom. Select the Spot Removal brush.
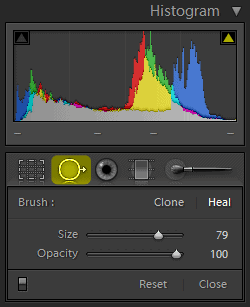
Step 2
Simply click on the blemish and Photoshop will automatically remove it.
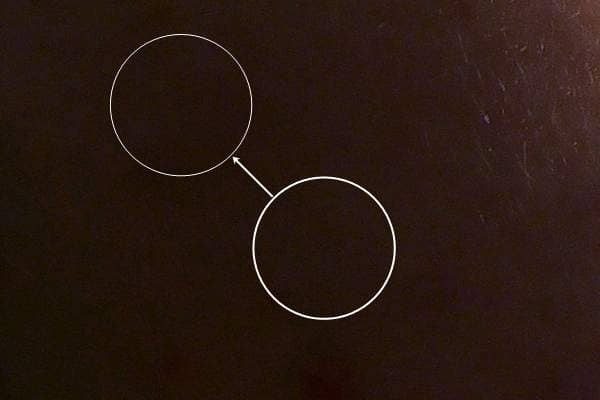
Comparison of the Three Skin Softening Techniques
Method 1
Method 1 lets you quickly improve skin tones just by lowering the Clarity setting. This method is recommended if you have a batch of portrait photos and don’t need to spend a lot of time on the images. We recommend starting off with -15 Clarity when doing batch adjustments as a safe area to start.
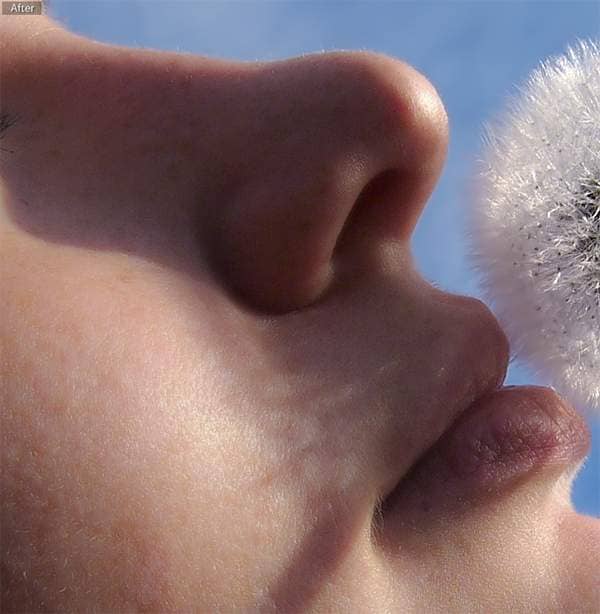
Method 2
Lightroom 3 adjustment brush makes it easy to apply the skin-softening technique without having to go through Photoshop. Unfortunately, the results are limited due to the limited sharpening adjustments.
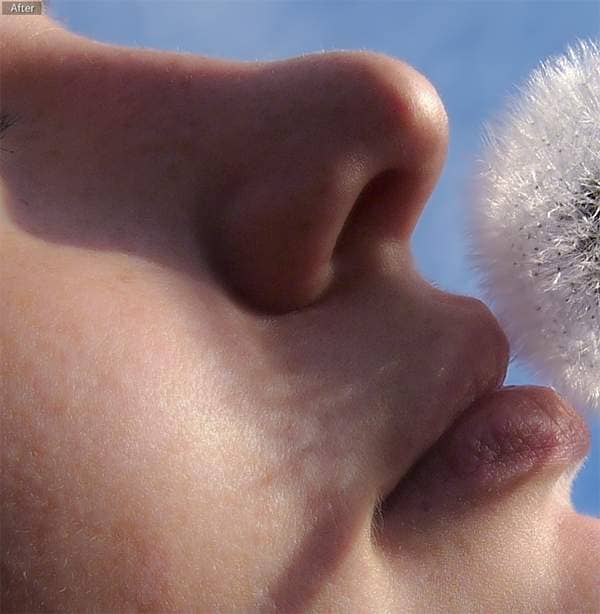
Method 3
This method works the best and can give you the most airbrushed skin look at the expense of being applied to the entire image. Until Adobe gives us more advanced sharpening techniques using the adjustment brush, there’s nothing we can do about this without resorting to 3rd party software.




Leave a Reply