Do you have a bunch of low-contrast photos that needs retouching? And you need to do it fast?We?ll show you a workflow for retouching low contrast photos and one of Lightrooms best trick for removing the guesswork out of retouching photos. This tutorial is intended for beginners new to retouching with Adobe Lightroom.
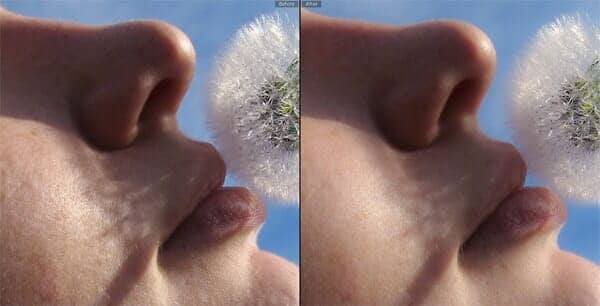
Before and After

Step 1
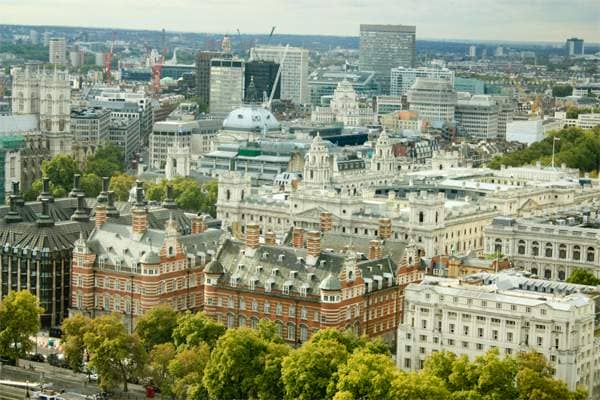
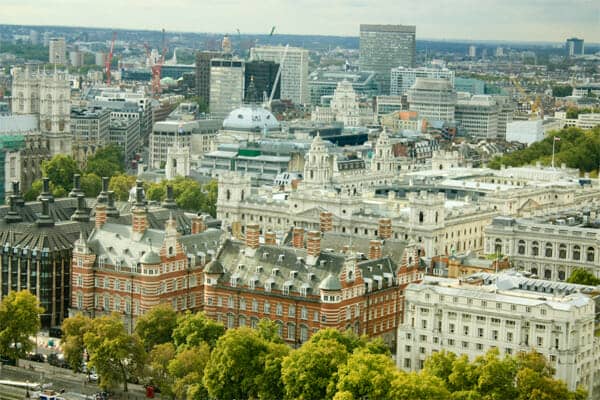
Here?s an example of an image we?ll be editing in Lightroom. If you use low quality lens or photograph on a hazy day, you?ll get low contrast images like ours. This image sure could use a contrast boost!
Step 2
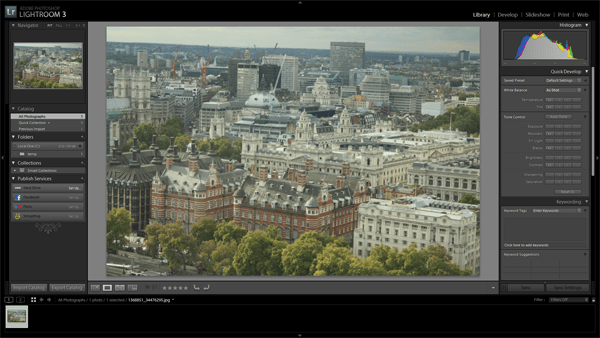
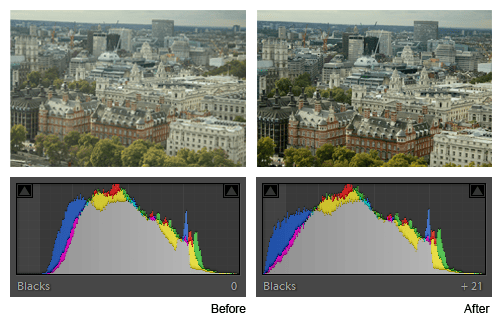
Since our main purpose is to restore the contrast of this image, we?re going to start by adjusting the Blacks. Go into the Develop module and adjust the Blacks. You rarely have to go past 30 when adjusting the Blacks. This setting adjust the clipping point for your blacks which is basically used to remove the gray overlay in your photo that gives it a low contrast look.
While adjusting the black slider, pay attention to the histogram to see how Lightroom is adjusting the image. Below is a comparison image of the original image and the image with the blacks restored.
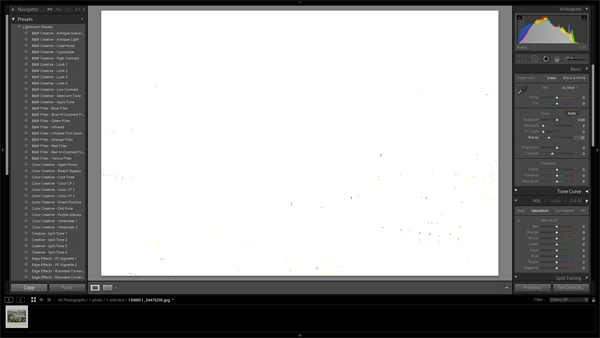
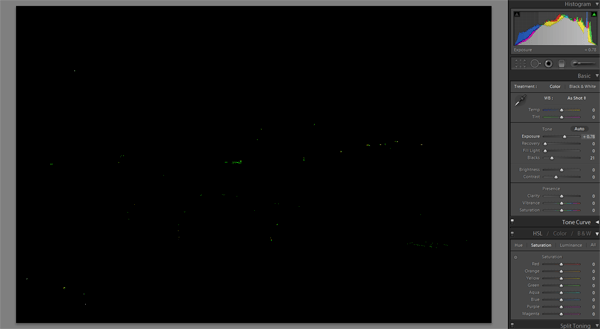
Here?s one of Lightrooms biggest tips: You can also hold on to the Alt/Option key on your keyboard to see a live preview of the areas affected as you drag the slider. When you start seeing tiny bits of blacks (as shown in the image below), that is usually where you want to stop. Using this technique will save you so much wasted time caused by ?playing around? with the settings to see which setting looks better.
Step 3
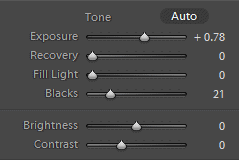
Next, we?re going to adjust the Exposure setting. This is the setting you want to adjust to make your image lighter or darker. For the photo that we?re using, we want to increase the exposure so that it gets brighter.
As you drag the Exposure slider, hold down the Alt/Option key to see a live preview of it. Stop when you see hints of artifacts in the image.
Here?s what our image looks like after adjusting the Exposure. The contrast of the image has been restored and you only made two adjustments!

Right now you?re probably wondering why we didn?t just use the Brightness or Contrast sliders. These settings are meant as a secondary adjustment to be made after you correct your image contrast and exposure. For example, we just corrected the image using the Exposure and Blacks settings. Now, if we want to give the image a high-contrast look, we can increase the contrast. There are no hard-rules to using these settings and you can use them however you like, but Lightroom was designed so that you adjust the settings from top of the panel to the bottom.
Step 4
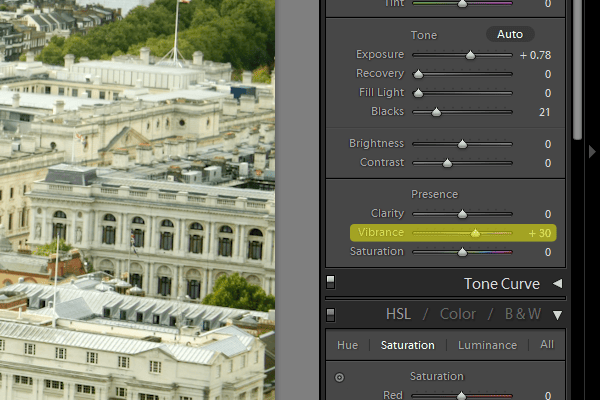
Before we finish, we have to increase the vibrancy of the image. Low contrast images usually requires this boost and it?s very simple to do. There are two sliders you can adjust for this: the Vibrance and Saturation sliders. The Saturation setting is a linear color adjustment that adjusts every color equally. The Vibrance slider was added in Lightroom 2 as a better way of increasing saturation. In short, you?d usually would only use the Vibrance slider especially for portraits where it helps protect skin tones.
TIP: Don?t go overboard with the vibrance tool. It may be fun to use but too much will give your image a fake color effect.
Final Results
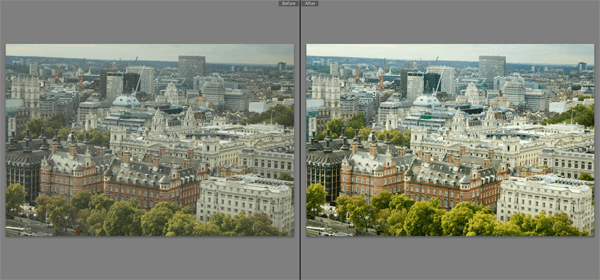
Here?s the photo with the contrast restored! If you follow these steps, you can retouch your photos quickly without guess work. Start by adjusting the Blacks and Exposure. Contrast and Brightness can be adjusted afterwards. If your image is lacking color, use the Vibrance setting to restore the color.
Also, give Lightroom ?Auto Tone? feature a try. It does a great job most of the time and it?s great when you don?t care much about the image you?re editing. While it may seem magical, most of the time it can?t achieve the same quality as a manual edit.


Leave a Reply