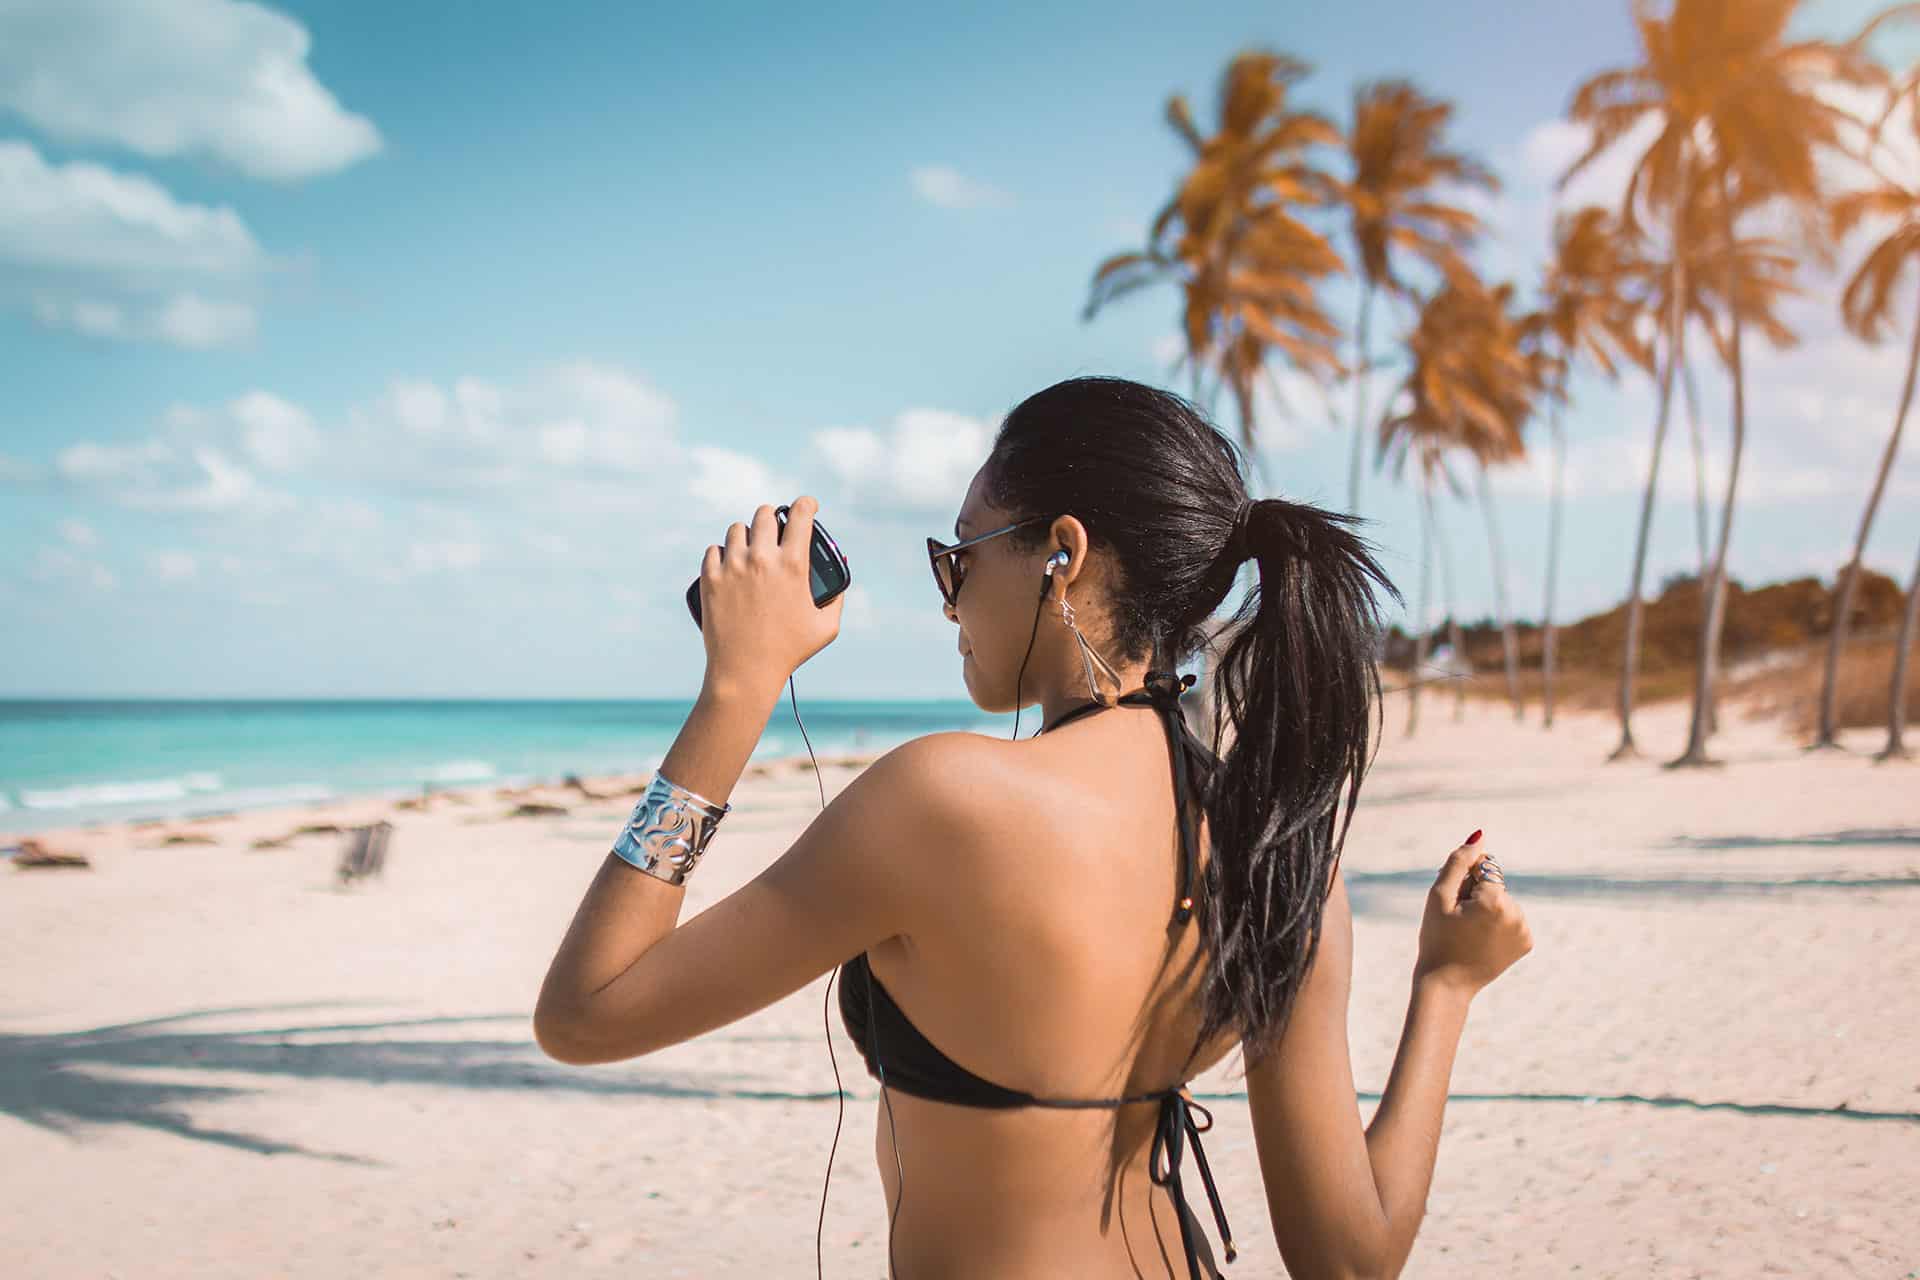
In this Lightroom tutorial, you'll learn how to create the travel influencer look in Lightroom. You'll start by altering colors to create more tropical skies. Then you'll alter colors to give green foliage the orange look. Finally, you'll learn how to increase shadow contrast and detail to make your travel photos stand out from others in Instagram's feed. A free travel preset is included at the end of this tutorial.
What You'll be Creating


Step 1
Import the photo that you want to edit into Lightroom. For this tutorial, you should use one with some blues, greens, and oranges (ex. blue sky, green foliage, and a person). This will let you see the color changes as you're editing.
Here's the photo that I'll be using for this tutorial.

Step 2
We'll start by editing the colors. In the Edit panel, go to Color > Channel Mixer > Hue.

Step 3
For the color adjustments, we'll start with the blues. Set this to around -30 to give blue skies a more aqua-color - sort of like the skies you see in anime films.

Step 4
To give the foliage an orange look, use the following settings:
- Red: +30
- Yellow: -80
- Green -80
Don't change the orange - this will keep the skin tones natural. You now have the popular orange and blue look.

Step 5
Set the Vibrance to around +50.
The vibrance boost tend to give skies a dark blue look - like a polarizing filter. This overpowers the subject in your photo. To reduce this effect, go to the Adjust dropdown menu and select Saturation. Lower the Blue saturation until the skies look normal again.

Step 6
We're done with the colors. Let's work on the tones now. We'll start by increasing the contrast. You can alter the tones however you like, but for this effect, I want to increase the contrast in the shadows only.
Set the Shadows to -80 and the blacks to +80.
As you can see in the image below, the blacks are deeper giving the subject's hair a richer darker look. The highlights and her skin tones still look natural.

Step 7
To complete the look, go to the Effects section and adjust the settings.
A trick that popular travel influencers do is bump up the sharpness. This makes their photo look more high-def than other photos in the Instagram feed.
Here's a better way to do this. Leave the sharpness at 0 but bump up the texture setting. You can also add a bit of clarity. This has a similar effect but it keeps your photo looking more natural.

Another way to give your photos a sharper look is to use some artificial intelligence. If you right-click on your photo, you'll see an "Enhance Details" option. Use this to subtly increase the details in your photos.
Note: This only works on raw files - not jpegs.

Final Results
You're done! Here's how the effect looks like before and after.


beautiful