
In this tutorial, you’ll learn how to replicate the distinctive purple atmospheric look from the 2025 film, “The Gorge.” This film features a captivating purple hue that sets its mood apart, and now you can recreate it yourself! Achieving this vibrant purple shade in Lightroom can be challenging, but you’ll discover a clever trick that combines the colorizing tool with white balance settings to create a stunning purple background.
Here’s a screenshot from the film that we’re trying to emulate.

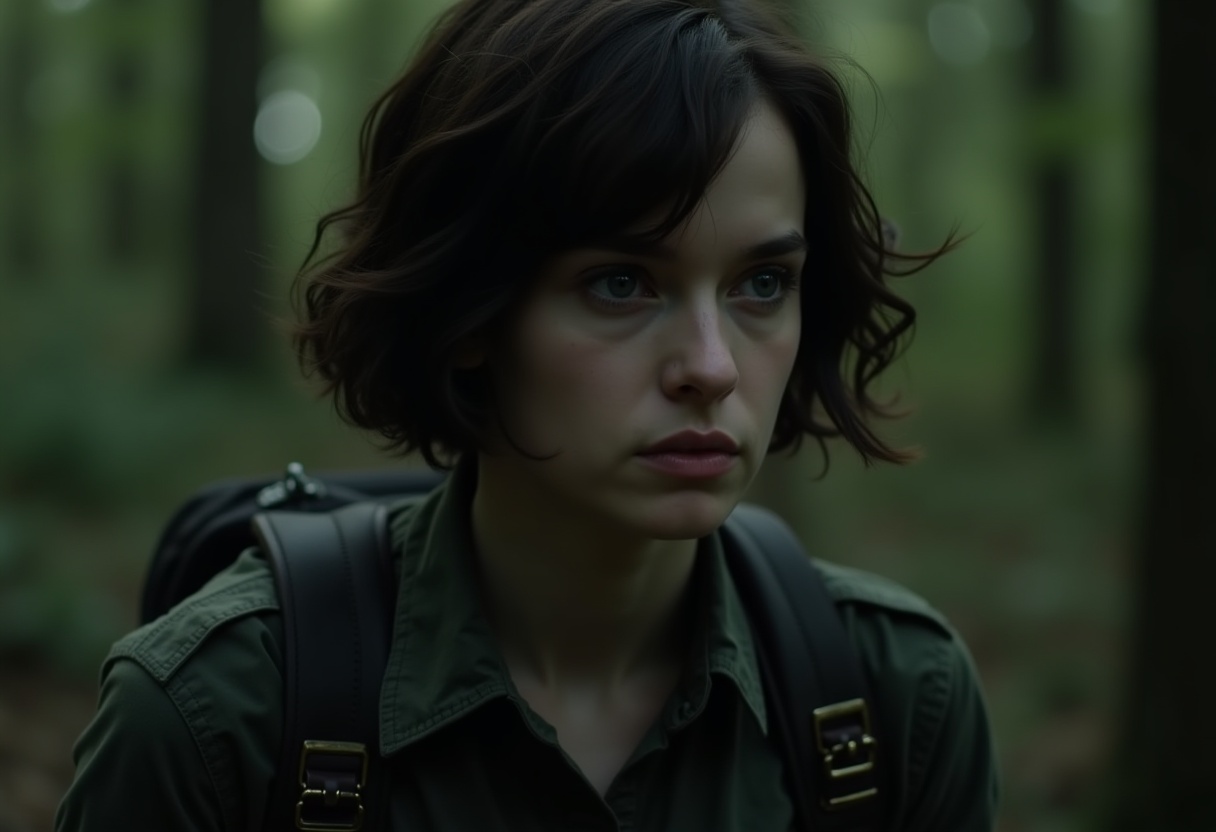
Here is the image we’ll be using for this tutorial and if you want to follow along with the same image you can use the download below.

Part 1: Creating a Misty Purple Background
Step 1: Create a Mask of the Background
Open the Masking section (press ‘m’) and choose “Background.” This will create a mask for the background of your image.

You should see a mask created for the background. Remember, the adjustment sliders will only impact the masked area and not the entire image.

Step 2: Darken the Background
First, go to the Light section and darken the background by reducing the exposure. I initially set mine to -1, but this value may vary based on your specific image. Precision isn’t crucial at this stage, as we’ll return to adjust this setting later. The main goal is to darken the background enough so that when we apply the purple tint in the next step, it will be easier to achieve the desired shade of purple.

Step 3: Add a Purple Tint
Below the Saturation slider, you will find a small toggle for the Color option. This tool allows you to colorize your the background.

Choose a purple shade to tint the background.

Step 4: Enhance the Purple Tint
The purple tint is quite weak. To make the purple more vibrant, adjust the White Balance settings. Drag the tint slider to the right to increase saturation.

Then, adjust the blue temperature slider to the left until you achieve your desired shade of purple.

Step 5: Add Fog
Go to the Effects section and lower the dehaze setting to introduce a bit of fog into the background. The amount will vary depending on your photo and how much haze you wish to add.

Part 2: Color Grading the Rest of the Image
Now that you’ve added a purple atmosphere to the background, it’s time to color grade the rest of your image.
Step 1: Open the Curves Tool
Go to the Edit section and open the Curves tool.


Step 2: Adjust the Curves
Select the blue channel and drag the middle of the curve upwards to add a blue tint.

Switch to the green channel and drag the middle of the curve downwards.

Finally, select the red channel and pull down the top-right point of the curve slightly.

Here’s what the image looks like before and after the curves adjustment. As you can see, the subject blends better with the background now.


Step 4: Dim the Image
To complete the look, use the same Curves tool to dim the image. Select the gray/point curve channel.
Drag the top-right point downwards to lower the whites, then adjust the middle point downwards to reduce brightness.
Add a point between the bottom-left and middle points, dragging that down for slight contrast.
Why Use Curves over Exposure/Contrast?
For lowering the contrast, the curves tool gives a flatter appearance.
It also preserves other adjustments like exposure, contrast, highlights, etc. This approach is particularly useful if you plan on creating a Lightroom preset since it prevents overwriting existing edits made with these adjustments.

Final Results
We’re done! Here are the final results, showcasing the before and after images. Additionally, you can see the reference image we used for this tutorial.
Through this process, we learned how to effectively use masking and the Curves tool in Lightroom to create a specific atmospheric look. Understanding how to manipulate light and color can significantly enhance the overall mood of an image, allowing for greater creative expression in photo editing.
Keep experimenting and have fun with your edits!


Leave a Reply