The teal and orange look has been popularized by influencers like Sam Kolder. It’s also seen in movies like Transformers 2 and Train to Busan. In this Lightroom tutorial, you’ll learn how to shift colors and recreate the teal and orange look.
Step 1
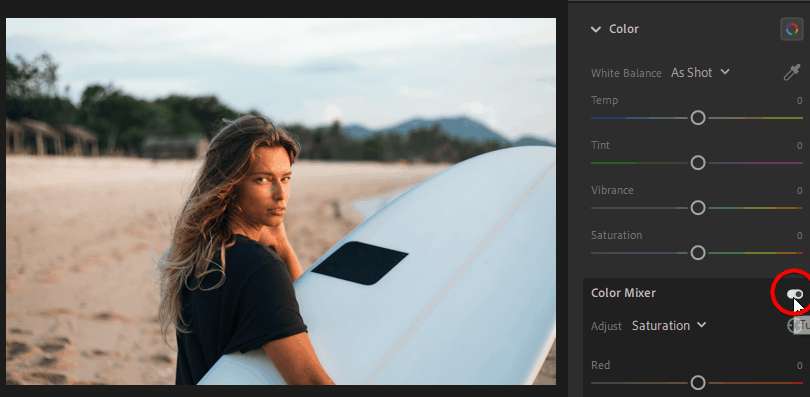
In the color section, turn on the Color Mixer tool.
Step 2
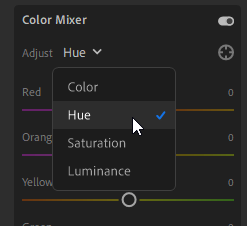
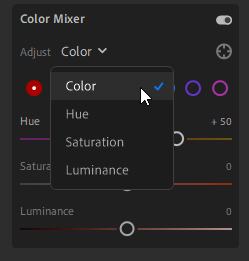
Click on the Adjust dropdown menu and choose Hue. The settings here will let us shift the colors towards teal and orange.
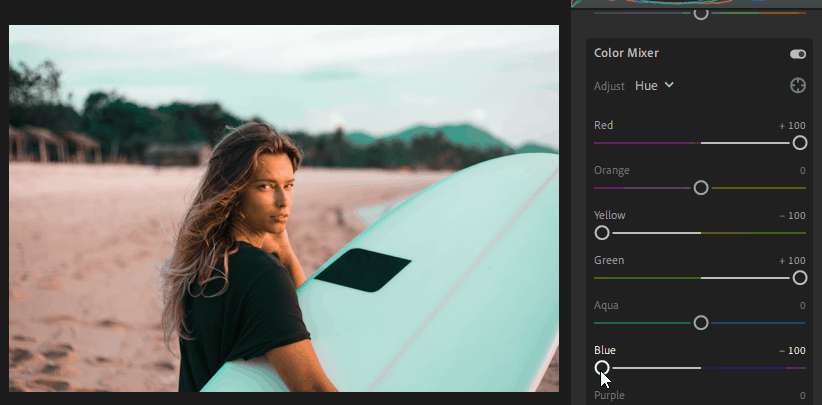
Use the following settings:
- Red: +100
- Orange: 0
- Yellow: -100
- Green: +100
- Aqua: 0
- Blue: -100
- Purple: 0
- Magenta: 0
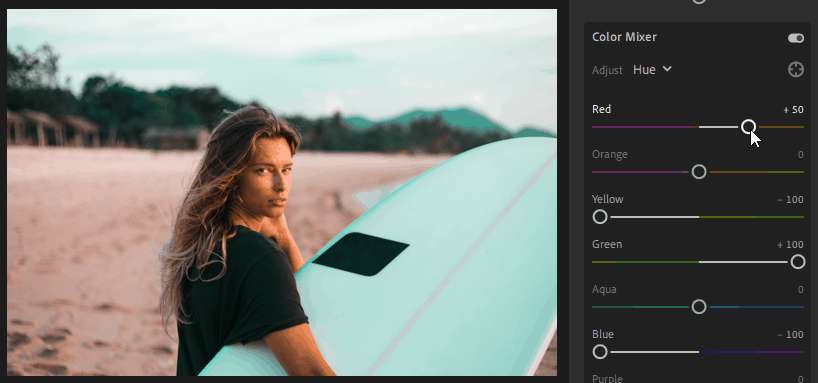
For more natural skin tones, set the Red to +50 instead of +100.
Step 3
Now we’ll adjust the saturation. In the Adjust dropdown menu, switch to the Color settings. This will let you adjust the saturation and luminance at the same time.
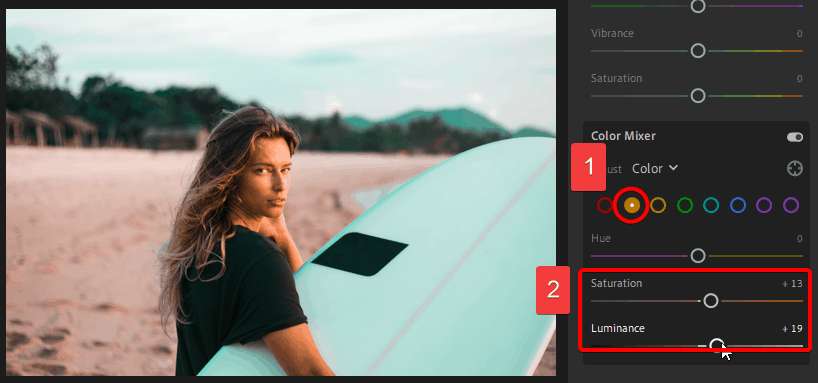
Fine-tune the colors. I’ll start with the oranges. The settings here will vary depending on your photo.
- Select orange.
- Adjust the saturation and luminance settings.
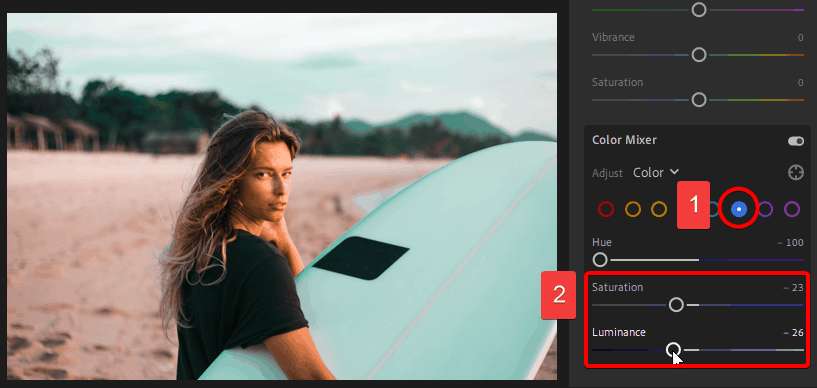
Now switch to the blues and fine-tune the settings.
Step 4
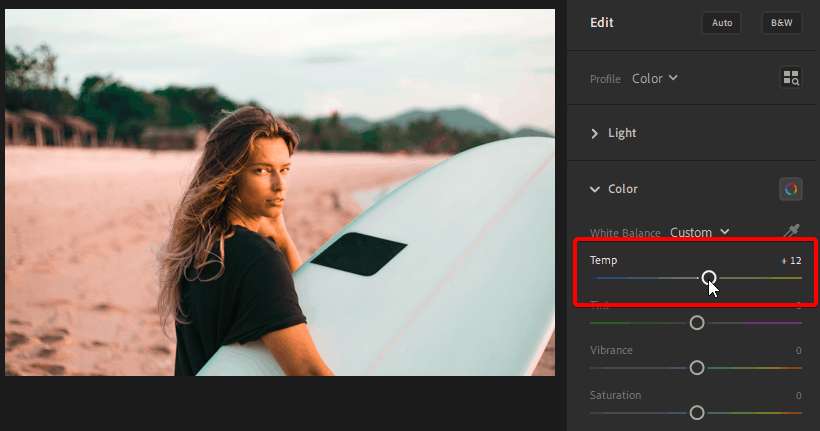
Depending on your photo, you might have too much orange or vice versa. To change the balance between orange and teal, go to the Color area and adjust the Temp setting.
- Drag towards the right to increase the amount of orange
- Drag towards the left to increase the amount of teal
Step 5
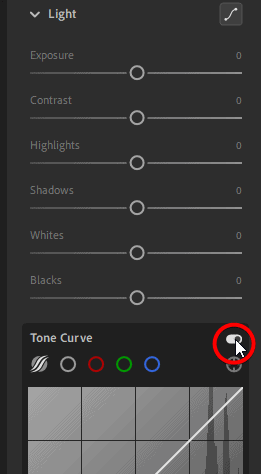
We now have the teal and orange look. But this is just the beginning. Many photographers like to adjust the tones for a more filmic look. To do this, go the Light section and turn on the Curves tool.
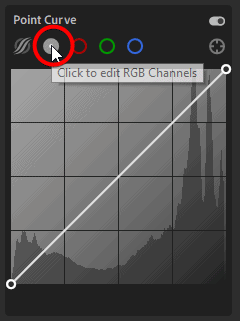
Switch to the point curve mode. This mode gives you more flexibility compared to the parametric mode.
Step 6
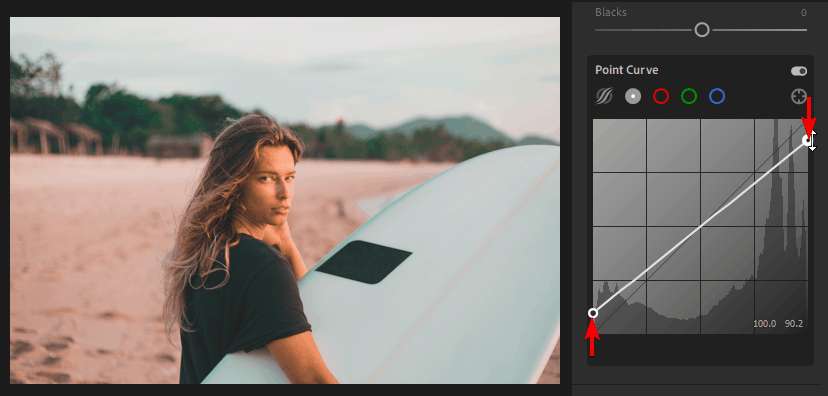
Start off by dragging the two points towards the middle. This will raise the blacks and drop the whites for a faded look.
Step 7
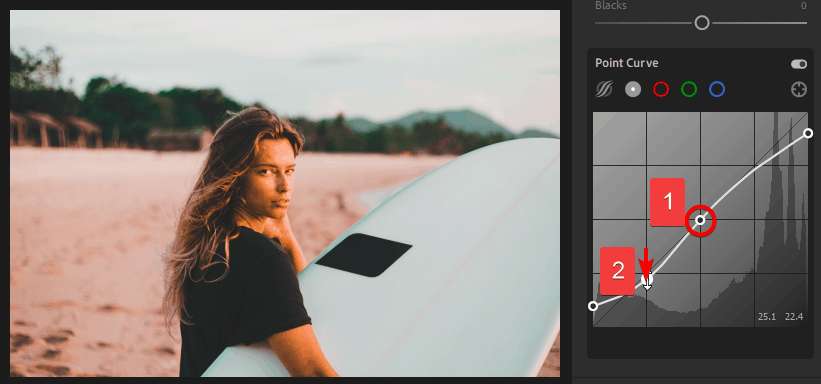
The faded film look reduces the contrast in your photo. So to counter this, we can add some midtone contrast by creating an s-curve.
- Click on the middle of the line to create a point in the middle.
- Add a point between the 1st and 2nd points. Drag this point downwards.
Final Results
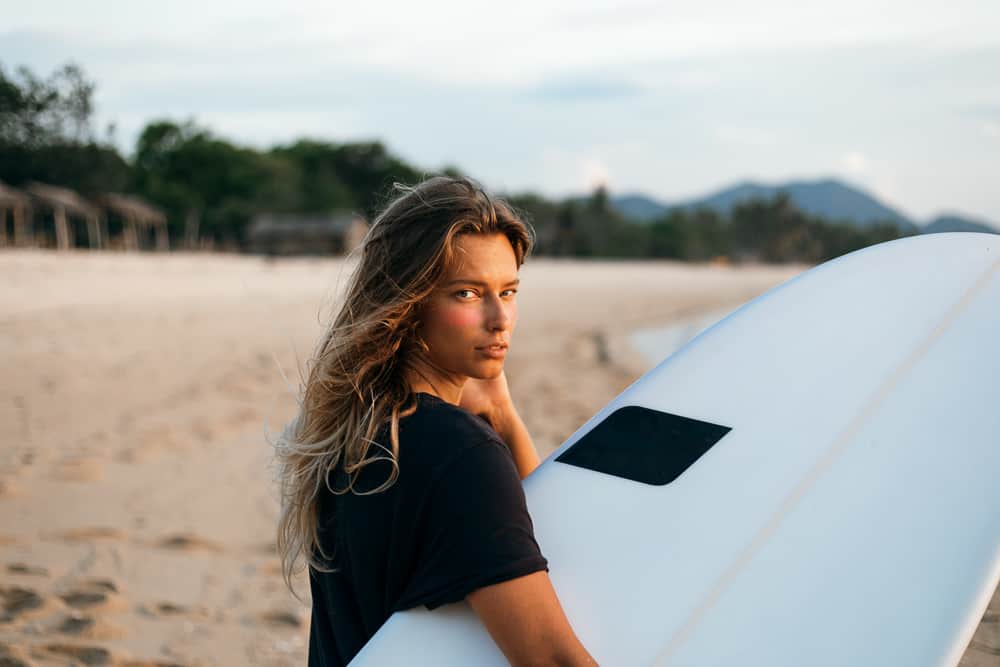
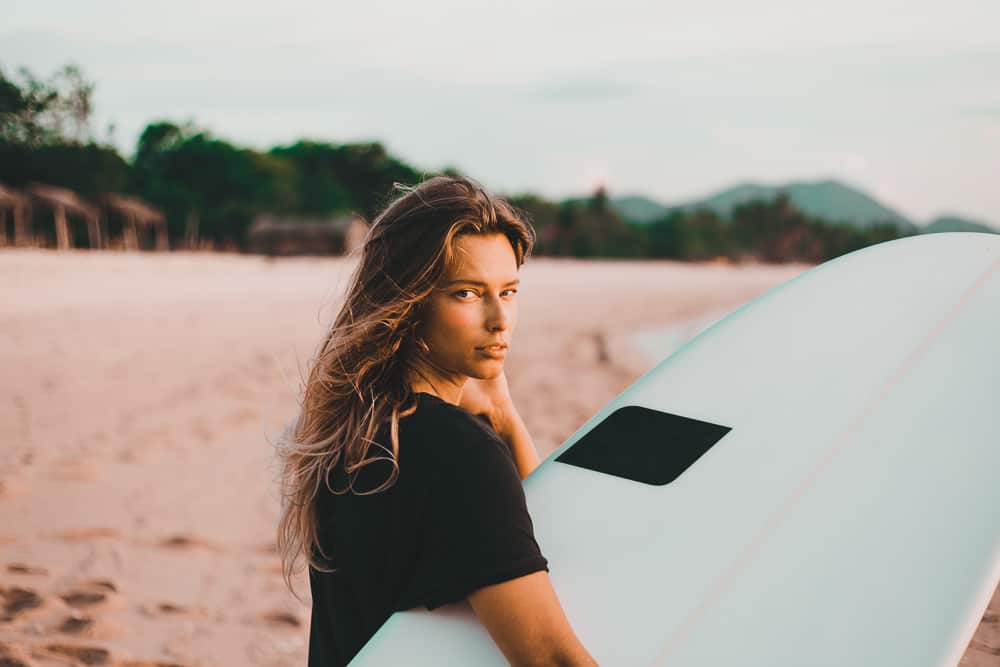
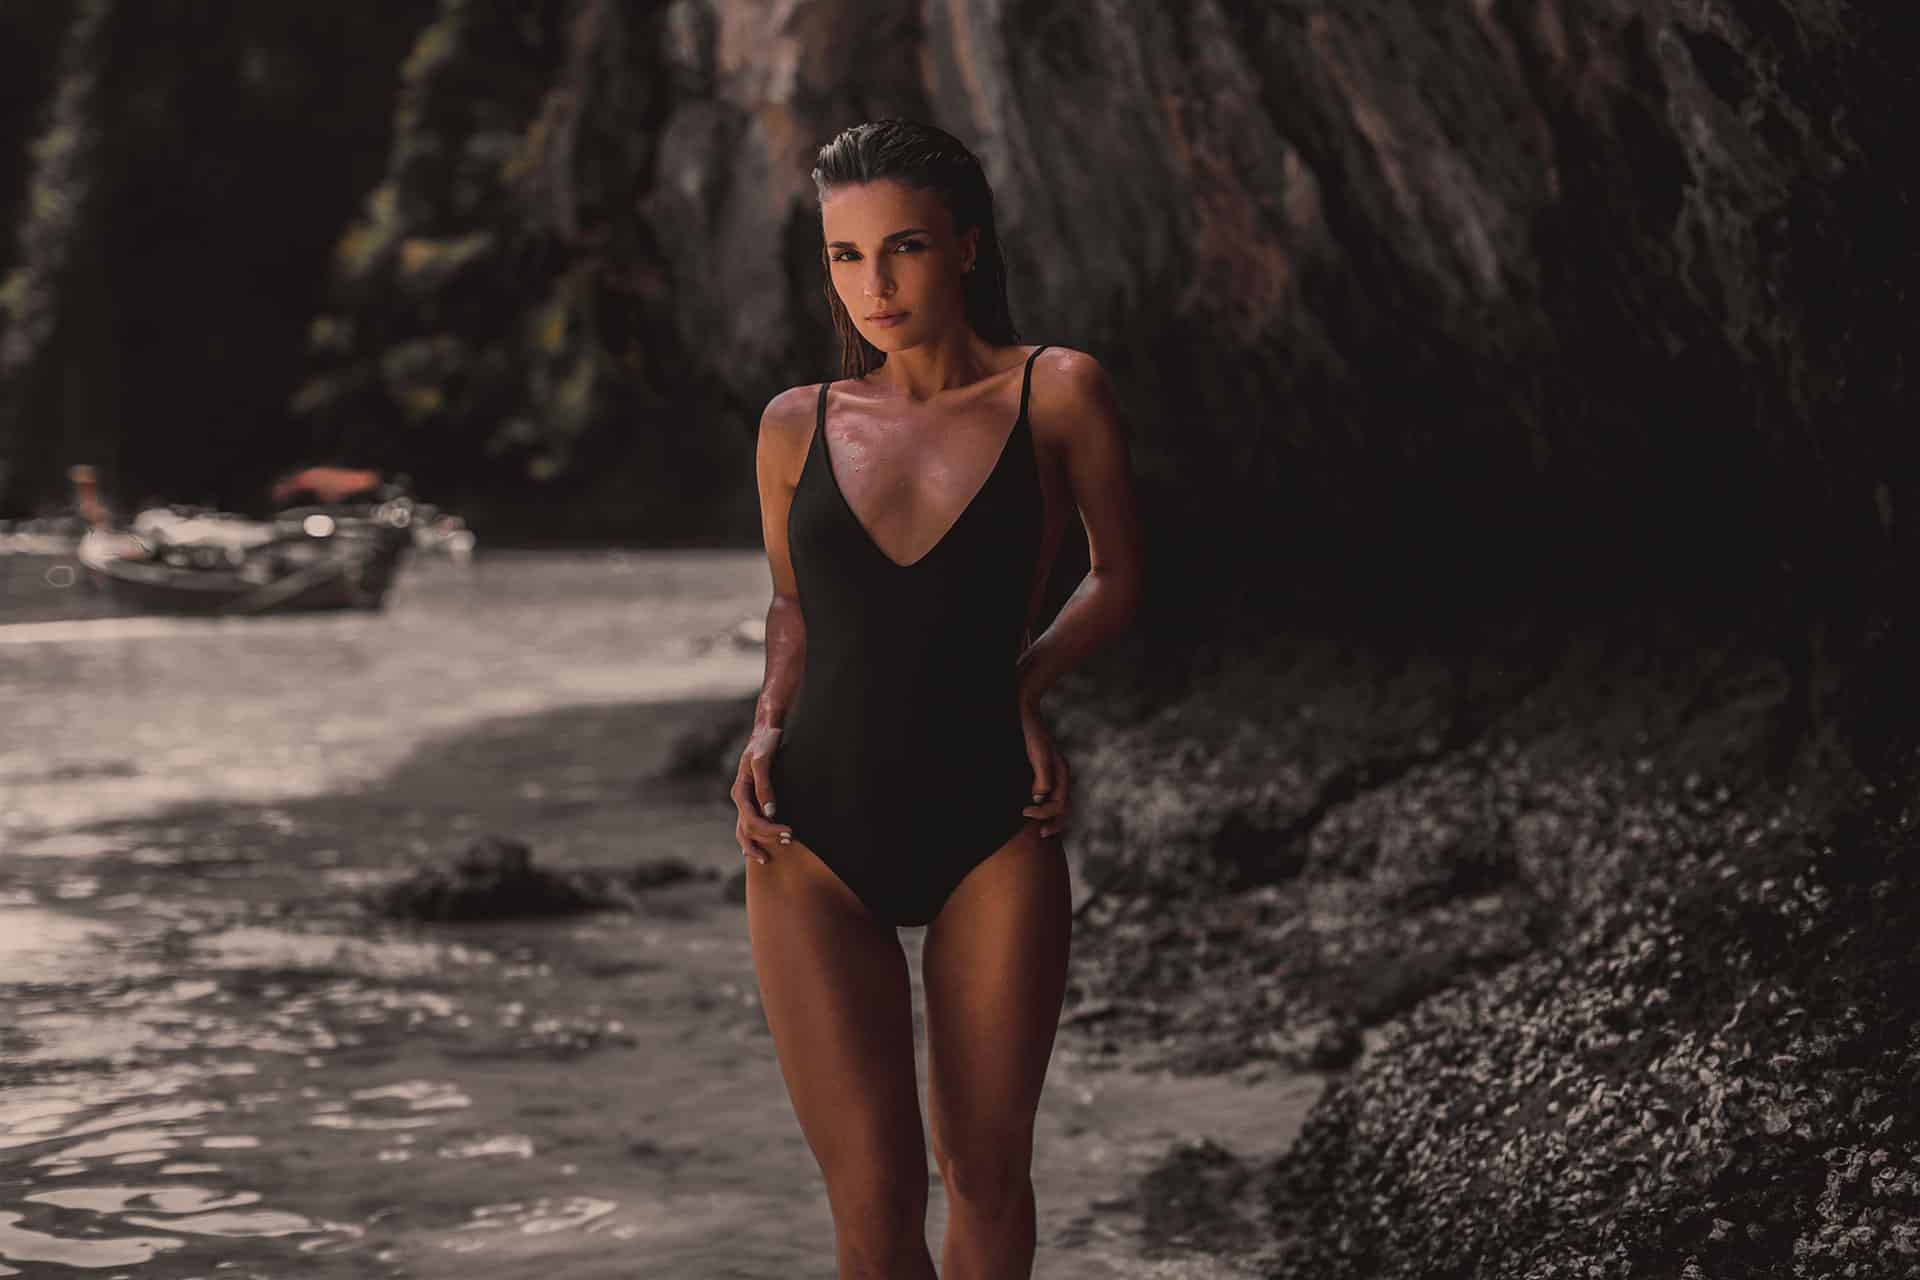
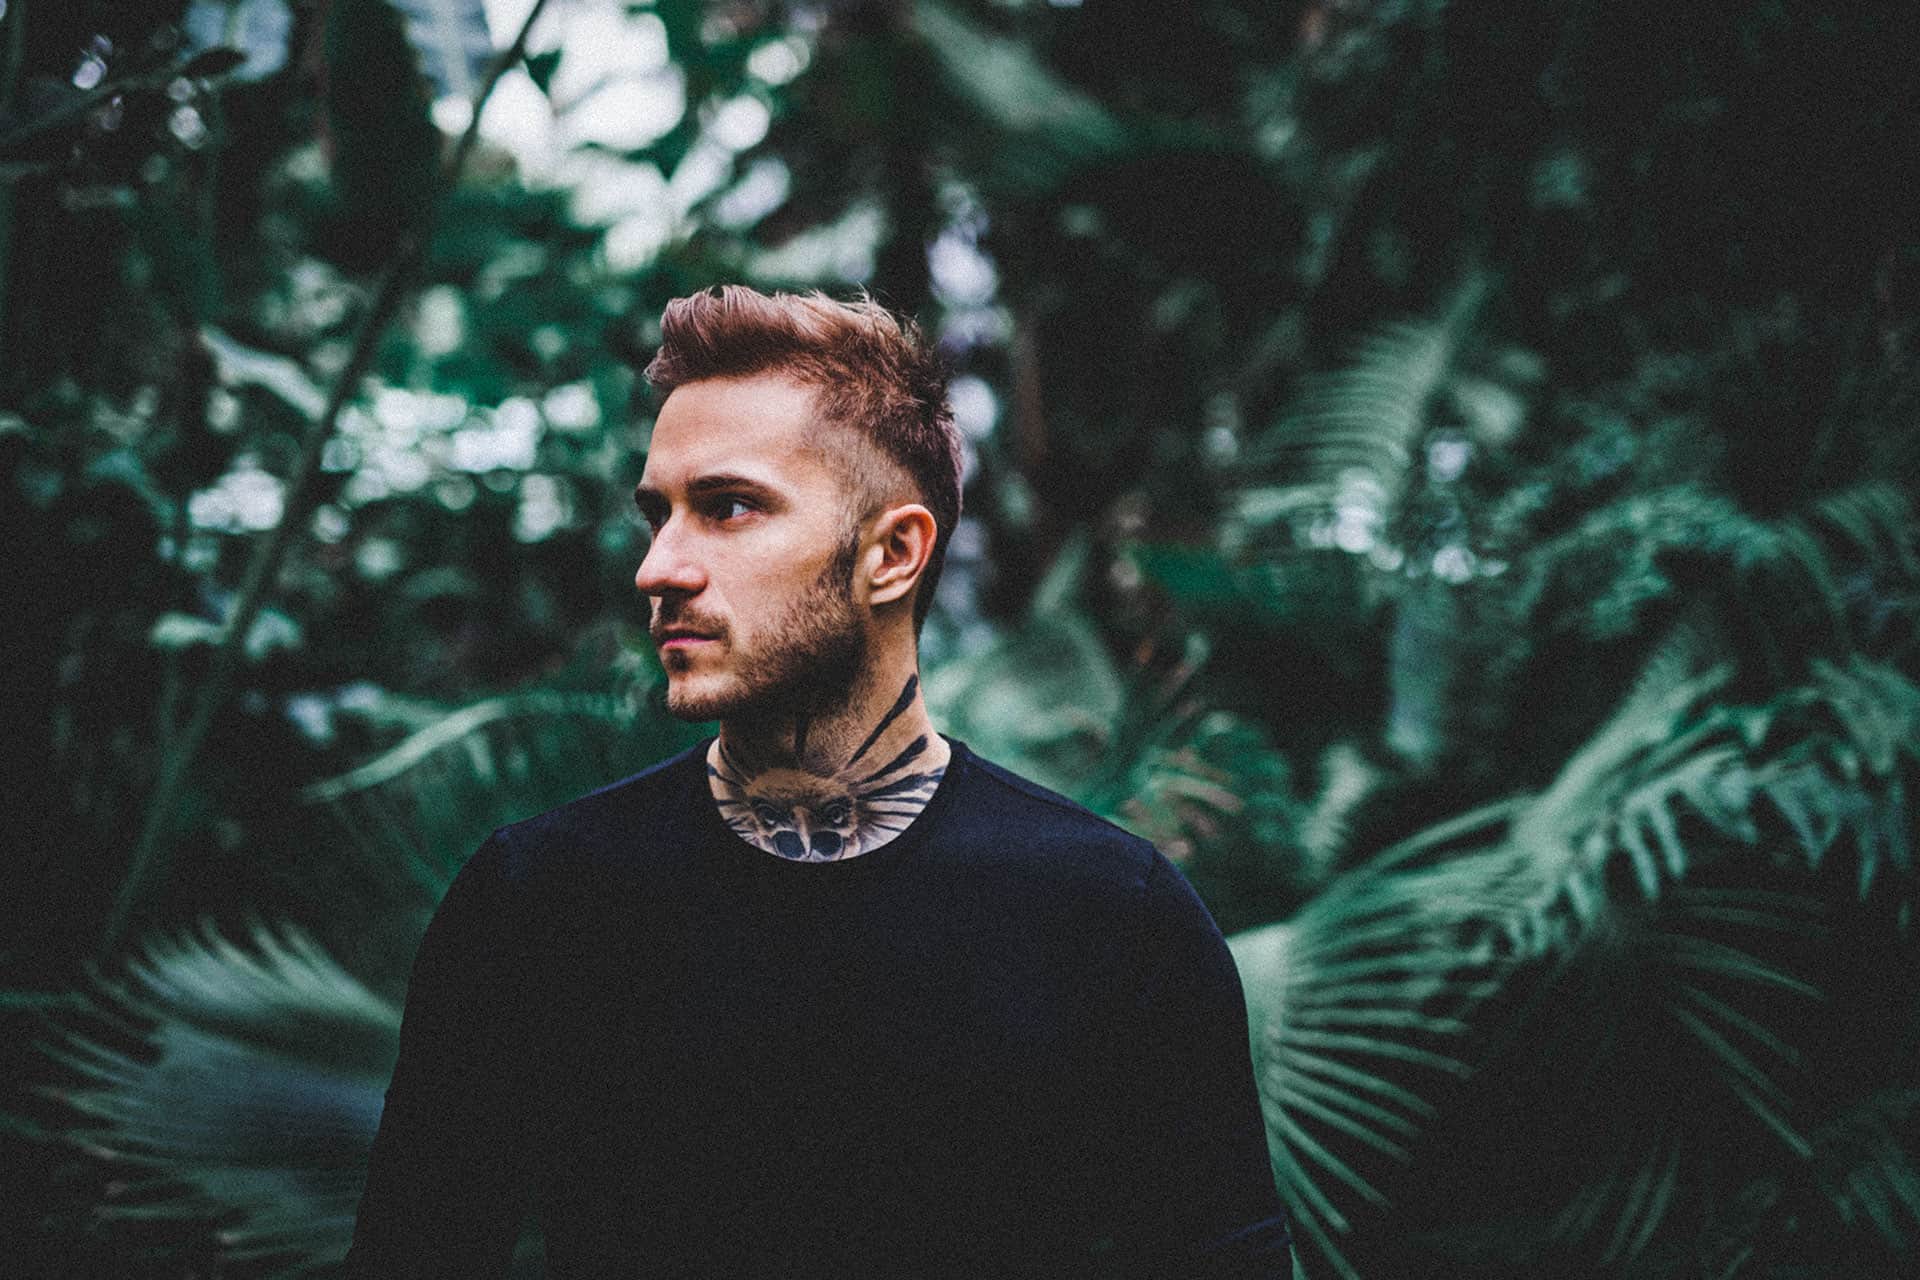
You’re done! Here’s how the photo looks like before and after the teal and orange color grading. I recommend keeping this effect at a light and natural strength.
Orange and Teal Lightroom PResets
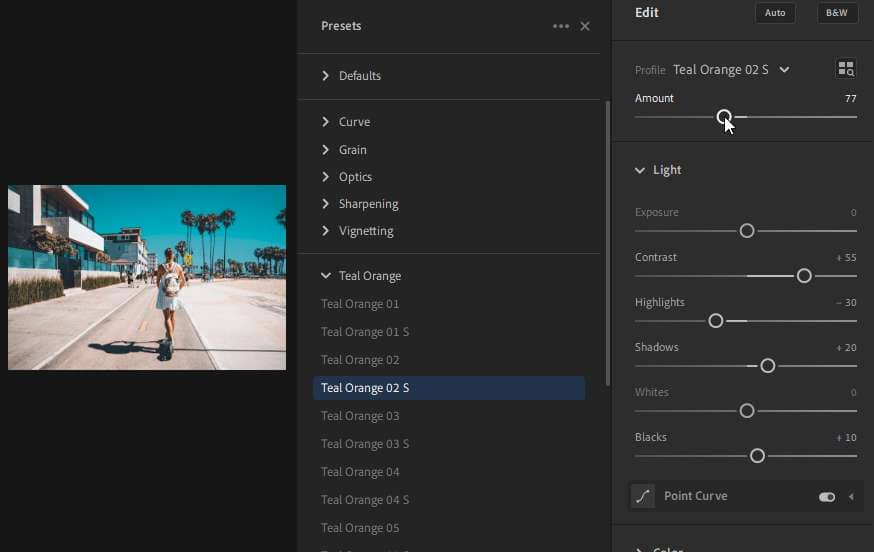
If you’re into this look, try VOXCOLOR Orange and Teal (free download). These are the same presets used by a major TV production company and several popular YouTubers. Although if you’re using it for video, you’ll need to purchase the Studio version for the LUTs.
The product uses Lightroom profiles to shift colors in a 3D space – something that you can’t recreate with simple Lightroom settings.


Leave a Reply