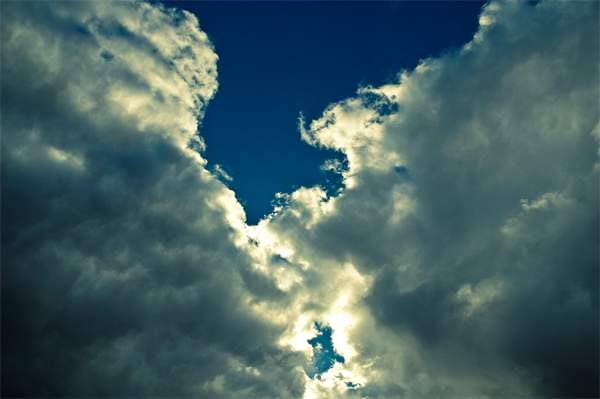
Clouds are arguably one of the most photographed yet boring photos ? they usually come out low in contrast. This Adobe Lightroom tutorial will show you how to improve your cloud photos with quick adjustments. These quick adjustments will give your clouds better contrast and color.
What you?ll be making
Step 1
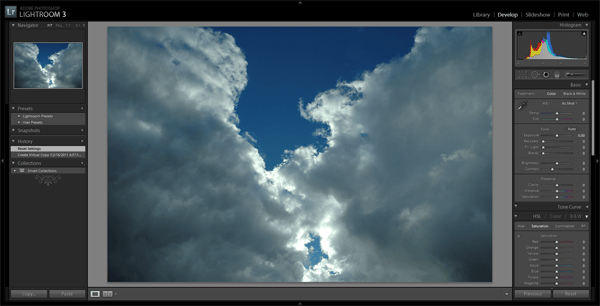
We?ll start by importing any photo of clouds into Lightroom. It?s best to use a clouds image where you have some blown-out highlights. Go into the Develop module to begin editing it.
Step 2
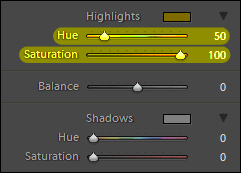
Scroll top the Split Toning area in the Develop module. We?re going to start by using the Split Toning settings to give the clouds more of a sunset or sunrise glow.
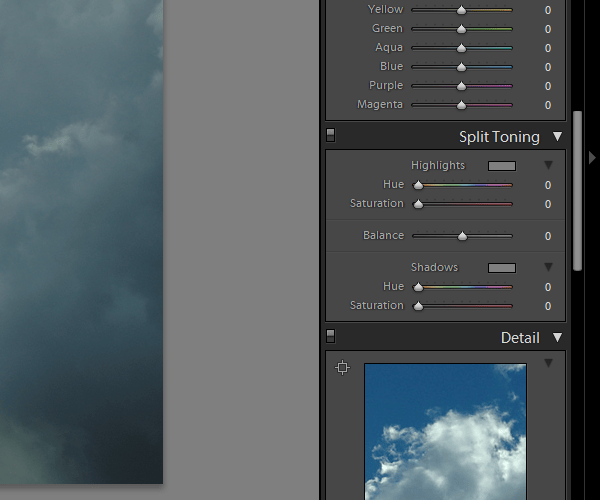
It?s really easy ? in the highlights settings, start by setting the hue to 50 and saturation to 100. This will give the highlights of your clouds photo a yellow glow.
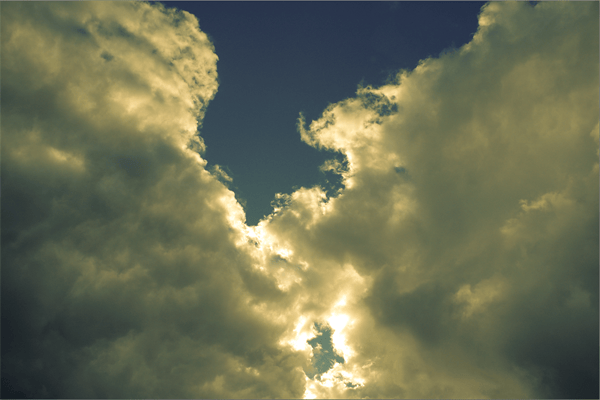
Your clouds will look overly yellow like this ? don?t worry because this is just temporary! In the next step, we?ll adjust the balance of it so that only the highlights are yellow.
Step 3
Reduce the balance until the yellow glow only appears in the overblown areas of your image.
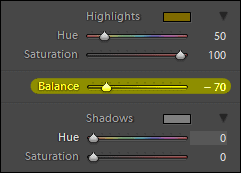
Now the yellow glow is only in the blown out highlights.
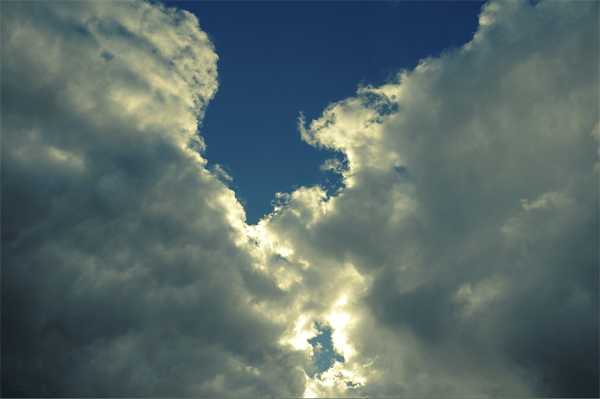
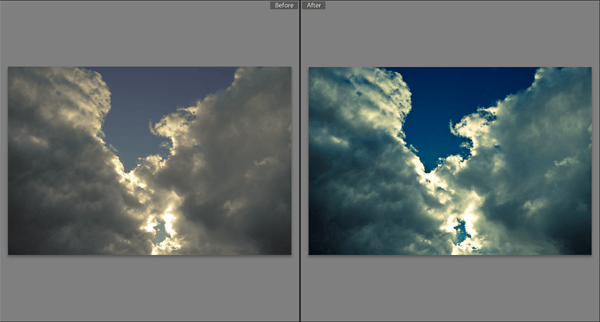
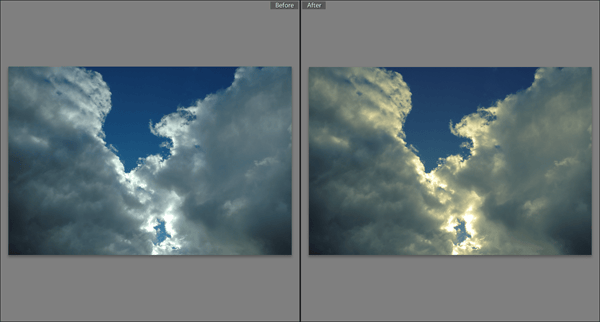
It?s a subtle difference ? but one that makes quite a big difference. Here?s the before and after.
Step 4
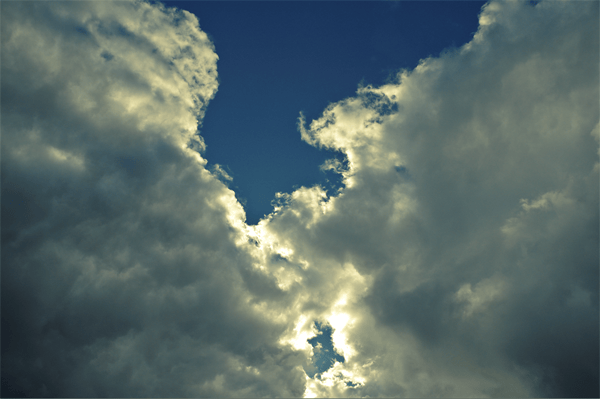
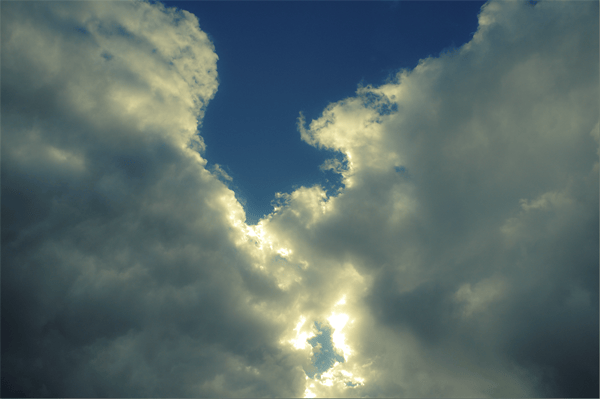
Now we?re going to adjust the clarity of it. You can either increase the clarity (for dramatic-looking clouds) or reduce it (for softer-looking clouds). Here?s what it looks like with the clarity increased:

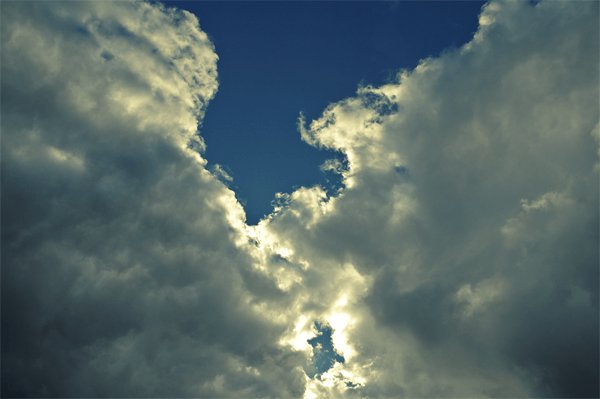
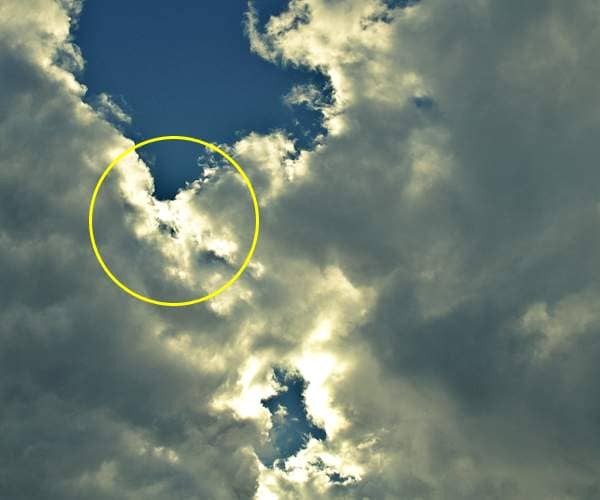
Be careful not to increase the clarity too high as you?ll get shadows like this ? which just makes your clouds look fake.
Here?s what it looks like with low-clarity:

Step 5
I?m going to keep mine at the high-clarity setting. Whichever one you?d like to use is up to you.
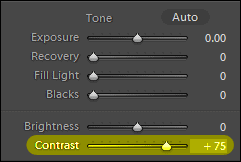
To complete the image, we?re going to adjust the contrast. Increase your contrast to your likings and you?re done!
Final Results
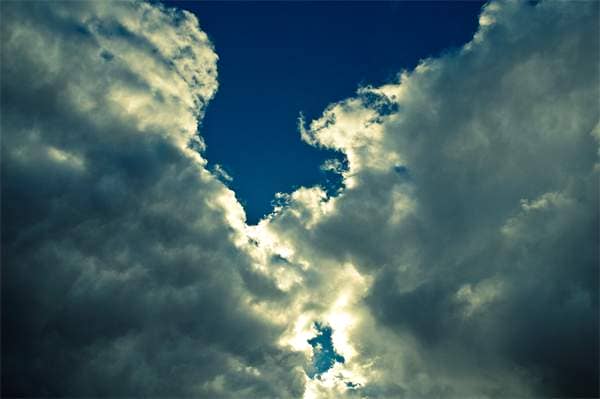
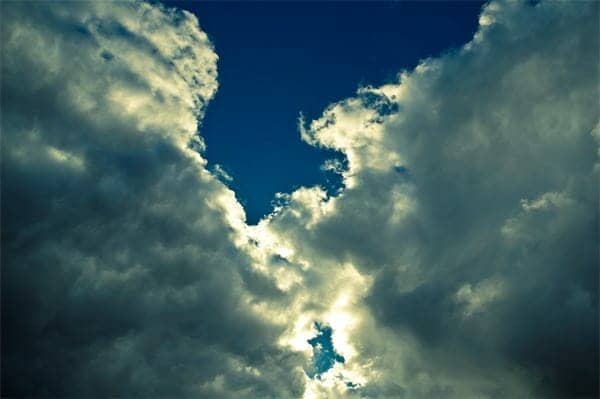
Here?s what the image looks like! You can use different settings to get different results ? we chose to make ours a little more dramatic.
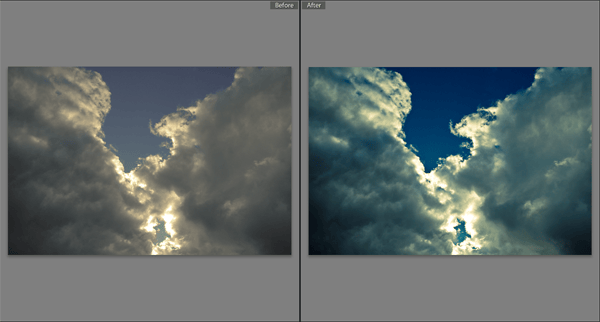
Here?s a comparison of the before image and after image.


Leave a Reply