There are many HDR software out there and some of the top ones can cost you over $100. But all of those cannot create the same natural HDR results that this donationware plugin can. If you want the most natural HDR images, then you need to read this Lightroom tutorial.
Download LR/Enfuse
Before you begin, you?ll need to get the LR/Enfuse plugin. The free download limits your output size to 500 pixels so we recommend buying it. Since it?s donationware, you can pay however much you can afford and you can buy it for as low as $3.19 USD. Personally, I recommend that you just donate the $3 and skip the trial version. Then, if you like it, you can donate more afterwards.
Installing LR/Enfuse
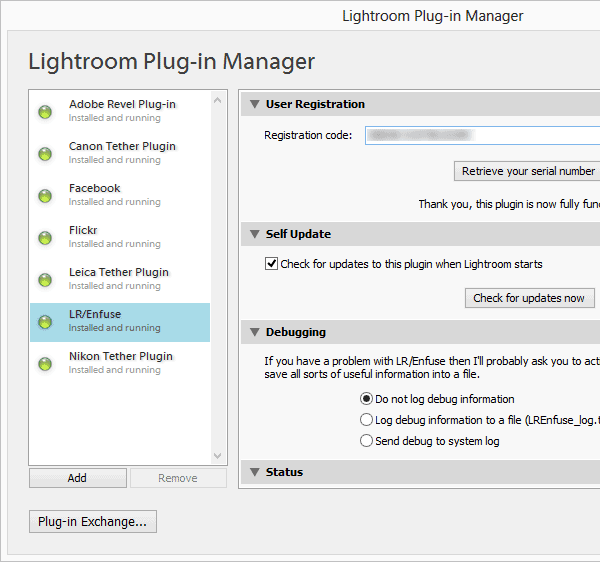
To install, unzip the file that you downloaded. In Lightroom, go to File > Plugin Manager. Click on the Add button then browse for the ?LREnfuse.lrplugin? file that you just extracted. Enter the serial number if you have one.
Once you have LR/Enfuse installed, select any picture then go to File > Plug-in Extras > Blend exposures using LR/Enfuse. This menu option is only enabled if you have a set of bracketed images selected. Select ?Enfuse 4 for multi-processors and Align_Image_Stack? then click install. If you have a sing-core processor or older, select the one of the other two options.
Using LR/Enfuse
Step 1
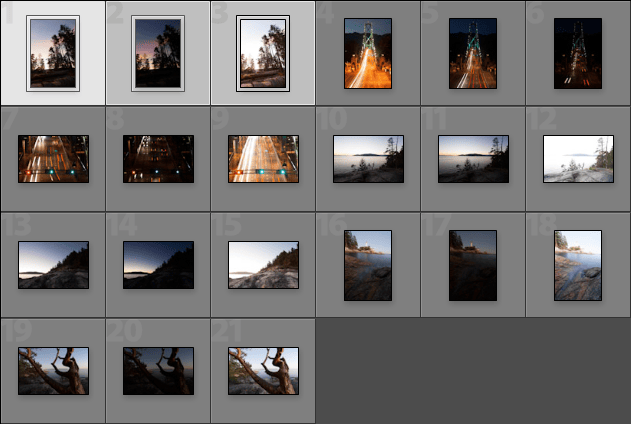
To enfuse your images into HDR, start by selecting three images of the bracketed shot.
Step 2
Go to File > Plug-in Extras > Blend exposures using LR/Enfuse. This menu option is only enabled if you have a set of bracketed images selected.

Step 3
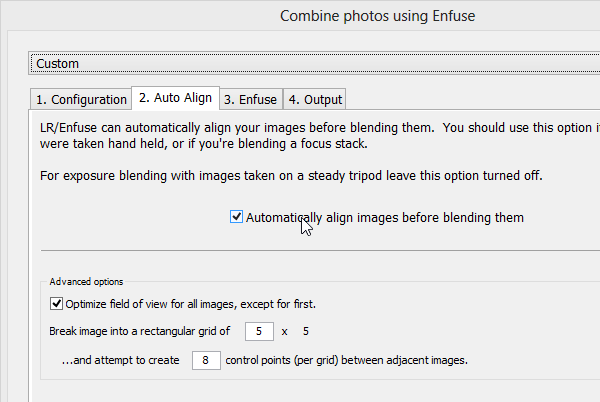
Go to the Auto Align tab. If you didn?t shoot your pictures with a tripod, checkmark the ?Automatically align images before blending them? option. This will align your images for you but will slow down the processing time but quite a bit. If you?re unsure, just enable it but it will add a significant amount of rendering time. The enfusing is really quick ? it?s just the image alignment that takes a long time to process.
Step 4
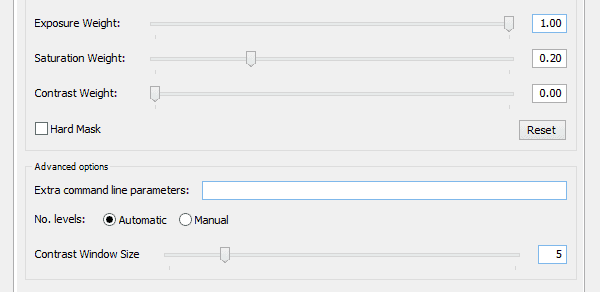
Go into the Enfuse tab. The default settings work fine and we recommend it for starting off. In the Fusion options, you can tell how much importance/weight to place on the exposure, saturation, and contrast. If you want better results, you can try enabling a Hard Mask but this can sometimes increase noise. Hard Mask works well on images with really fine details (ex. photo of a pencil sketch).
Step 5
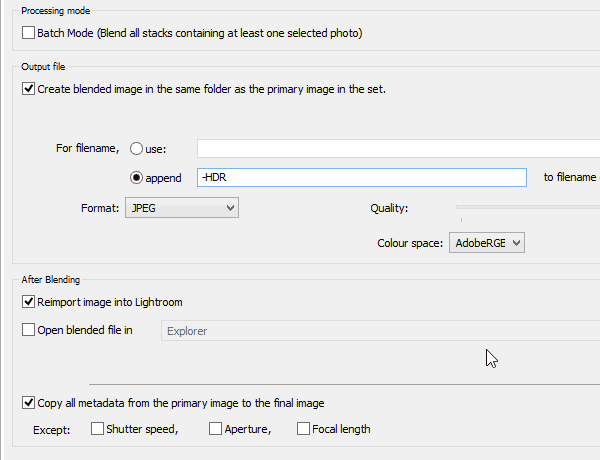
Go to the Output tab. Disable the Batch Mode option since you only have 1 set of photos selected. I usually like to append ?-HDR? to the end of the file name so that I know it?s been blended and I always have it reimport it into Lightroom ? this will save you lots of time if you do this with multiple images (Batch Mode). I have it copy all the metadata INCLUDING the Aperture, and Focal Length (leave these disabled to include them in your EXIF data). The reason for this is because when I shoot HDR, I always have it adjust the shutter speed and leave the aperture and focal length the same. This is how most HDR shots are captured and I recommend it. If you created your HDR by changing your cameras ISO setting, then you can should all of them unchecked.
Step 6
Click Enfuse Images then wait to see the results in Lightroom. If you don?t see it, make sure that you have ?All Photographs? selected instead of ?Previous Import?.

Final Results
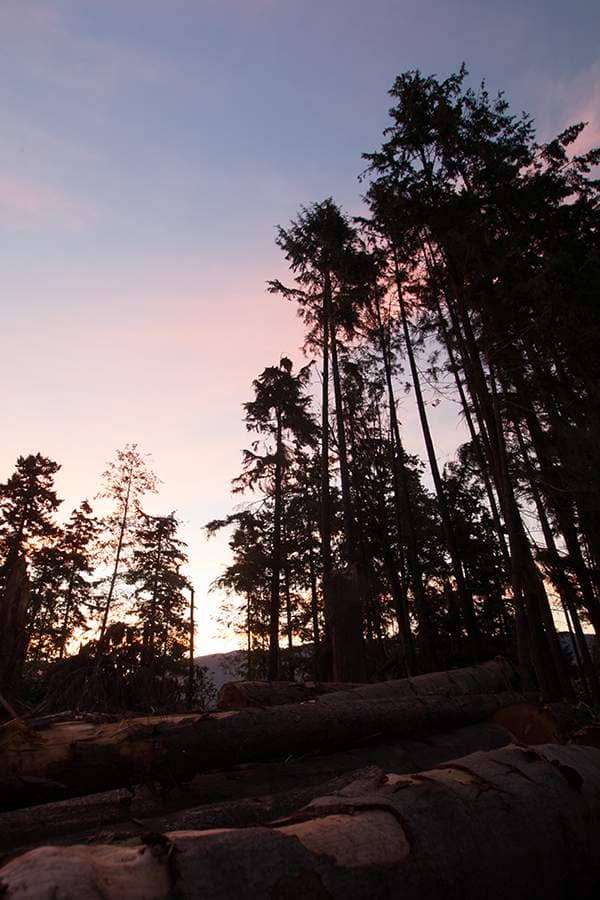
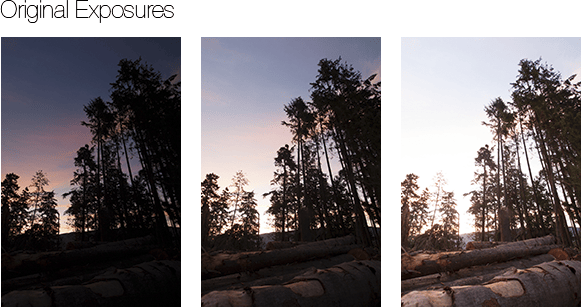
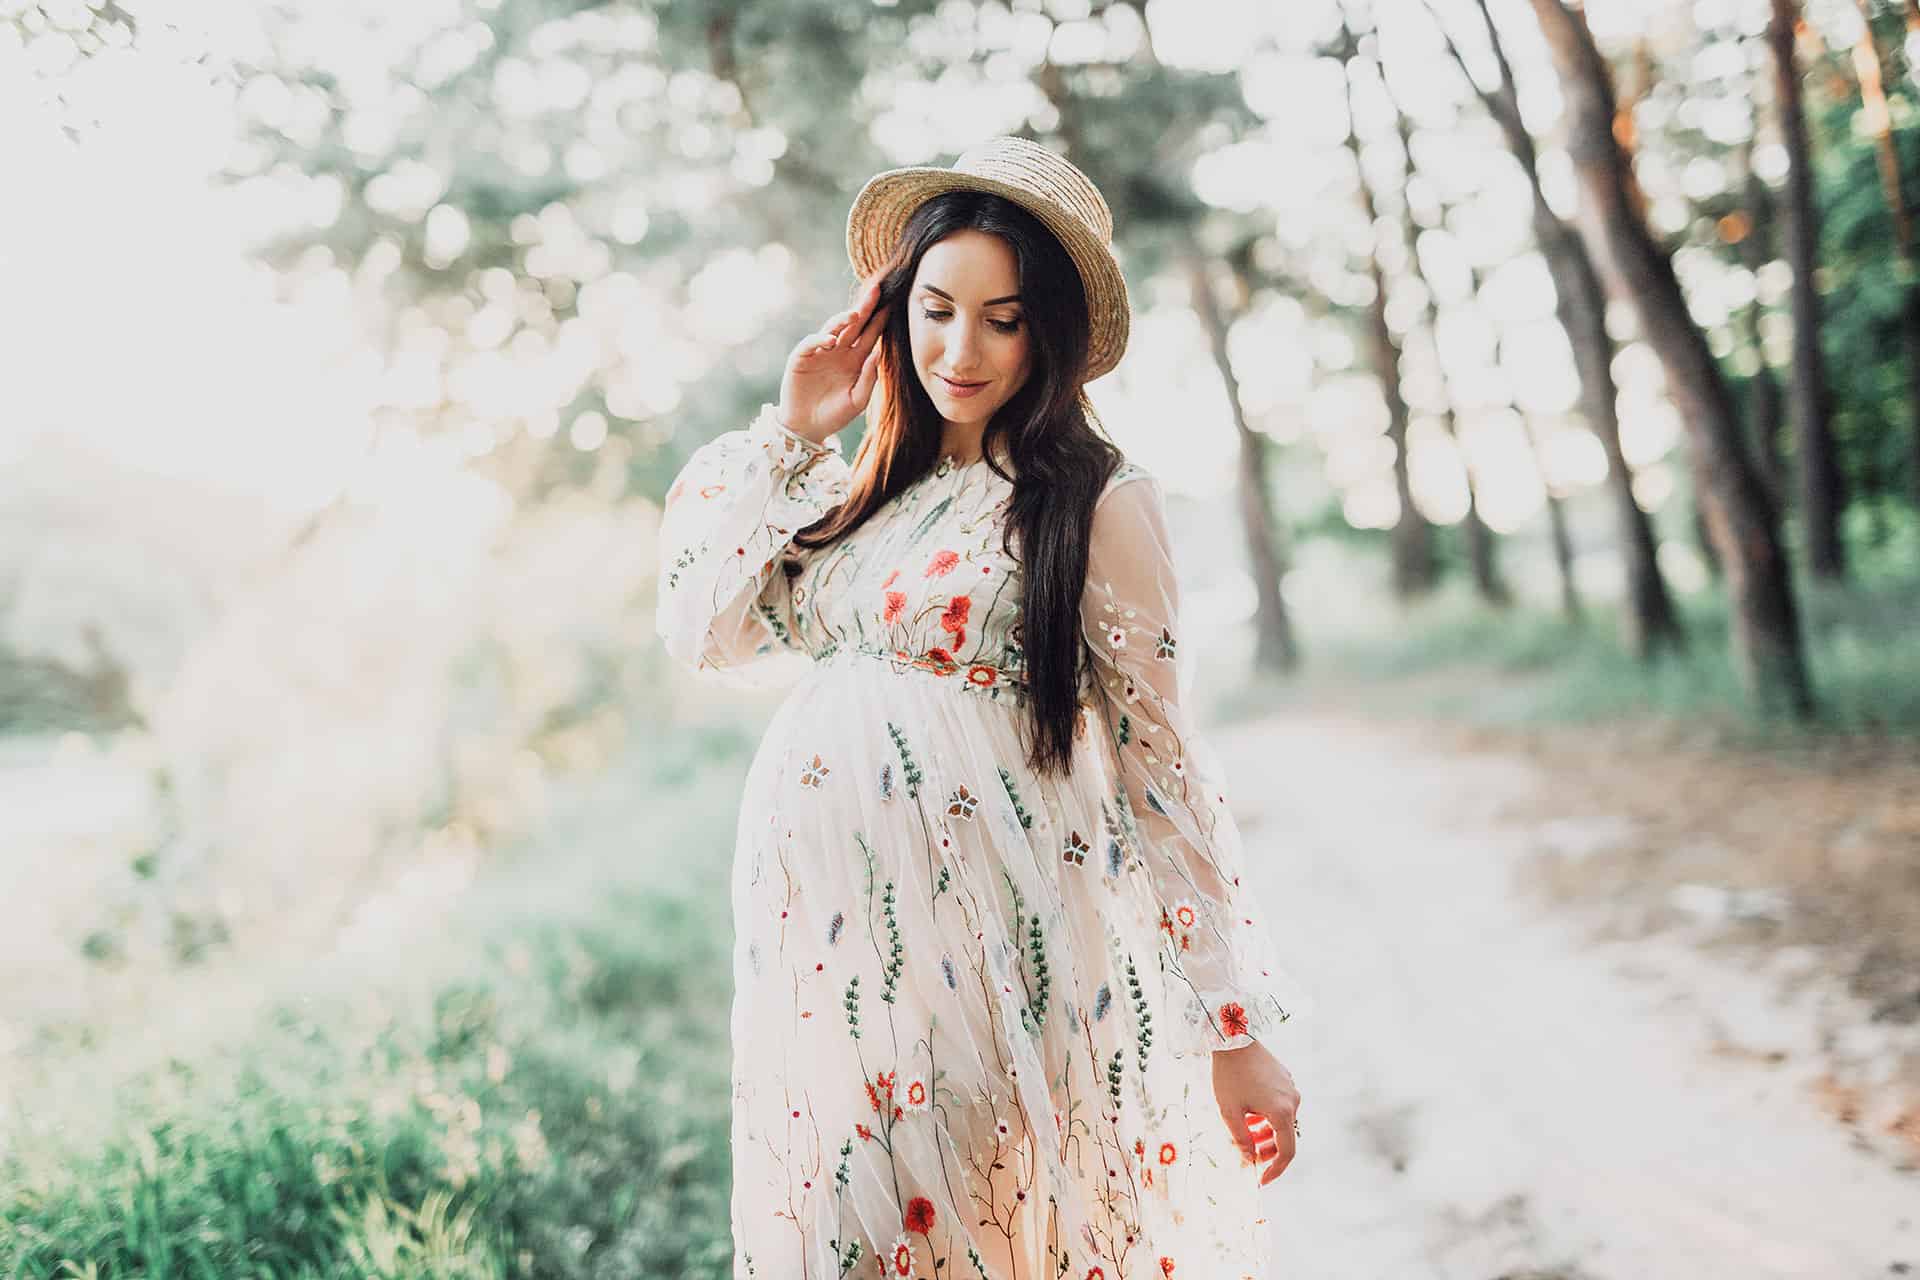
Here?s what the final image looks like. The HDR results are so natural that most people wouldn?t have known it?s HDR unless they saw the bracketed shots.


Leave a Reply