You see it everywhere. Pure white walls, white clothes with no color cast, etc. But how is this achieved? It’s done with the vibrance and saturation settings. Using these two settings, you can create a contrast between the saturated and desaturated areas.
How to create a clean white look:
- In Lightroom, go to the develop settings.
- Reduce the vibrance.
- Increase the saturation.
- Use an adjustment brush to further desaturate the colors.
Step 1
First, you should make sure that your photo is properly exposed. It will make it easier.
Here’s the photo that i’ll be using. As you can notice, the water has a brownish tint. The model’s clothes have a warm color cast.

Step 2
Reduce the vibrance setting until the color casts are removed (but not so much that all the colors are removed). It’s better to start stronger and reduce it afterwards.

Notice how the color cast is gone but most of the image remains desaturated.

Step 3
Increase the saturation to bring back the colors. Since the gray areas are already gray, those won’t be affected.

Here’s how the image looks like. You can see that it has roughly the same saturation as before but the grays are more gray.

Step 4
It looks okay at first glance. But look at the skin tones because you’ll notice that it doesn’t look natural. Remember that this technique works by increasing the contrast between the saturated and desaturated areas.

To fix this, reduce your settings.

Step 5
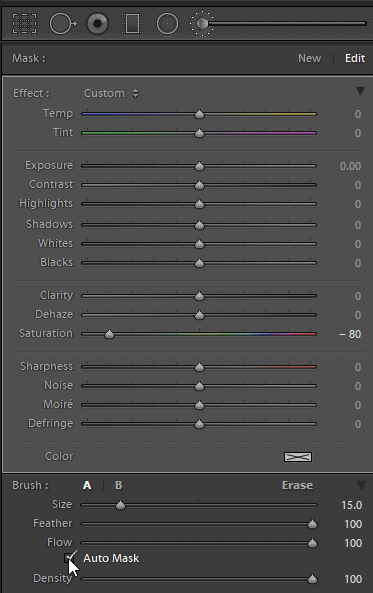
To further desaturate without affecting other colors, use an adjustment brush. Set the saturation to around -80. Enable the Auto Mask option for better results around the edges.
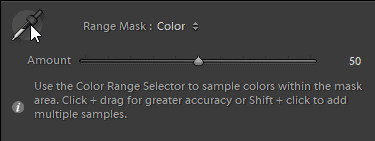
You can also use a color mask for more precision. But I find that this isn’t necessary most of the time. If you do need to use it, here’s how:
- Use the adjustment brush anywhere on the image.
- The Range Mask will be enabled. Select “Color” from the range mask menu.
- Click on the eyedropper tool.
- Click and drag on an area in your photo to sample a few colors
- Hold shift+click to add more color samples.
Your adjustment brush will now only affect the selected color range.

Final Results
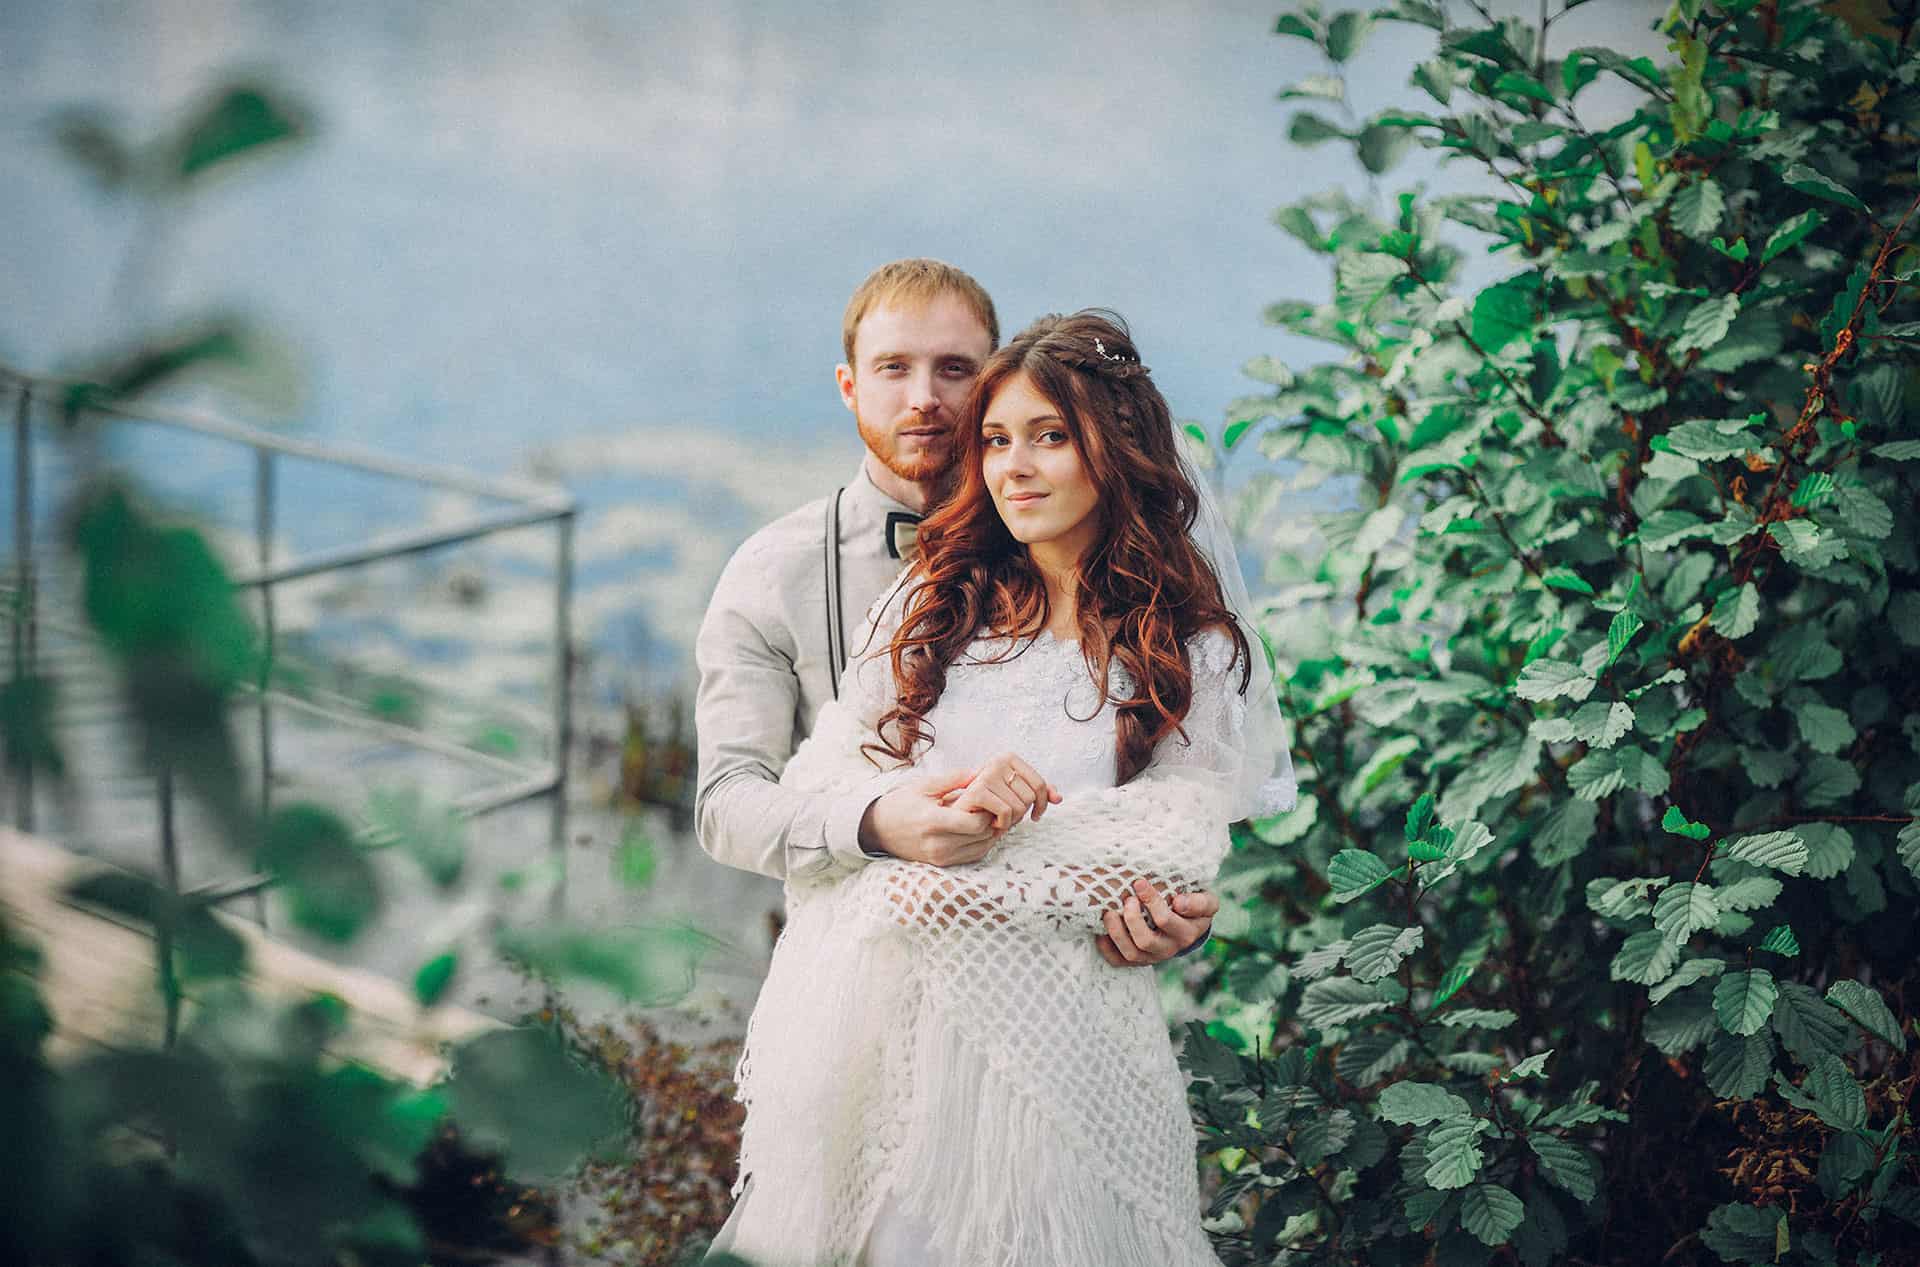
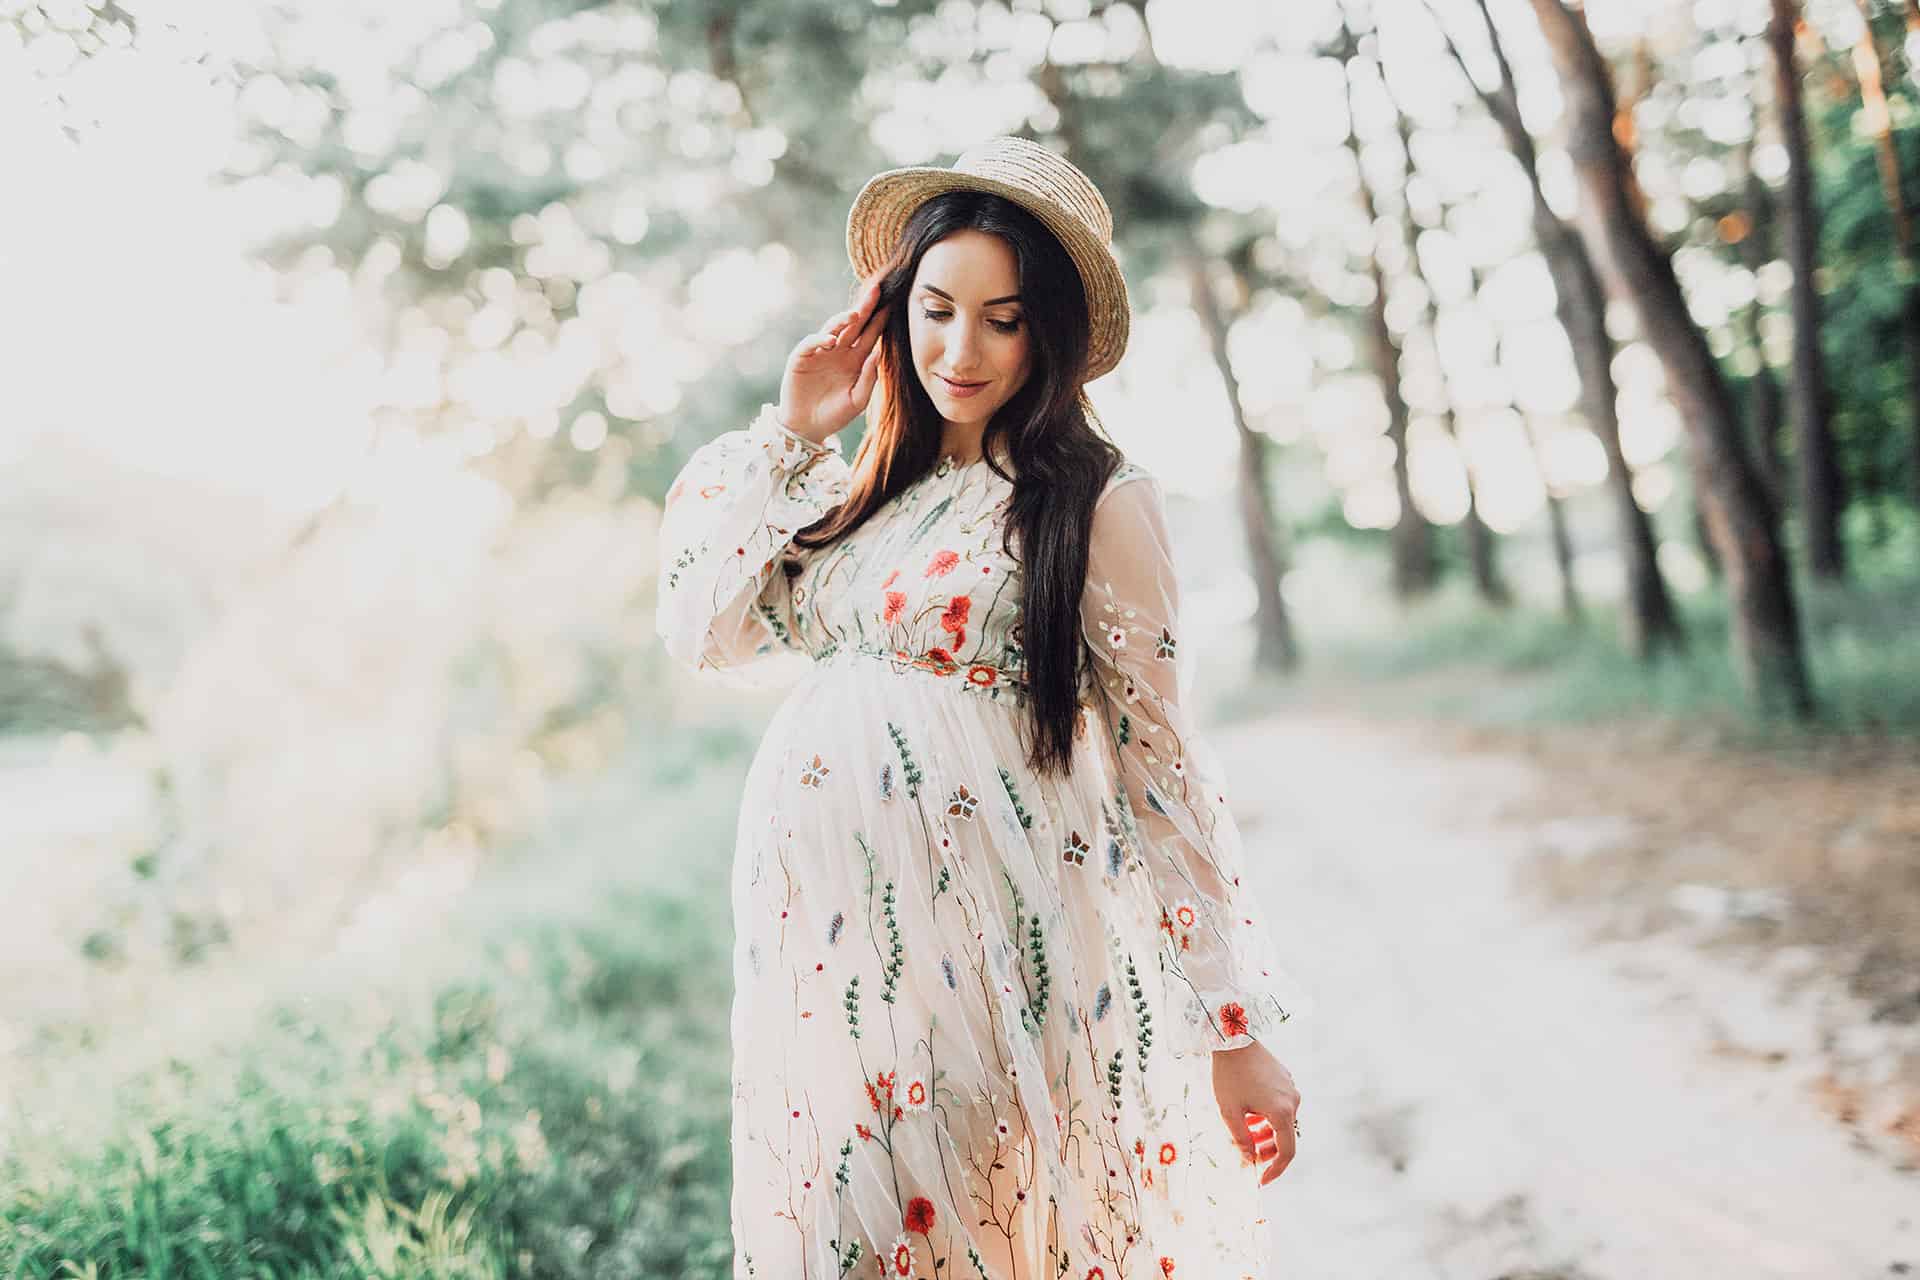
You’re done! Here’s how the image looks like before and after. This is a quick way to improve your photos without too much processing.?


Leave a Reply