Did you know that you can turn many of your cold landscape photos into breathtaking sunrise/sunset photos? And you can do it all inside Lightroom? This tutorial will show you how to do just that while keeping it realistic without that manipulated look.
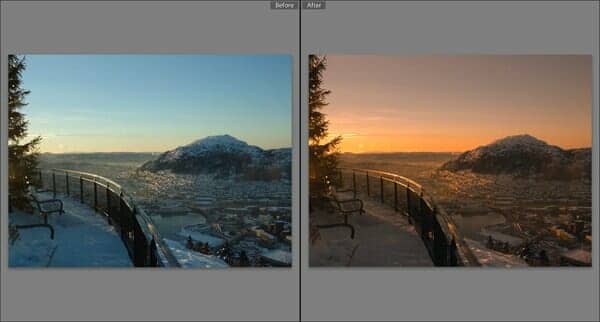
Before and After


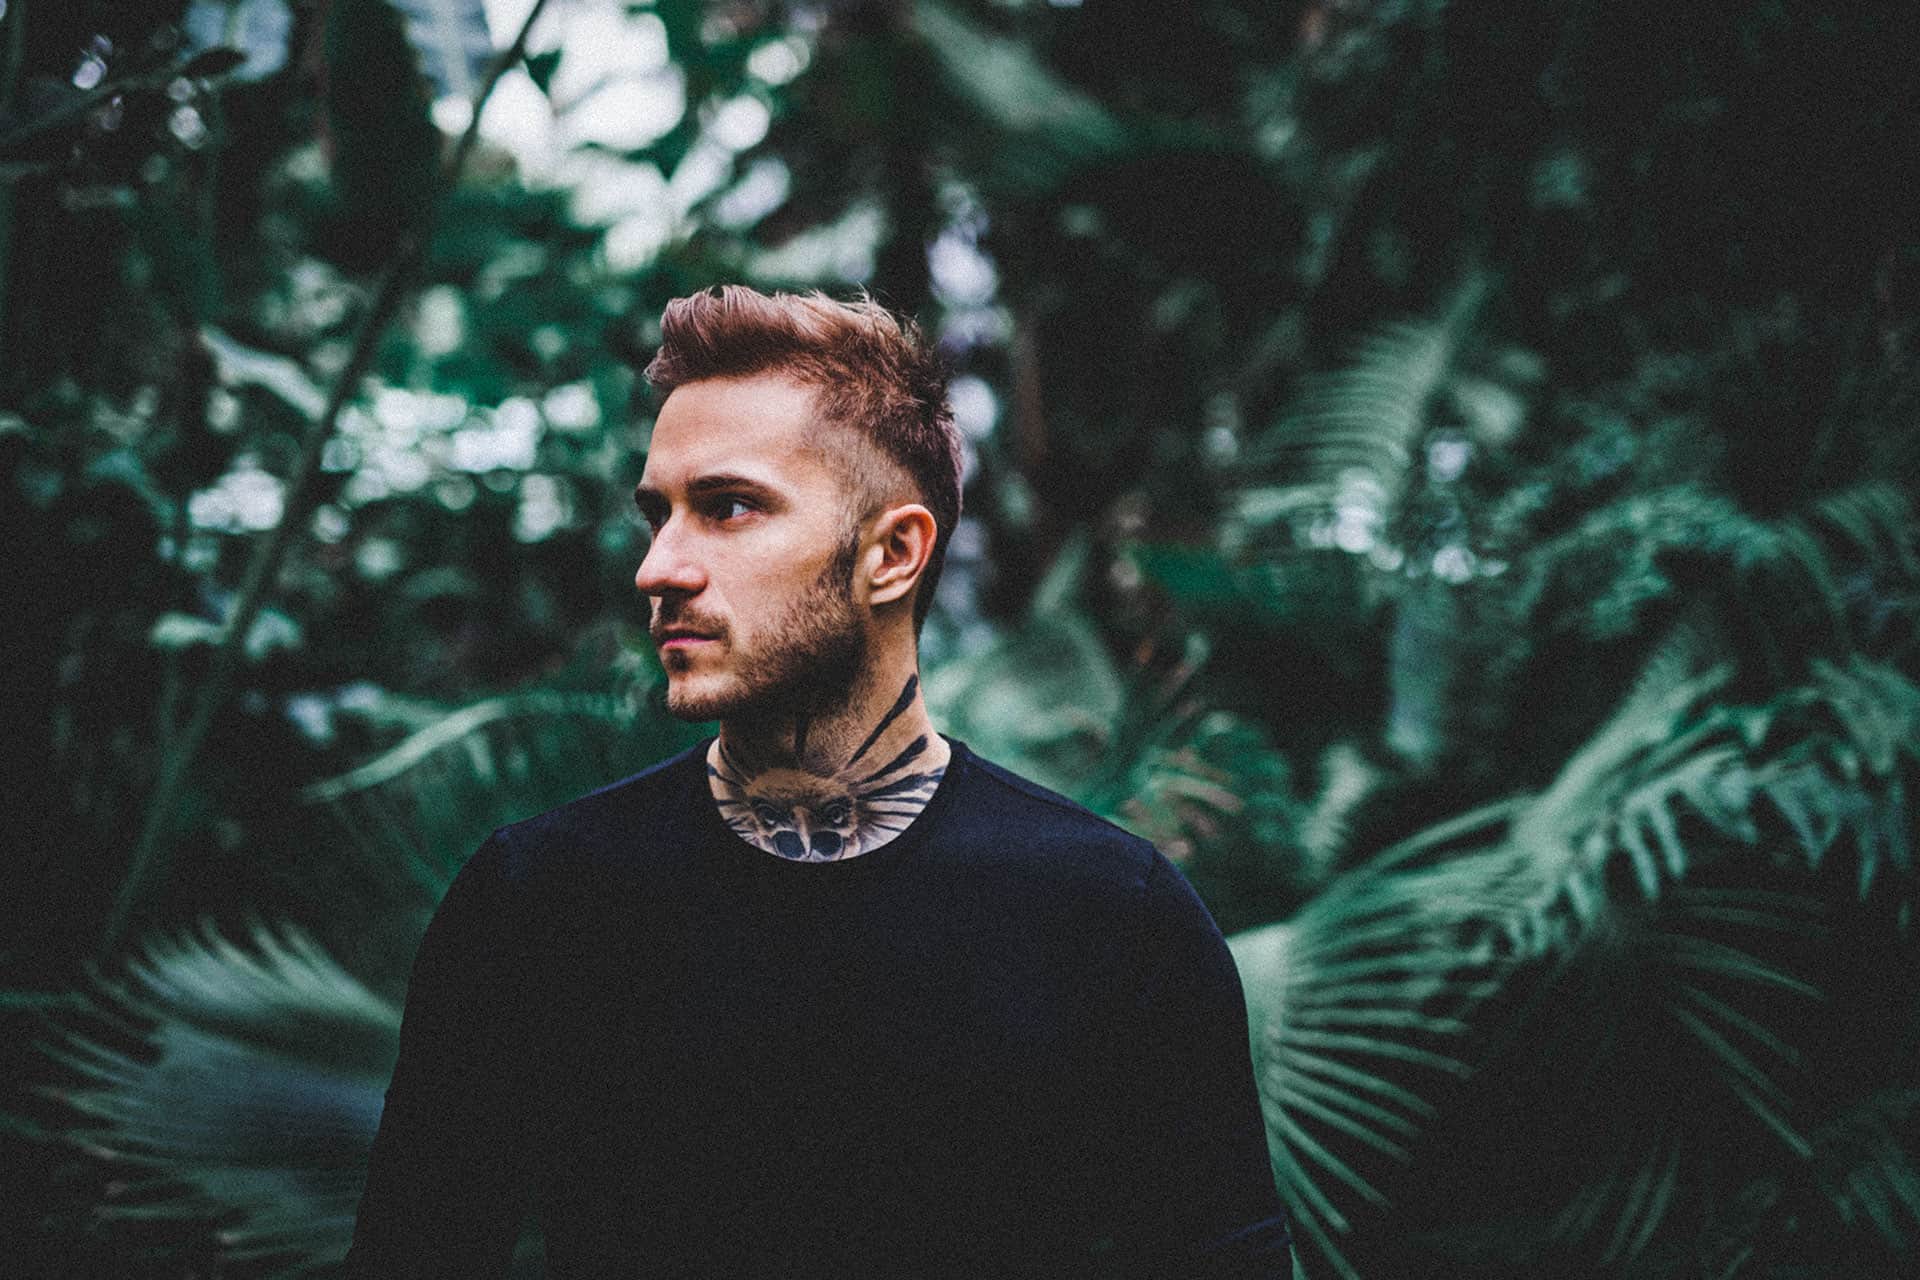
Step 1
Here?s the image that we?ll be using. This effect only works for certain types of photos ? mostly landscapes with a blue sky. It?s best if the sun is near the horizon with a hint of orange.

Step 2
The key settings for giving your photos a warm glow is the white balance. Simply increase the temperature and tint. Be careful not to give your image to much of a red hue ? or else it?ll look fake.

Here?s what it looks like with the white balance adjusted. It looks pretty good! But we?ll show you some more settings you can adjust to make it look even more realistic.

Step 3
If you want to make your photo darker, now?s the time to do it! We recommend adjusting the exposure setting instead of the brightness.

Here?s what it looks like with the exposure setting reduced.

Step 3
Next, we?re going to improve the colors to make the sunset more vibrant. We?ll use a vibrance/saturation trick in Lightroom 3. Start by reducing the Vibrance setting.

You?ll get a dull image like this. But pay attention to where the sun is.

Step 4
Next, increase the saturation.

Here?s what the image looks like with the saturation bumped back up!

Here?s what our image looks like before we did this vibrance/saturation trick. As you can see, the image above has a more realistic sunrise glow.

Step 5
If you like the image the way it is now, you?re done! Think it?s too strong and want to keep it on the safer side? Here?s a setting you can adjust. By using the split toning settings, you can make the shadows more blue ? closer to what the auto white balance of a camera would produce (to compensate for the warmth of the orange glow).
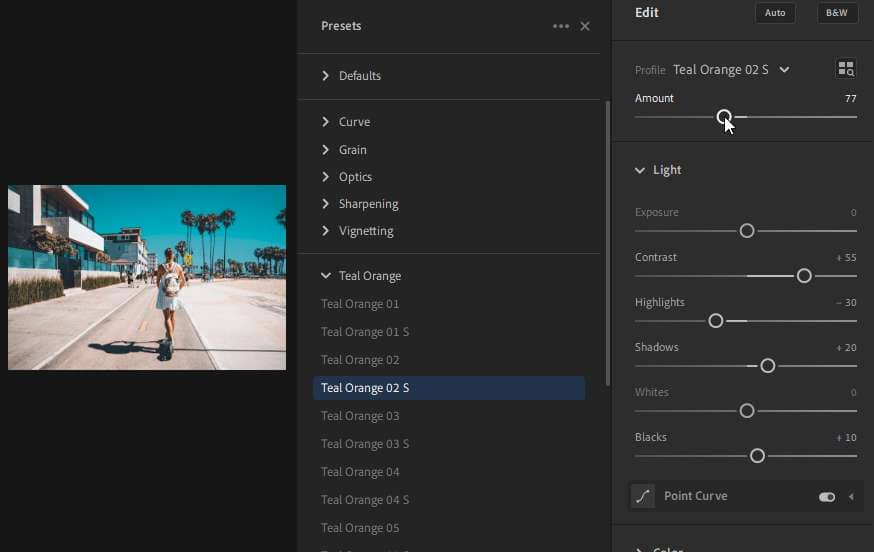
In the Split Toning area, set the hue to 215 then adjust the saturation to your likings. Here?s the Lightroom settings we used:

Here?s what our photo looks like with the sunrise glow reduced. If you pay attention to the shadow areas of the image, you can see that it has a slight bluish tint which makes it look less manipulated.

Final Results
Here?s what the image looks like with the sunrise glow! Note that the settings you use will vary a lot depending on your photos ? and that this technique does not work with every photo. However, if it does work on your photo, be sure to not go overboard with it.

Here?s a comparison of the original image and after with the sunrise colors.


Leave a Reply to MianoCancel reply