Cropping is one of the most essential things to learn. In this tutorial, you will learn how to straighten tilted photos, work with custom aspect ratios, what the constrain to crop option is all about, and how to change the crop overlay using a hotkey. In short, you’ll learn everything you need to know about the Crop tool.
Step 1 ? Find the Crop Tool
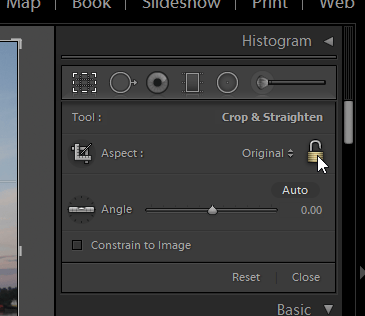
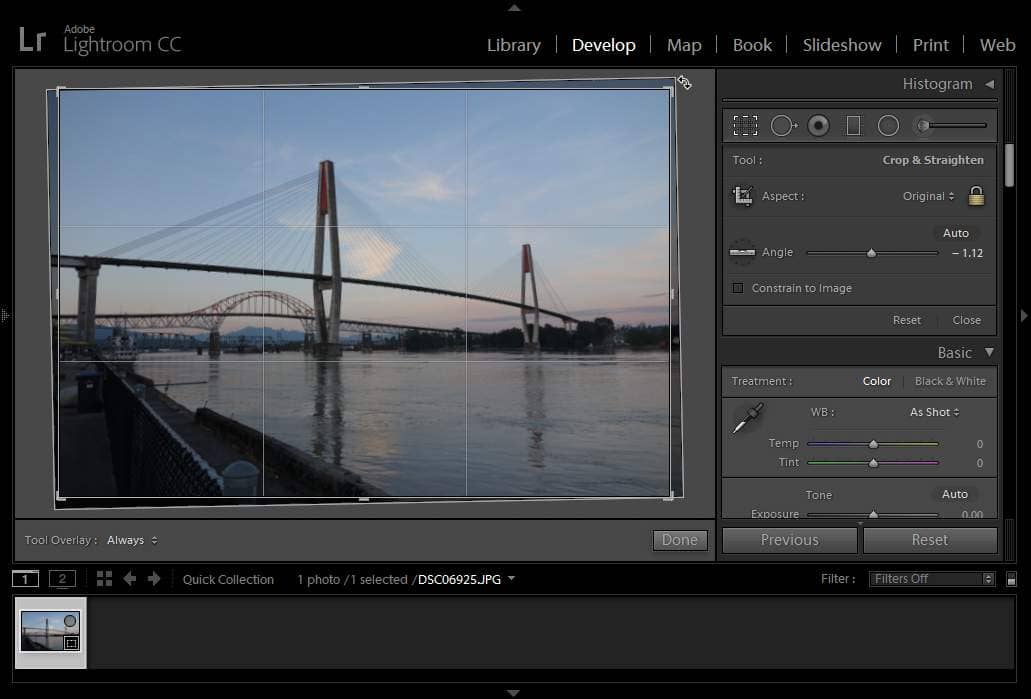
To find the Crop tool, go into the Develop module. You can find the Crop Overlay tool in the right panel or by pressing R on your keyboard.

Step 2 ? Set the Aspect Ratio
Great so we have a crop tool ? easy peasy! You?ll now see a grid over your photo to which you can drag the corners to resize the crop. But before we begin, you need to know why you?re cropping.
- Cropping for composition reasons such as zooming in or to remove distracting objects
- Cropping to fit a screen or printed material
If you?re cropping for composition reasons, then it recommended to maintain the original aspect ratio. That is, don?t make your image wider or taller than it is originally. You can do this by clicking on the lock icon in the develop panel.
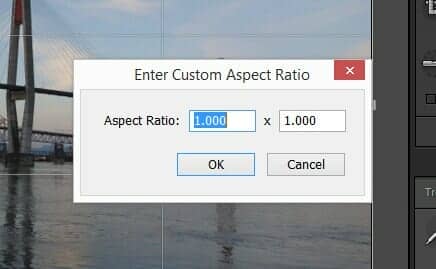
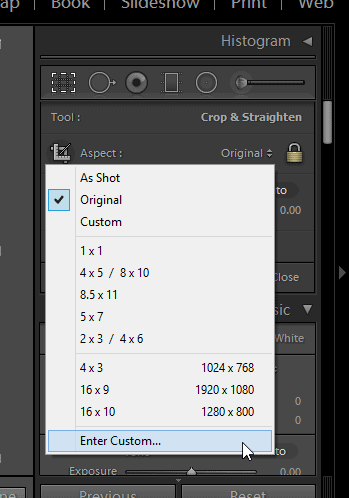
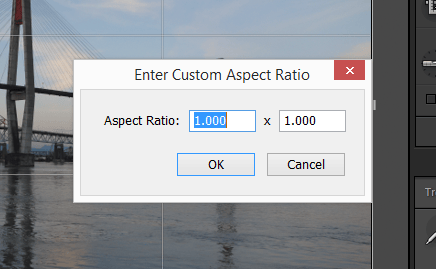
On the other hand, if you have a particular aspect ratio you are cropping to, you can click on the dropdown menu beside the lock icon and select a preset or enter your own.
Step 3 ? Align Your Tilted Photo
If your photo is tilted, you can use the Angle slider to rotate your image. It?s recommended to do this before cropping as opposed to afterwards because the tilt of your photo can affect your crop. To fix tilted photos, adjust the angle slider or move your mouse outside one of the crop corners and drag to rotate.
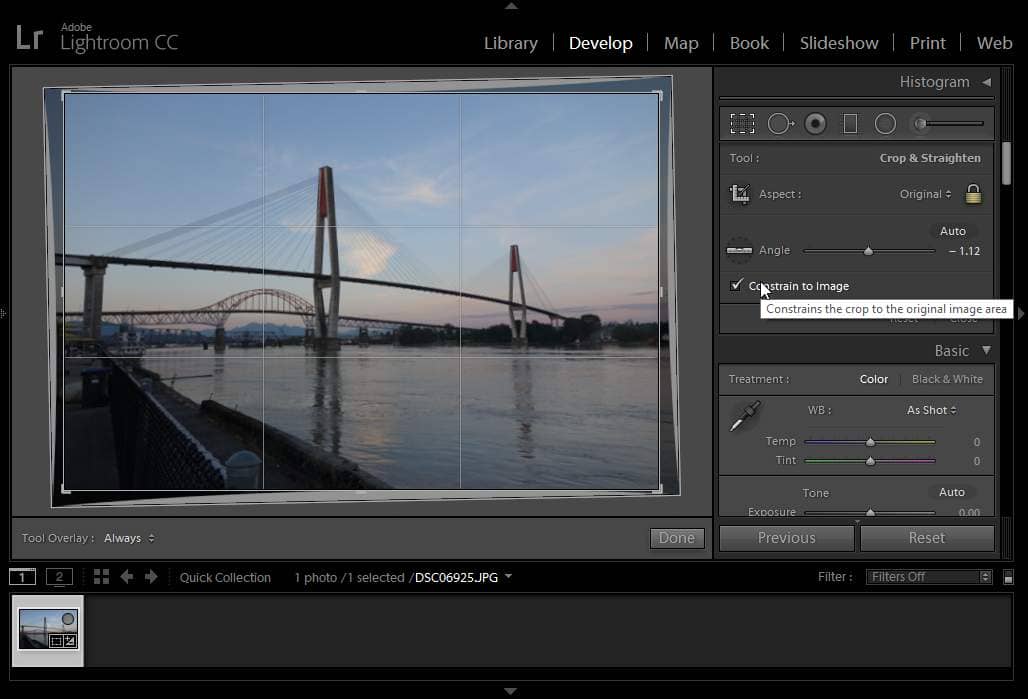
Step 4 ? What does ?Constrain to Image? mean?
You know how to crop now but what about that mysterious constrain to image option do? If you turn it on/off and crop, it?ll feel like it does nothing. However, if you start adding some lens distortion settings, Lightroom, you might get some white space. By enabling the constrain to image option, you?ll force the Crop tool to only crop inside of your photo so that no white background will show up.
Note: In previous versions of Lightroom, this was called the ?Constrain to Warp? option.

Here?s how the crop changes after enabling the constrain to image option.
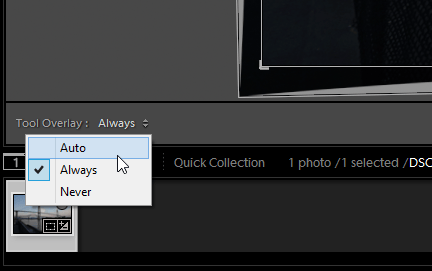
Step 5 ? Changing the Grid Overlay
Lightroom?s crop tool has a very handy rule of thirds overlay. You can also change this to several different overlays simply by pressing the ?o? key on your keyboard while you have the Crop tool selected.
There?s also an option on the bottom left where you can set when the overlay appears. In auto mode, the overlay only appears when you are resizing the crop area.
Summary
That?s it! You just learned everything you need to know. Here?s a quick guide for hotkeys that you should remember
- Crop Tool ? R
- Switch Overlay ? O


Leave a Reply to brentCancel reply