
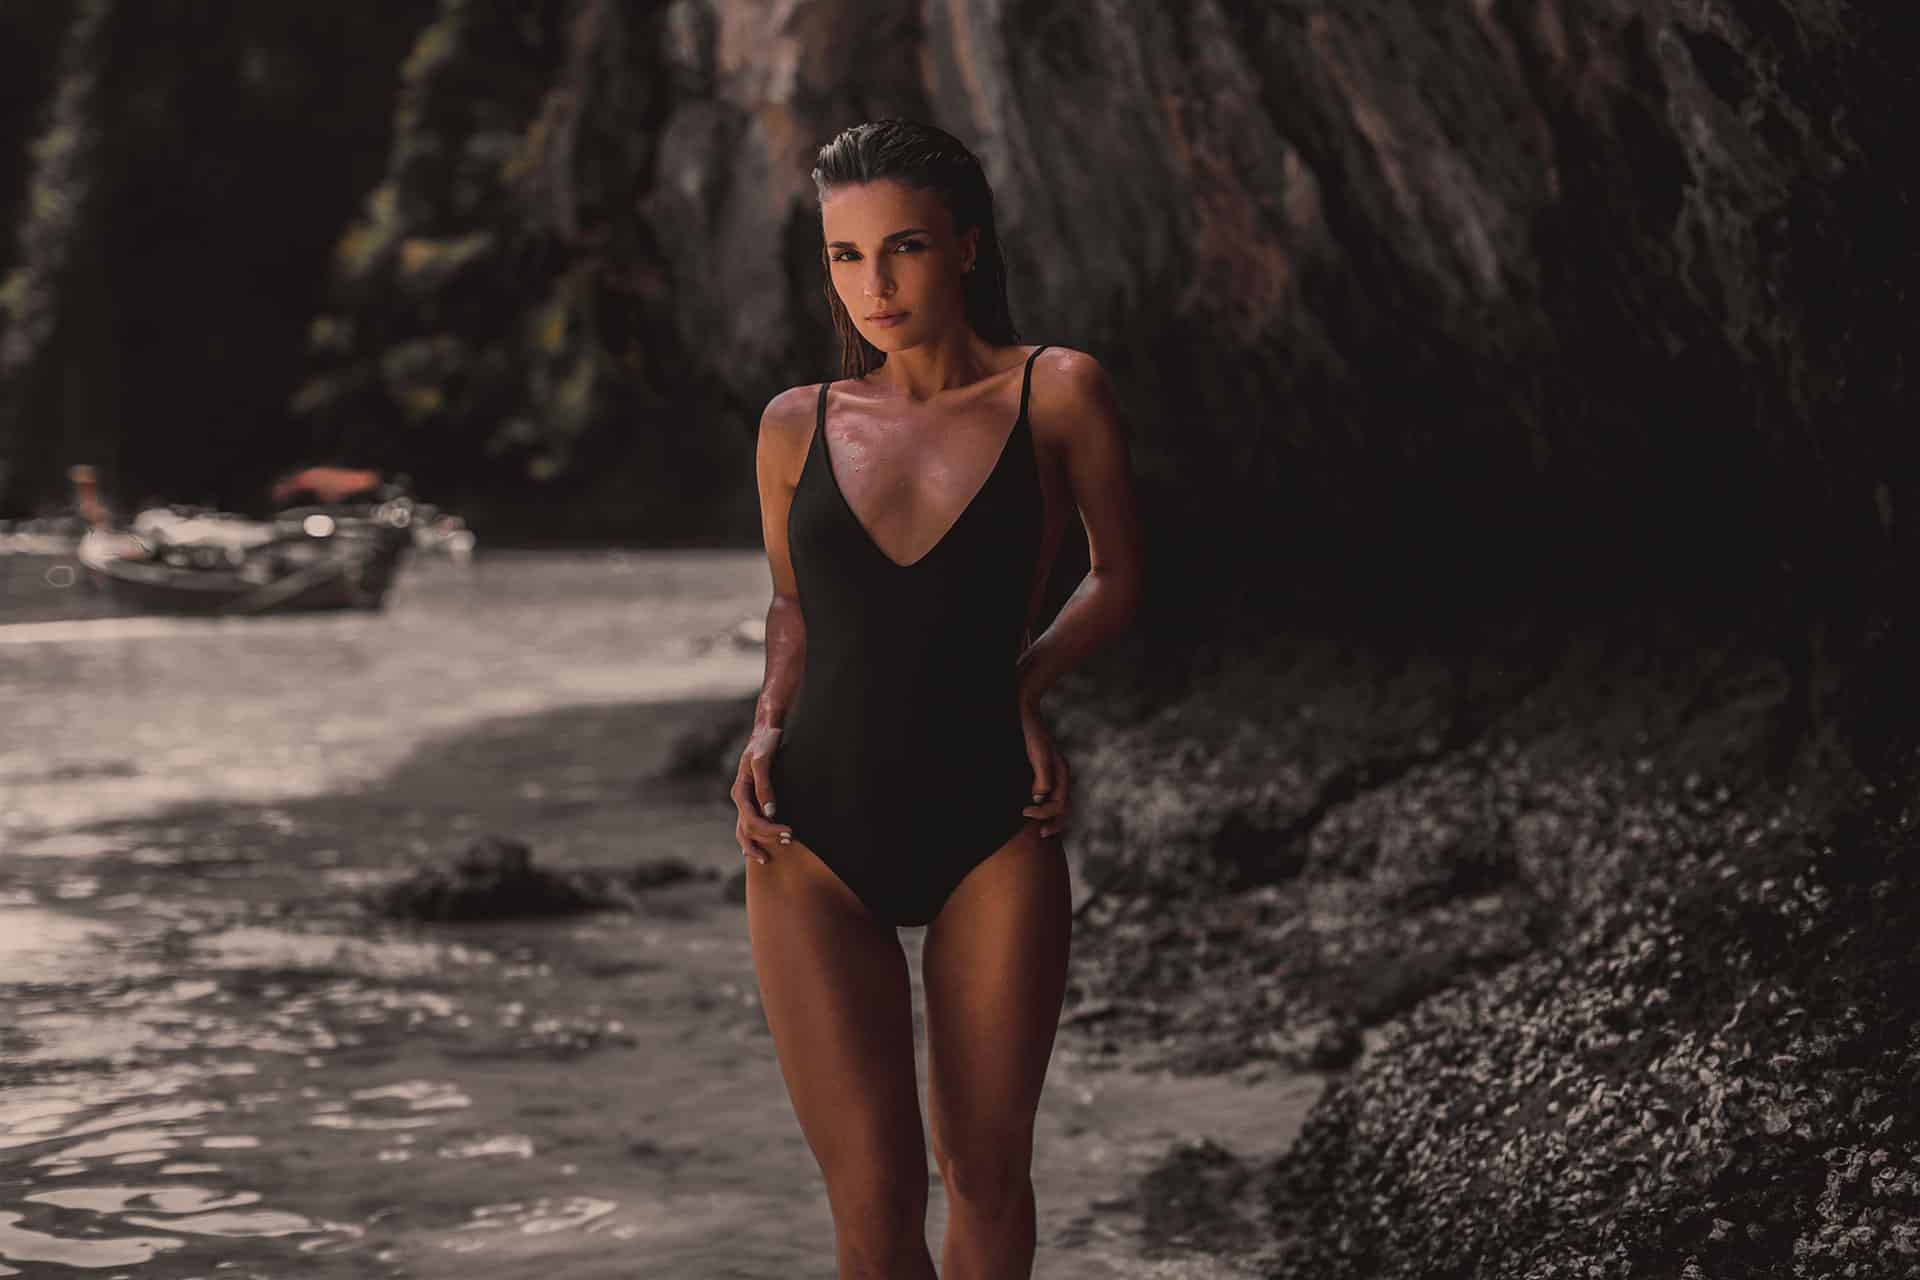
Here?s a little neat trick for creating a color overlay without even going into Photoshop. These effects are great for background images because they make text stand out.
Step 1
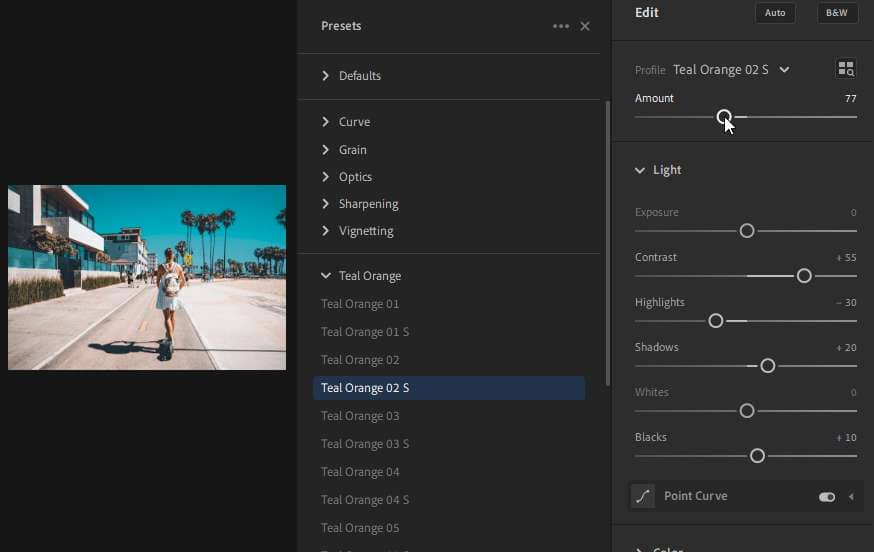
Go into the Develop module then into the Tone Curve setting. Create a tone curve like shown in the screenshot below. This tone curve is a basic flat fade that simply reduces the contrast like the Brightness/Contrast tool (Legacy Mode) in Photoshop. To ensure you?re maintaining the proper exposure (and not over/underexposing it), make sure that the tone curve line touches the center of the grid.

Step 2
Scroll down to the Split Toning section then set the highlights color to anything you want. Keep note of the Hue and Saturation setting located below the picker because you?ll need to enter the same setting for the shadows color.

Step 3
Next add the same color to the shadows color. You should already be able to see the effect.

Step 4
Go back to the Tone Curve and adjust the curve to increase/decrease the opacity of the color overlay. We?re doing this again because it?s hard to get the tone curve right the first time. The closer towards the middle you place the pins, the more visible your color overlay will be. If you create a flat horizontal line, it will just be a solid color.

Step 5
Finally, you can set the saturation to 0 for a stronger effect. You can also experiment with the exposure/contrast/etc. settings but I like to leave it as is.

Final Results
Here?s how the color overlay looks once we?re done. It?s a simple way to make any photo suitable for as a website or graphic background without using Photoshop.


Leave a Reply to TiagoCancel reply