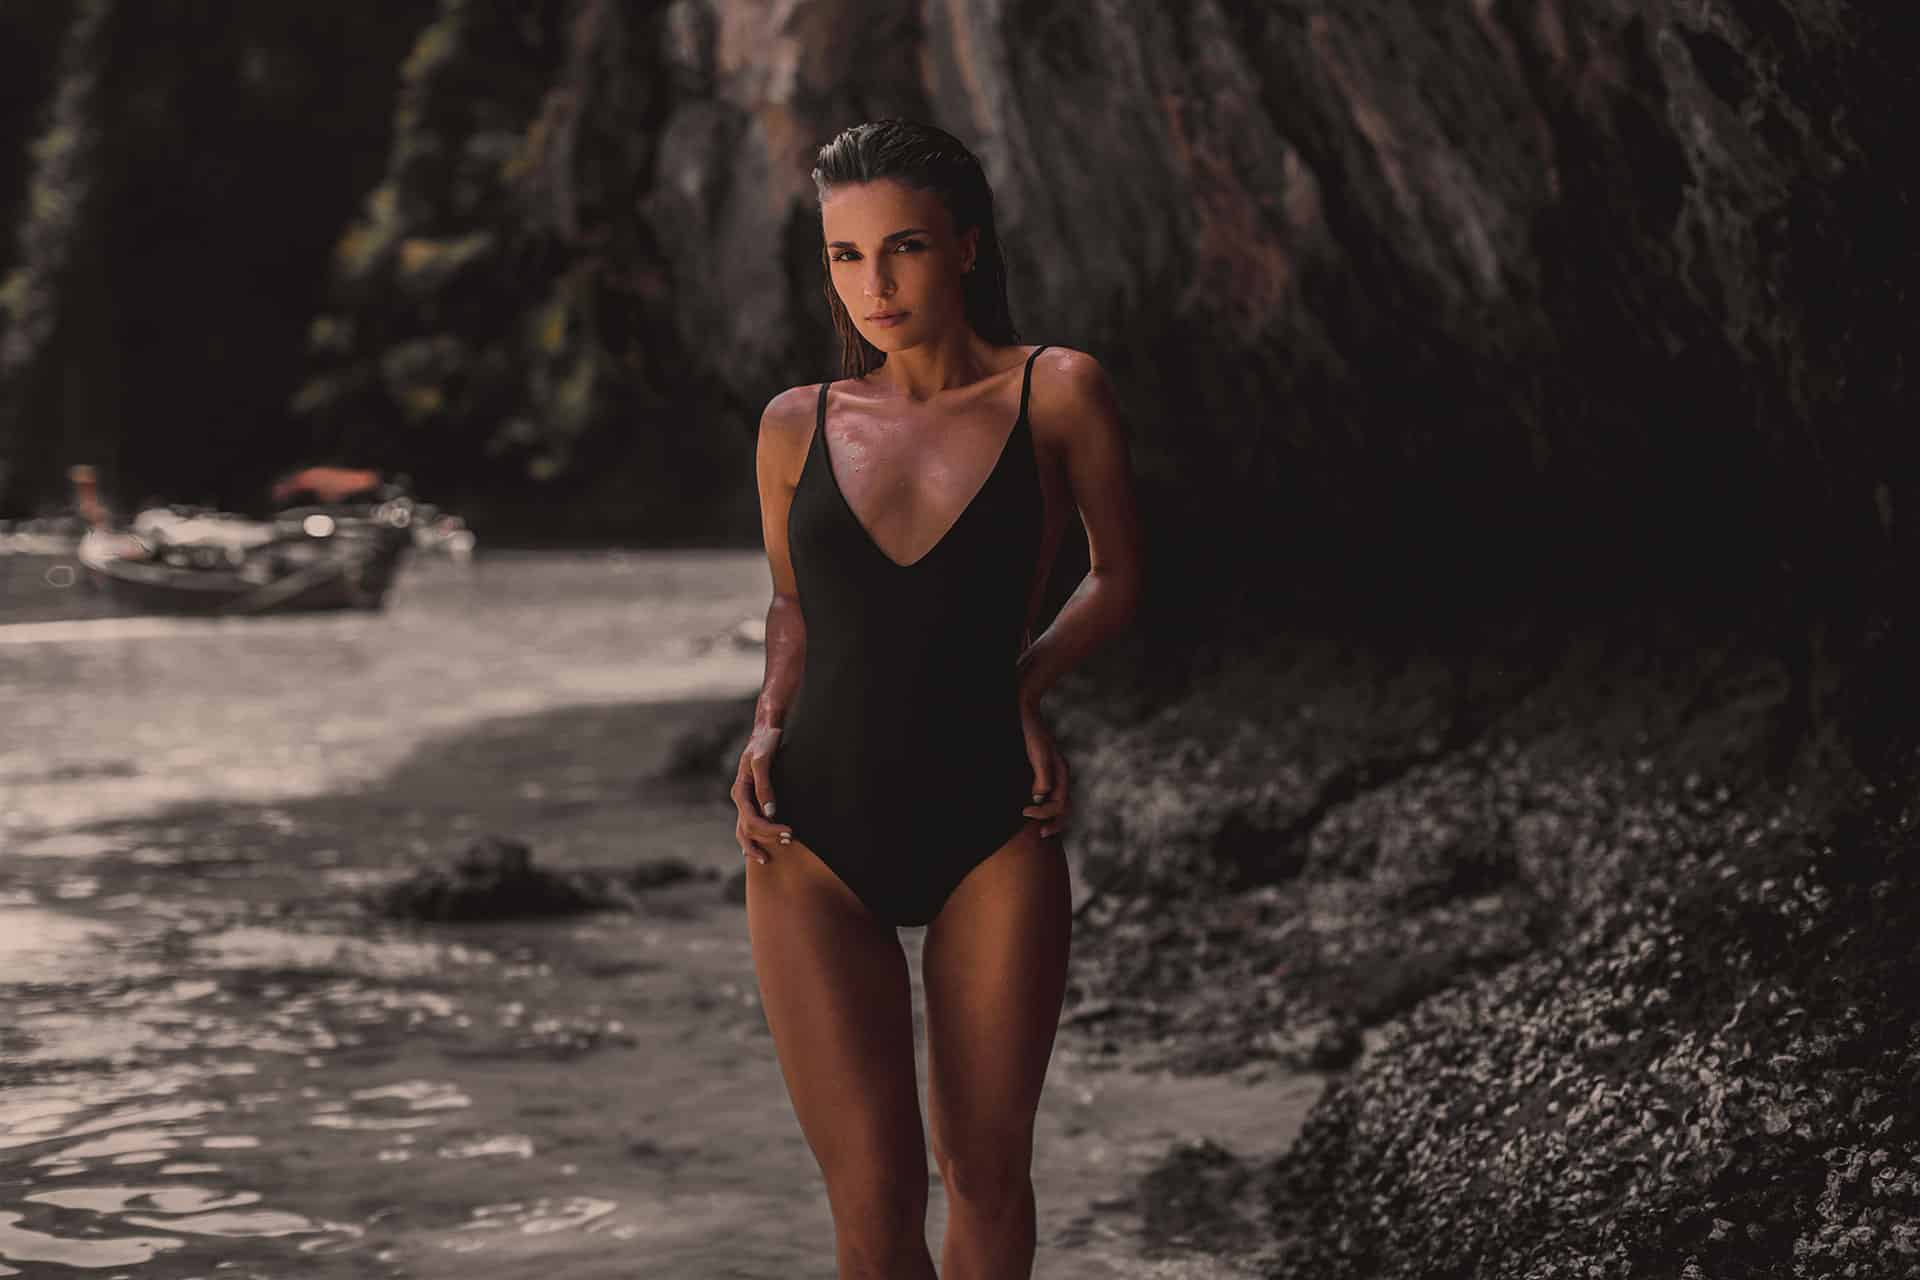
Achieve a dark and moody look. In this Lightroom tutorial, you'll learn how to compress the highlights, manipulate tones with the curves adjustment, and make skin tones stand out. This look is ideal for portrait and fashion photography.
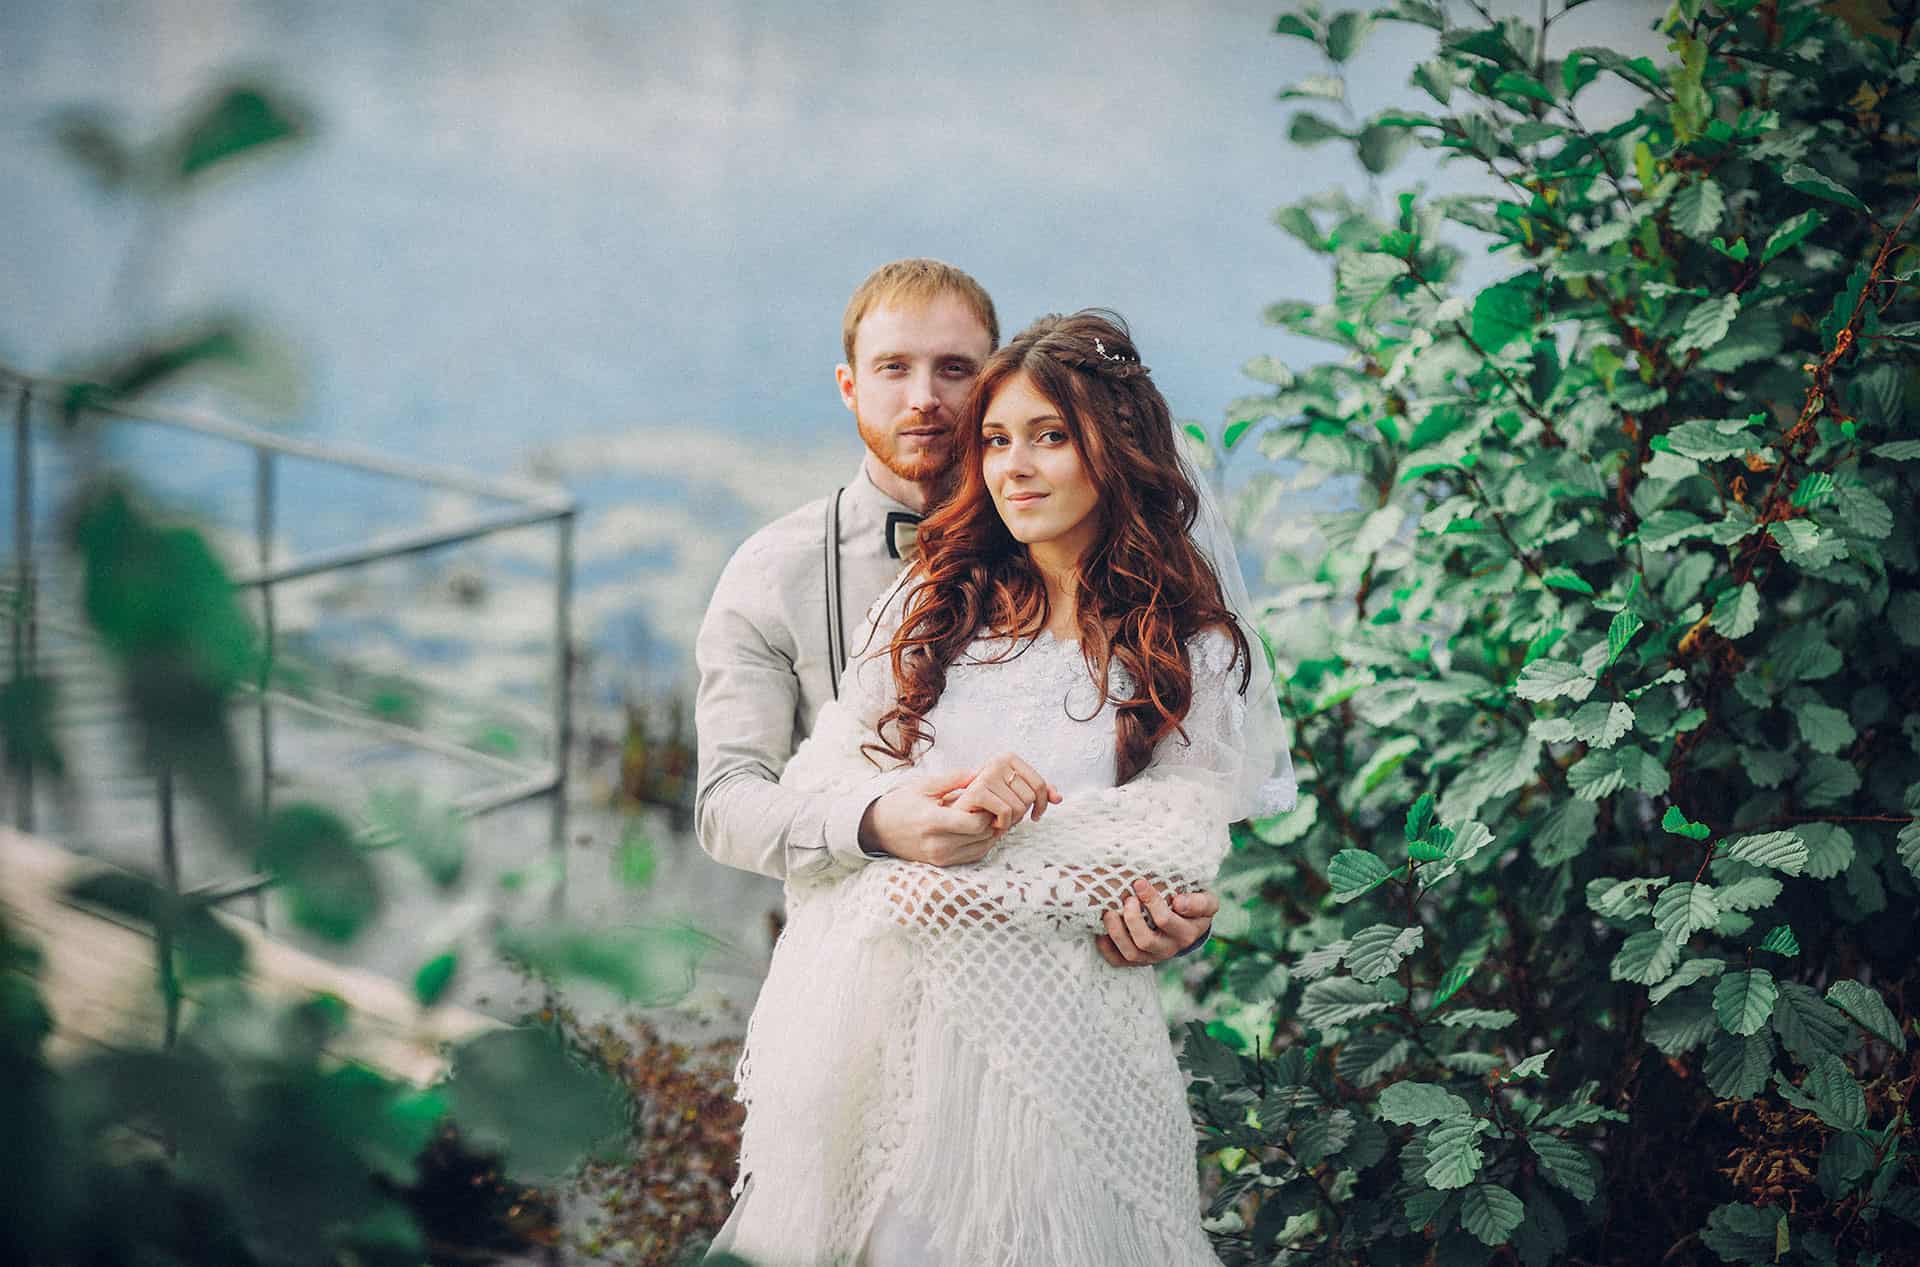
In this Lightroom tutorial, you'll learn how to create a film look for wedding photography. You'll start by adjusting colors to simulate the light and airy look of typical wedding presets, create whiter whites, increase contrast, and add film-like grain. A free wedding film preset is available to download at the end of the tutorial.

Achieve a bright and airy look with this Lightroom tutorial. You'll learn how to perform the base retouching steps such as fixing the white balance. Then you'll learn the unique combination of color settings that will give you a clean white look. You'll also learn how to manually lighten dark spots and finally, you'll complete […]
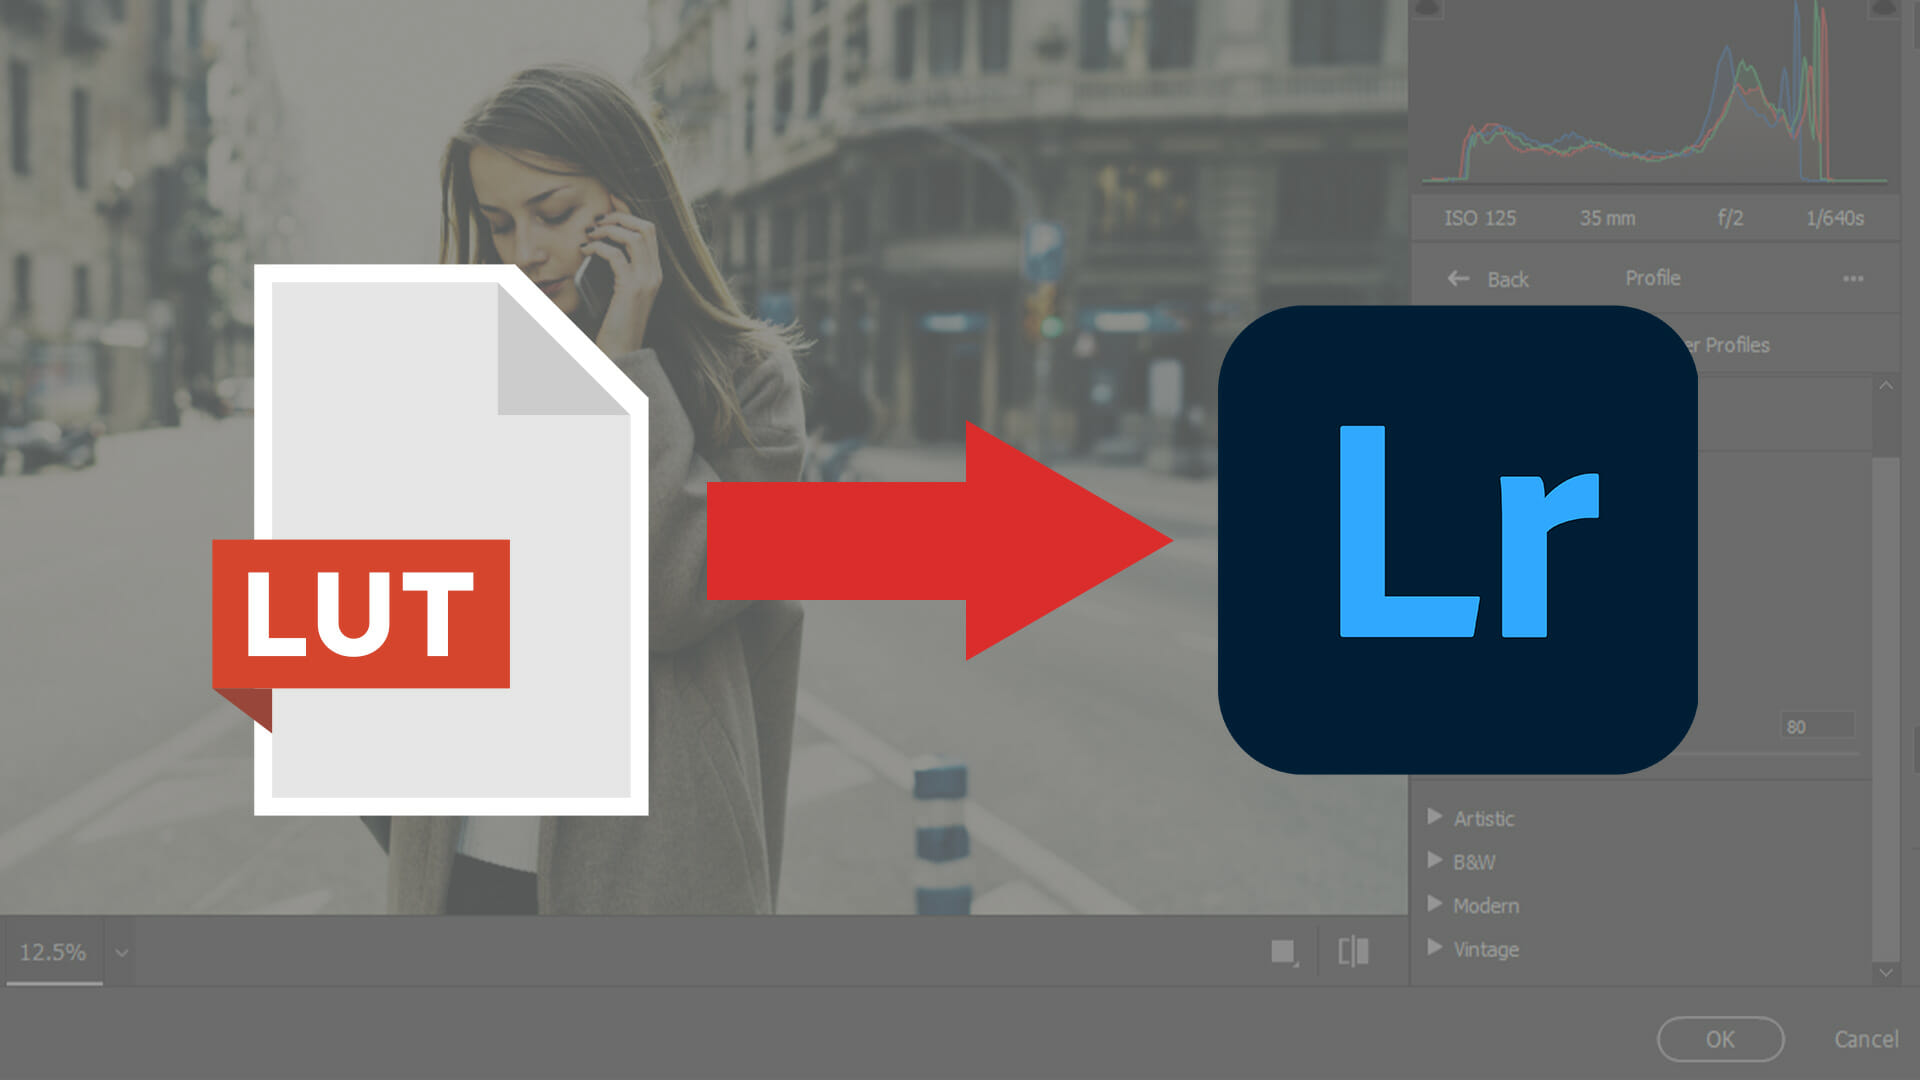
Are you looking for a way to use LUTs in Lightroom? If so, then you may want to try creating Lightroom profiles. It is the only way to use LUTs in Lightroom. In this tutorial, you'll learn how to convert your LUTs into profiles that you can use in Lightroom.
You might have downloaded some Lightroom presets and wondered how to install them. There is a lot of information out there, but you can simplify the process by following these 2 easy steps: Open Lightroom or Lightroom Classic CC Go to File > Import Develop Profiles and Presets. To save a step, you can import […]
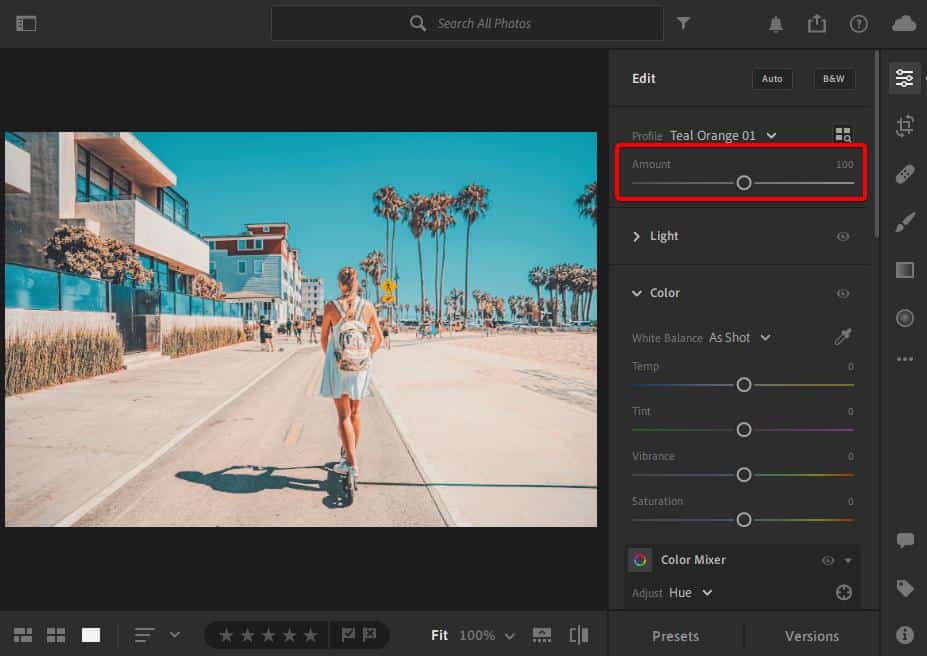
In this Lightroom tutorial, you'll learn how to recreate the dim blue color grading seen in Tom Blachford's Nihon Noir project. You'll do this with only the tone curves and calibration settings. This will give you a base effect which you can further modify with the HSL settings. You can also download the free Lightroom […]