
Here?s a great Lightroom tutorial that?ll show you how to create an awesome red/blue cross-process photo with a retro round border! This tutorial will teach you how to apply a retro split-toning effect and manipulate the vignette settings to create a border. We also have a free Lightroom preset for you to download!
What you?ll be making


Step 1
For this tutorial, we?re going to start with the settings that?ll give the biggest effect and end it with the settings that give it the least effect ? this will help you visualize and understand the process easier.
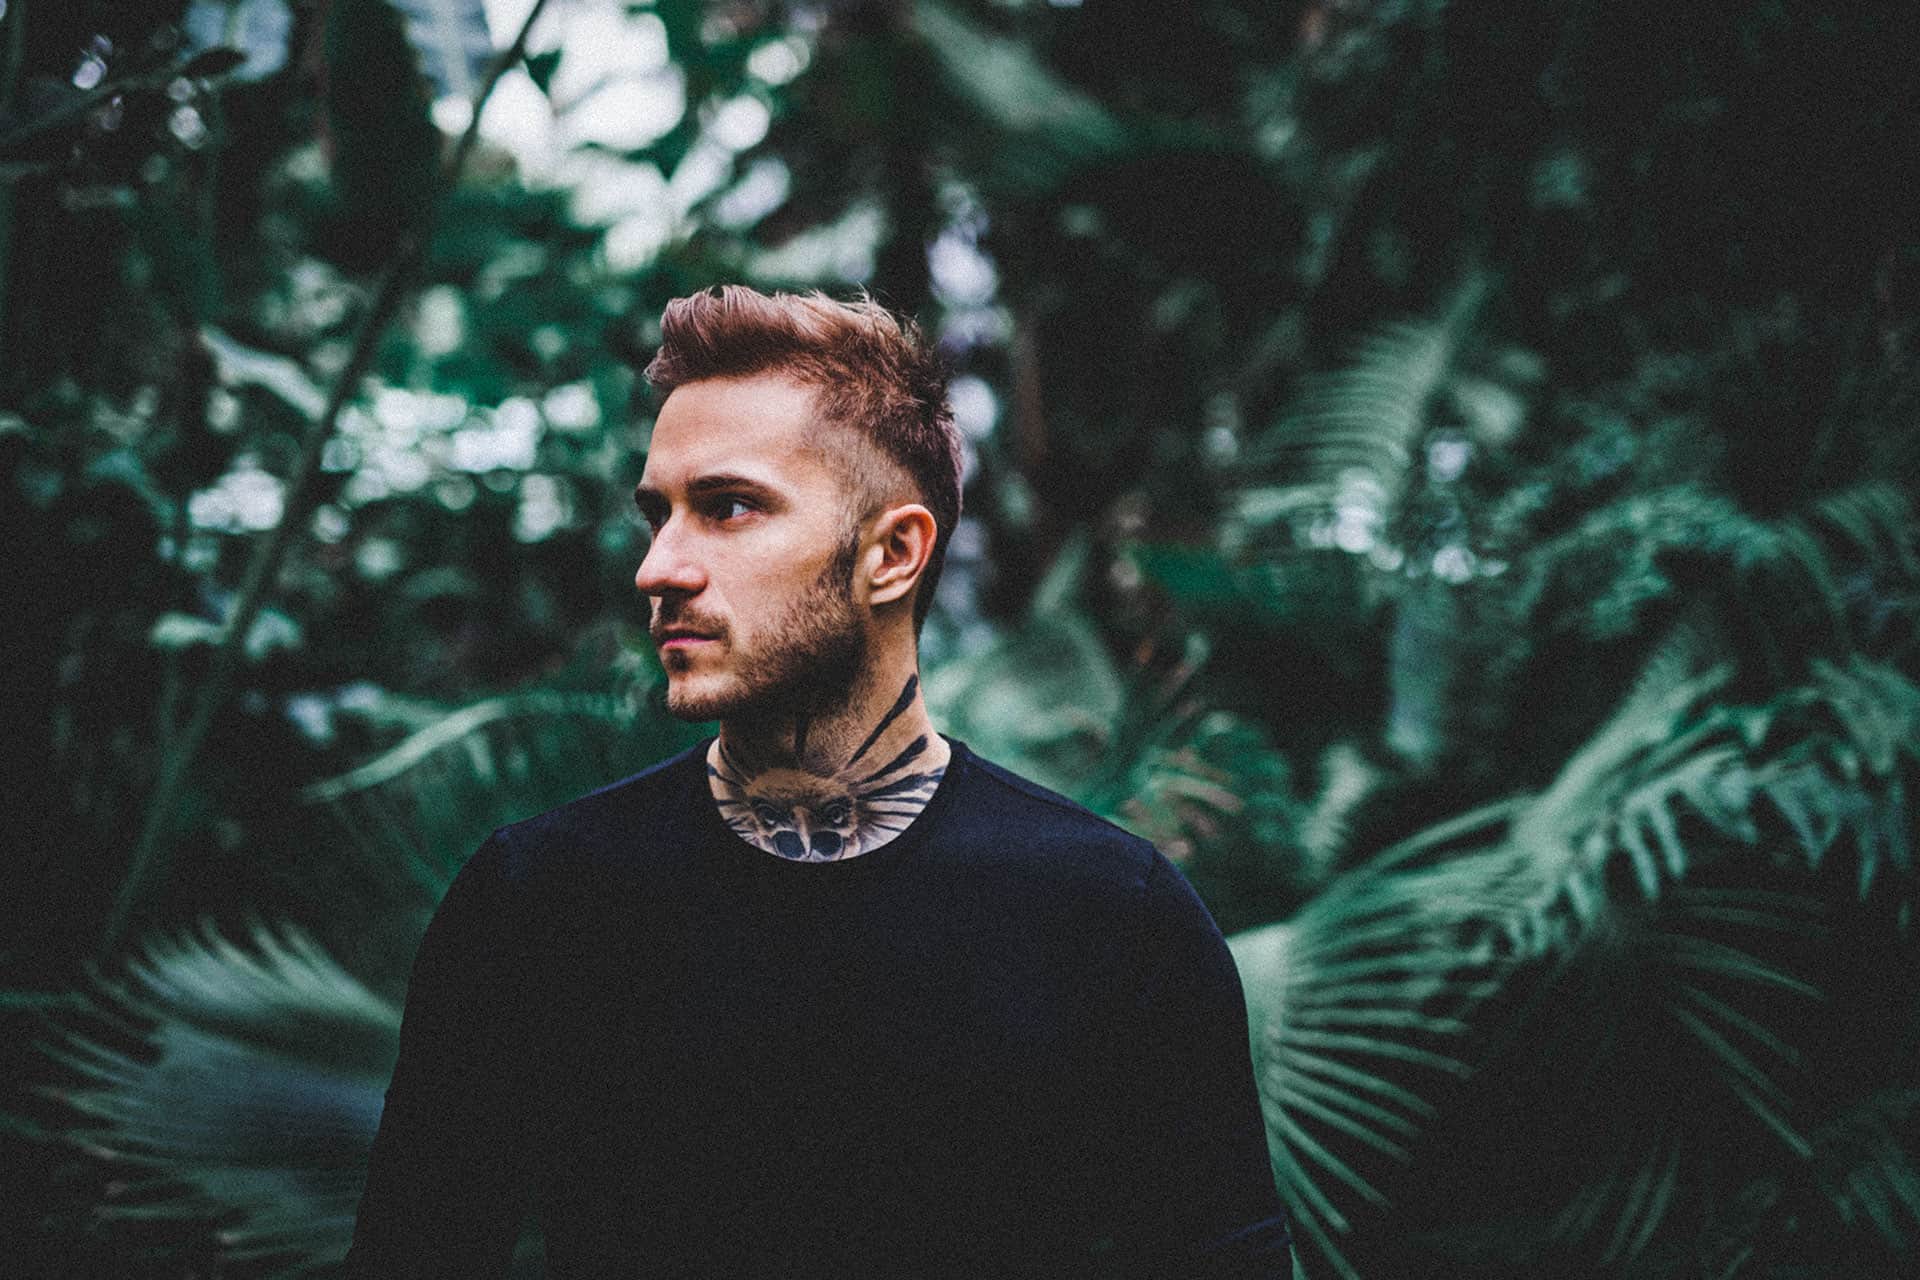
Start by selecting your photo in Lightroom and going into the Develop module. Here?s the image that we?ll be using for this Lightroom tutorial.

Step 2
Start in the Split Toning area. We?re going to be applying a split toning effect that be the majority of this retro photo effect. In the highlights setting, set the Hue to 180 and Saturation to 100.

You?ll get a cyan-tinted photo like this.

Step 3
Next, go to the shadow settings and give it a red tint. You can do this by leaving the Hue at 0 and increasing the Saturation to 100.

Here?s what the image looks like with the red tint in the shadows! We have our retro color effect already ? next we?re going to add a border.

Step 4
Now we?re going to add a border to your photo. Lightroom doesn?t have an official area in the Develop module where you can create borders. Instead, we?ll use the Vignette settings to do this.
In the Post-Crop Vignetting settings, drag the slider for all of the 5 settings to the very left.

You?ll get a nice black border like this. This will give us a good area to start for creating our round border.

Step 5
With the black border created, we can now easily adjust the settings. Start with the Roundness setting. This will increase the size of the round corners. I?m going to give mine a very round corner like this ? so that it imitates the look of small prints.

Here?s what it looks like with the larger corner! As you can see, the larger corners also made the border thicker. We?ll correct this in the next step.

Step 6
To reduce the size of the border, adjust the Midpoint setting. As you increase the midpoint, the border size will decrease.


Step 7
Next, we?re going to adjust the Highlights settings. You really only need to adjust this setting very slightly ? in our case, by 2.

It?s a very subtle difference but if you look at the bottom of the border, you?ll see that the blown-out highlights are showing through the border.

Step 8
Next, increase the Feather setting slightly. We increased ours by 5 which softens the edge of the border just a tiny-bit. You don?t want to go overboard with this setting.

The Feather setting softens up the border slightly.

Step 9
Next, we?re going to add some grain so that your photo a more film-like look. Start by increasing all of the Grain settings to 100.

You?ll get a super-grainy image like this.

Now reduce the Amount setting until you get just the right amount of noise that you like.


Step 10
To finish off the image, we?re going to give it a soft glow reminiscence of low-quality lens. You can do this simply by reducing the Clarity setting.


Step 11
We?re done with the effect! Next, we?re going to create a Lightroom preset so that you can easily use this setting on your other photos. To do this, click on the + button in the Presets panel.

You?ll get a popup with a bunch of settings you can adjust. Start by giving your preset a name ? I?m calling mine ?Red/Blue Crossprocess?. Next, checkmark only the settings that you used (to avoid conflicts). For this photo effect, we used the Clarity, Split Toning, Post-Crop Vignetting, and Grain settings. Checkmark those items and uncheck the others then click Create.

Your preset will appear under your ?User Presets?.

Final Results


Download the Lightroom Preset
Here?s a free download of this Lightroom effect.
Leave a Reply to MathiasCancel reply